Lens zooms
Lens zooms, an easy process to dynamically capture neon signs at night
A few weeks ago I had an Instagram post of a local ice cream shop with zoomed lines of light created by the neon and several people asked how I had accomplished it.
The answer lies in two main elements, a zoom lens and as long an exposure as possible. The former is probably something you already have with most interchangable lens cameras and the latter is created by lowering the ISO as low as possible and shrinking the aperture as much as possible. Even then, due to the brightness of neon you will still only have two to five seconds of exposure for your image.
Obviously you will want to use a tripod as well. But depending on your shutter speed you will wait at least half to two-thirds of the exposure time to be stable and unmoving, then simply zoom in or out as the image calls for it. What’s the difference? Mainly in what the image direction appears, on the left is starting out and zooming in, the right is starting in and zooming out.
The Dairy Maid image at the top is starting out and zooming in. For me, the preference is typically in sign legibility, what works as a dynamic image that leaves the sign legible.
I also have a technique that “swirls” signs into place. In this case the lens zooms in while the camera itself rotates. This is accomplished by use of a “lens collar support bracket” which I use to hold the gripped zoom ring of a 100-300 zoom lens. With that secured I then proceed the same way, wait at least half to two-thirds of the exposure time to be stable and unmoving, then simply zoom in or out by now rotating the body.
I find lens zooms to be a great technique when capturing neon or other lit signs, they can be challenging at night due to the brightness contrast with the darker subjects. Best of luck, let me know if you have any questions!
What is light painting?
I often get asked what exactly is light painting and it has a simple answer that only begets additional questions. It is the addition of light to a subject in a photograph. Traditionally this has been accomplished via flashlight to "paint" a subject with light while the shutter is open. This is often mistaken for Photoshopping or, these days, AI, but this is all done in camera.
Like traditional painting, this is a staggeringly generalized definition that can cover acting from watercolor to oil to mixed media. Different subjects can call for different techniques, different artists will light the same subject very differently, and of course one artist can light the same subject differently depending on their interest and approach.
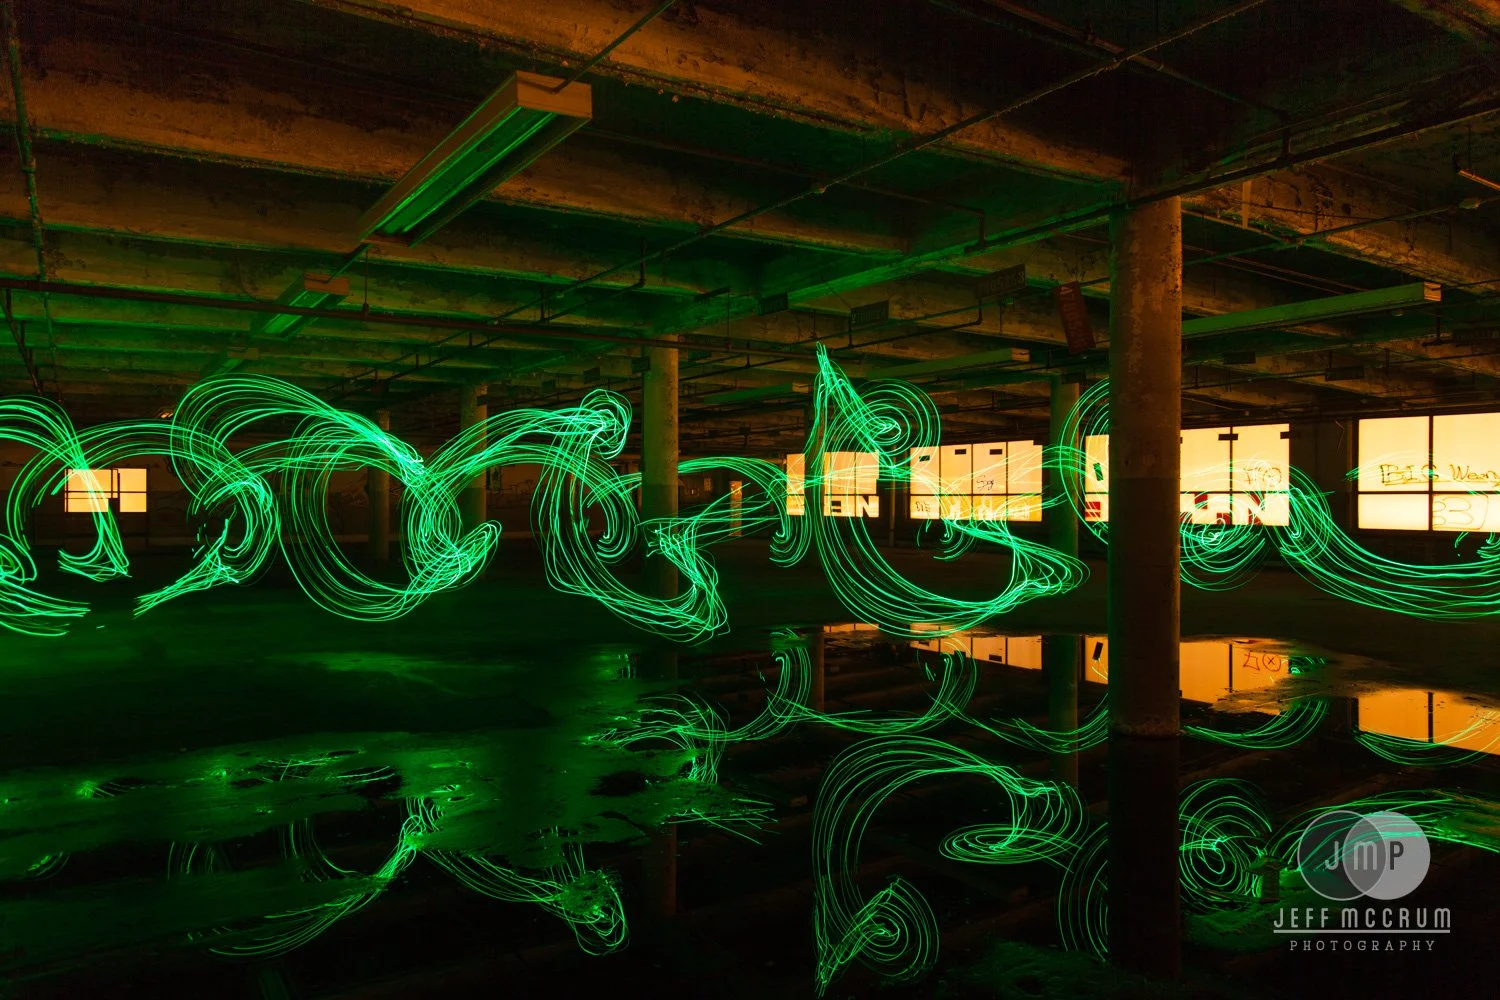
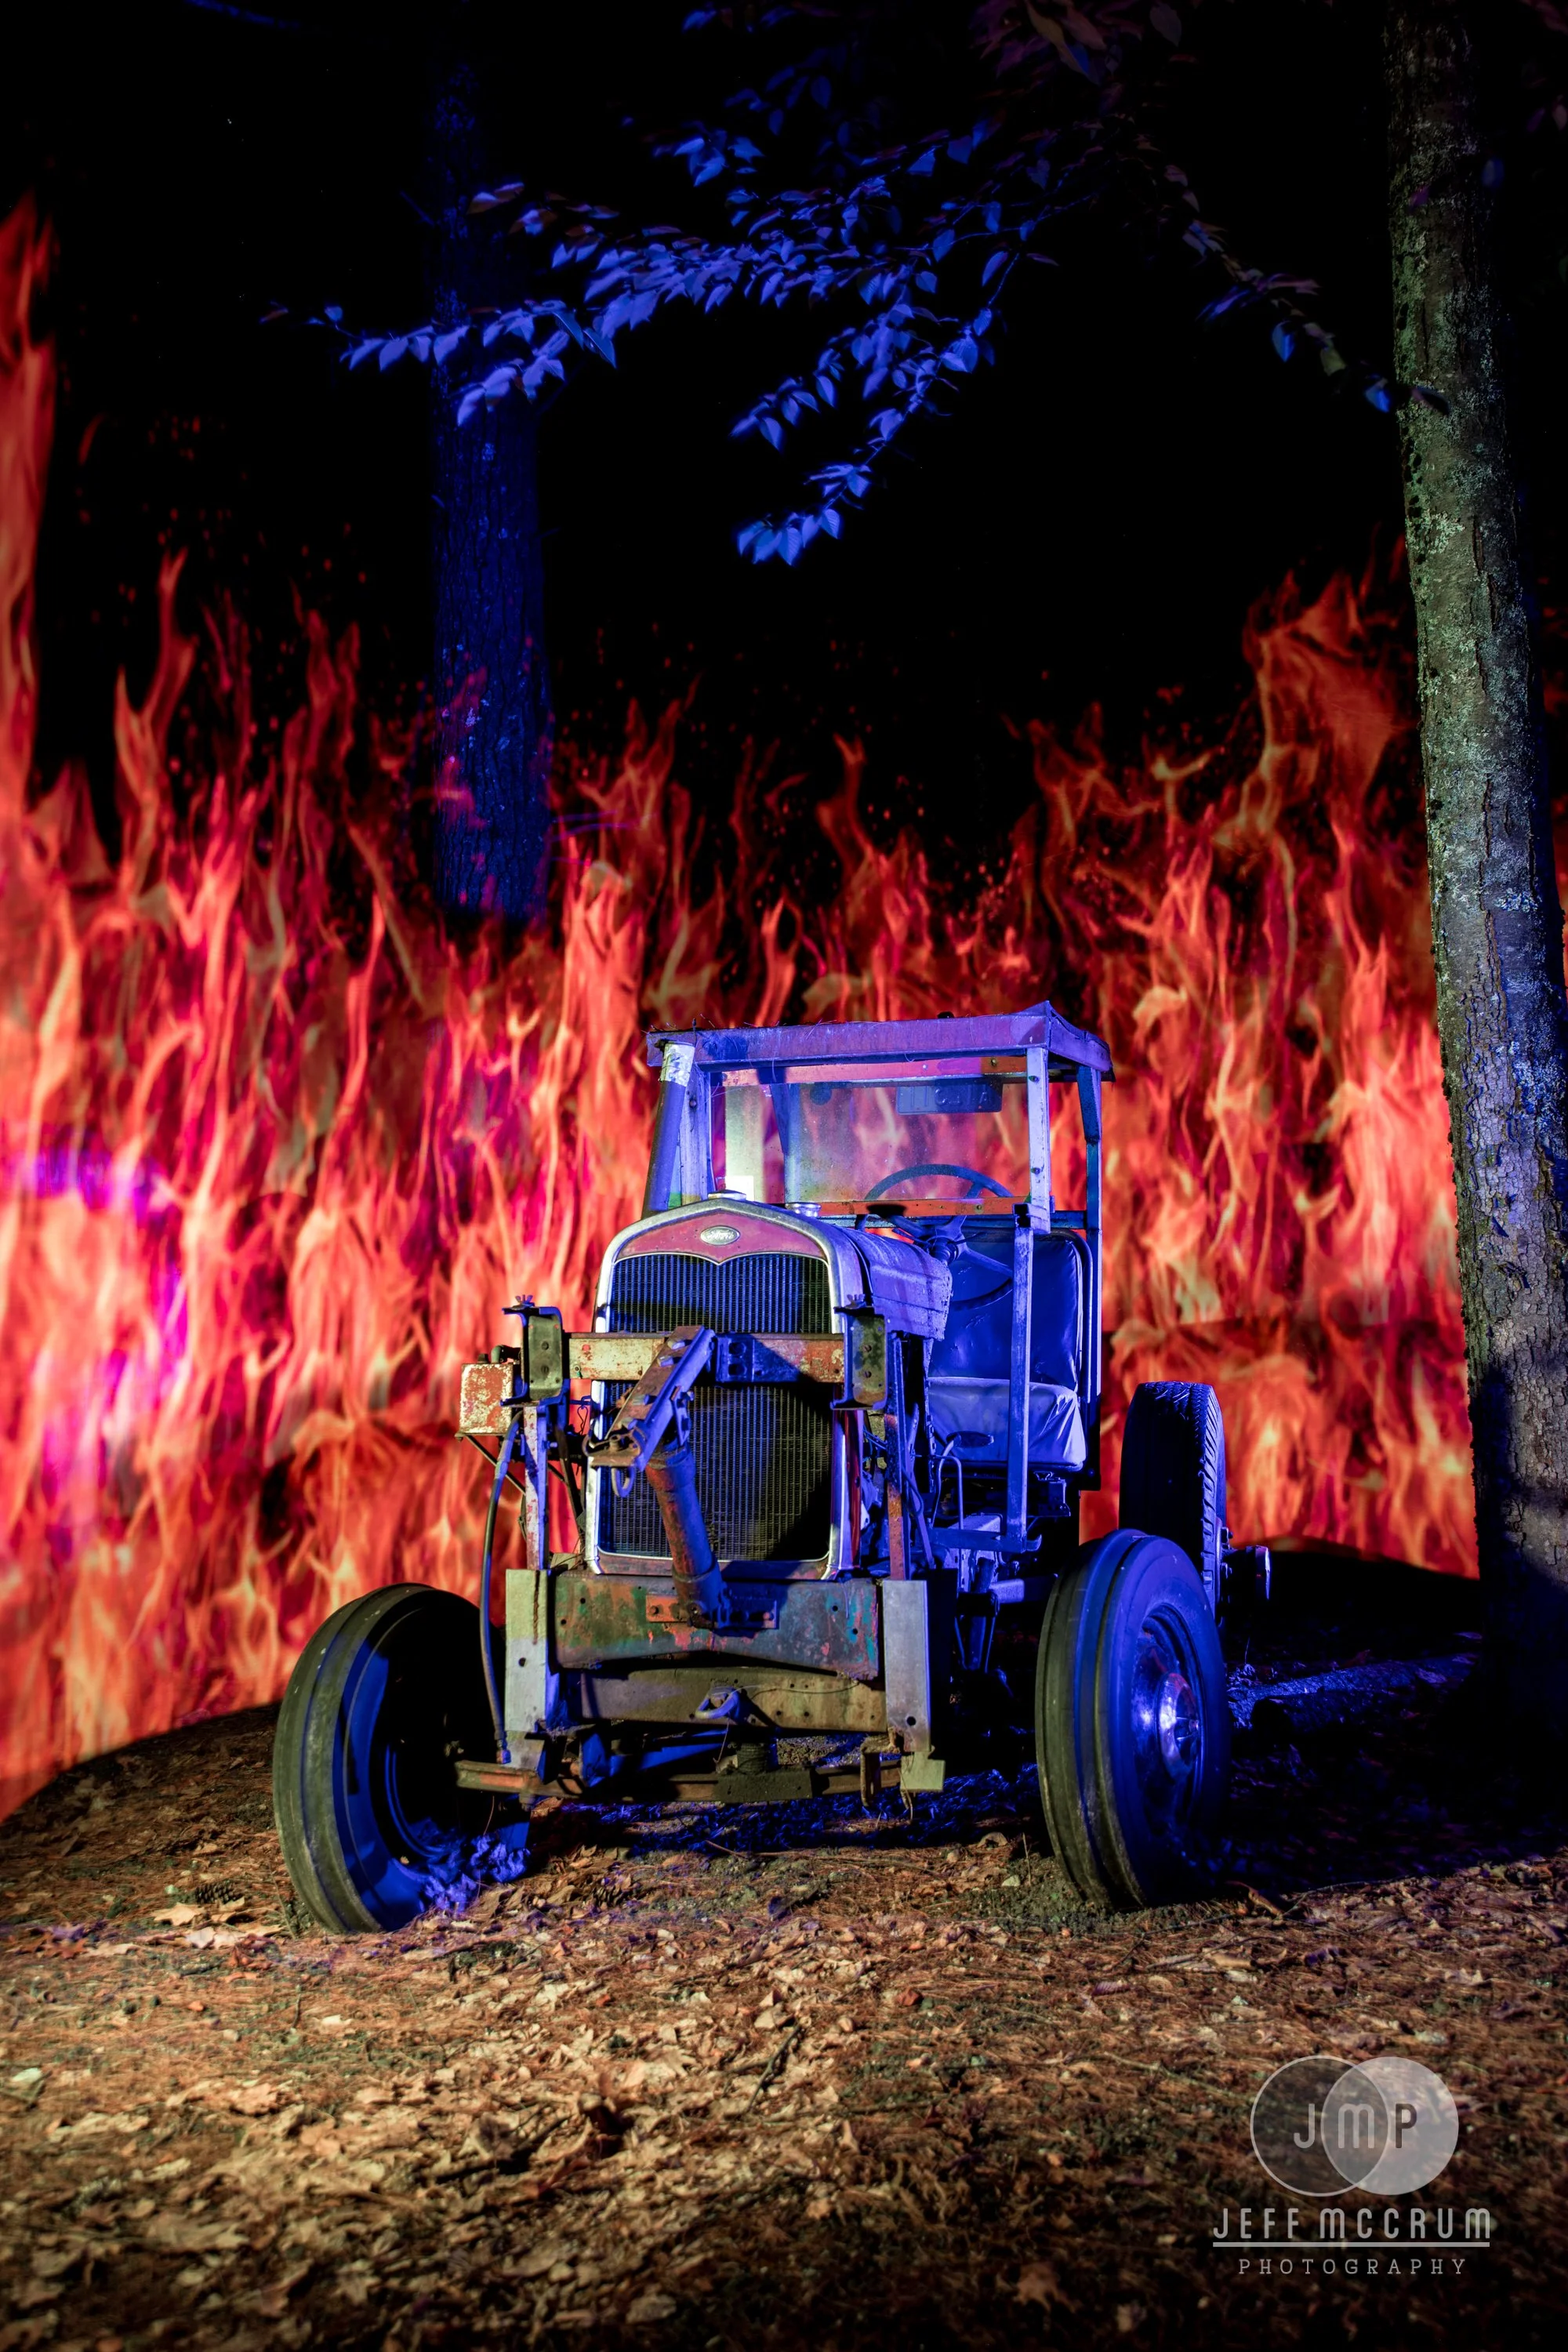
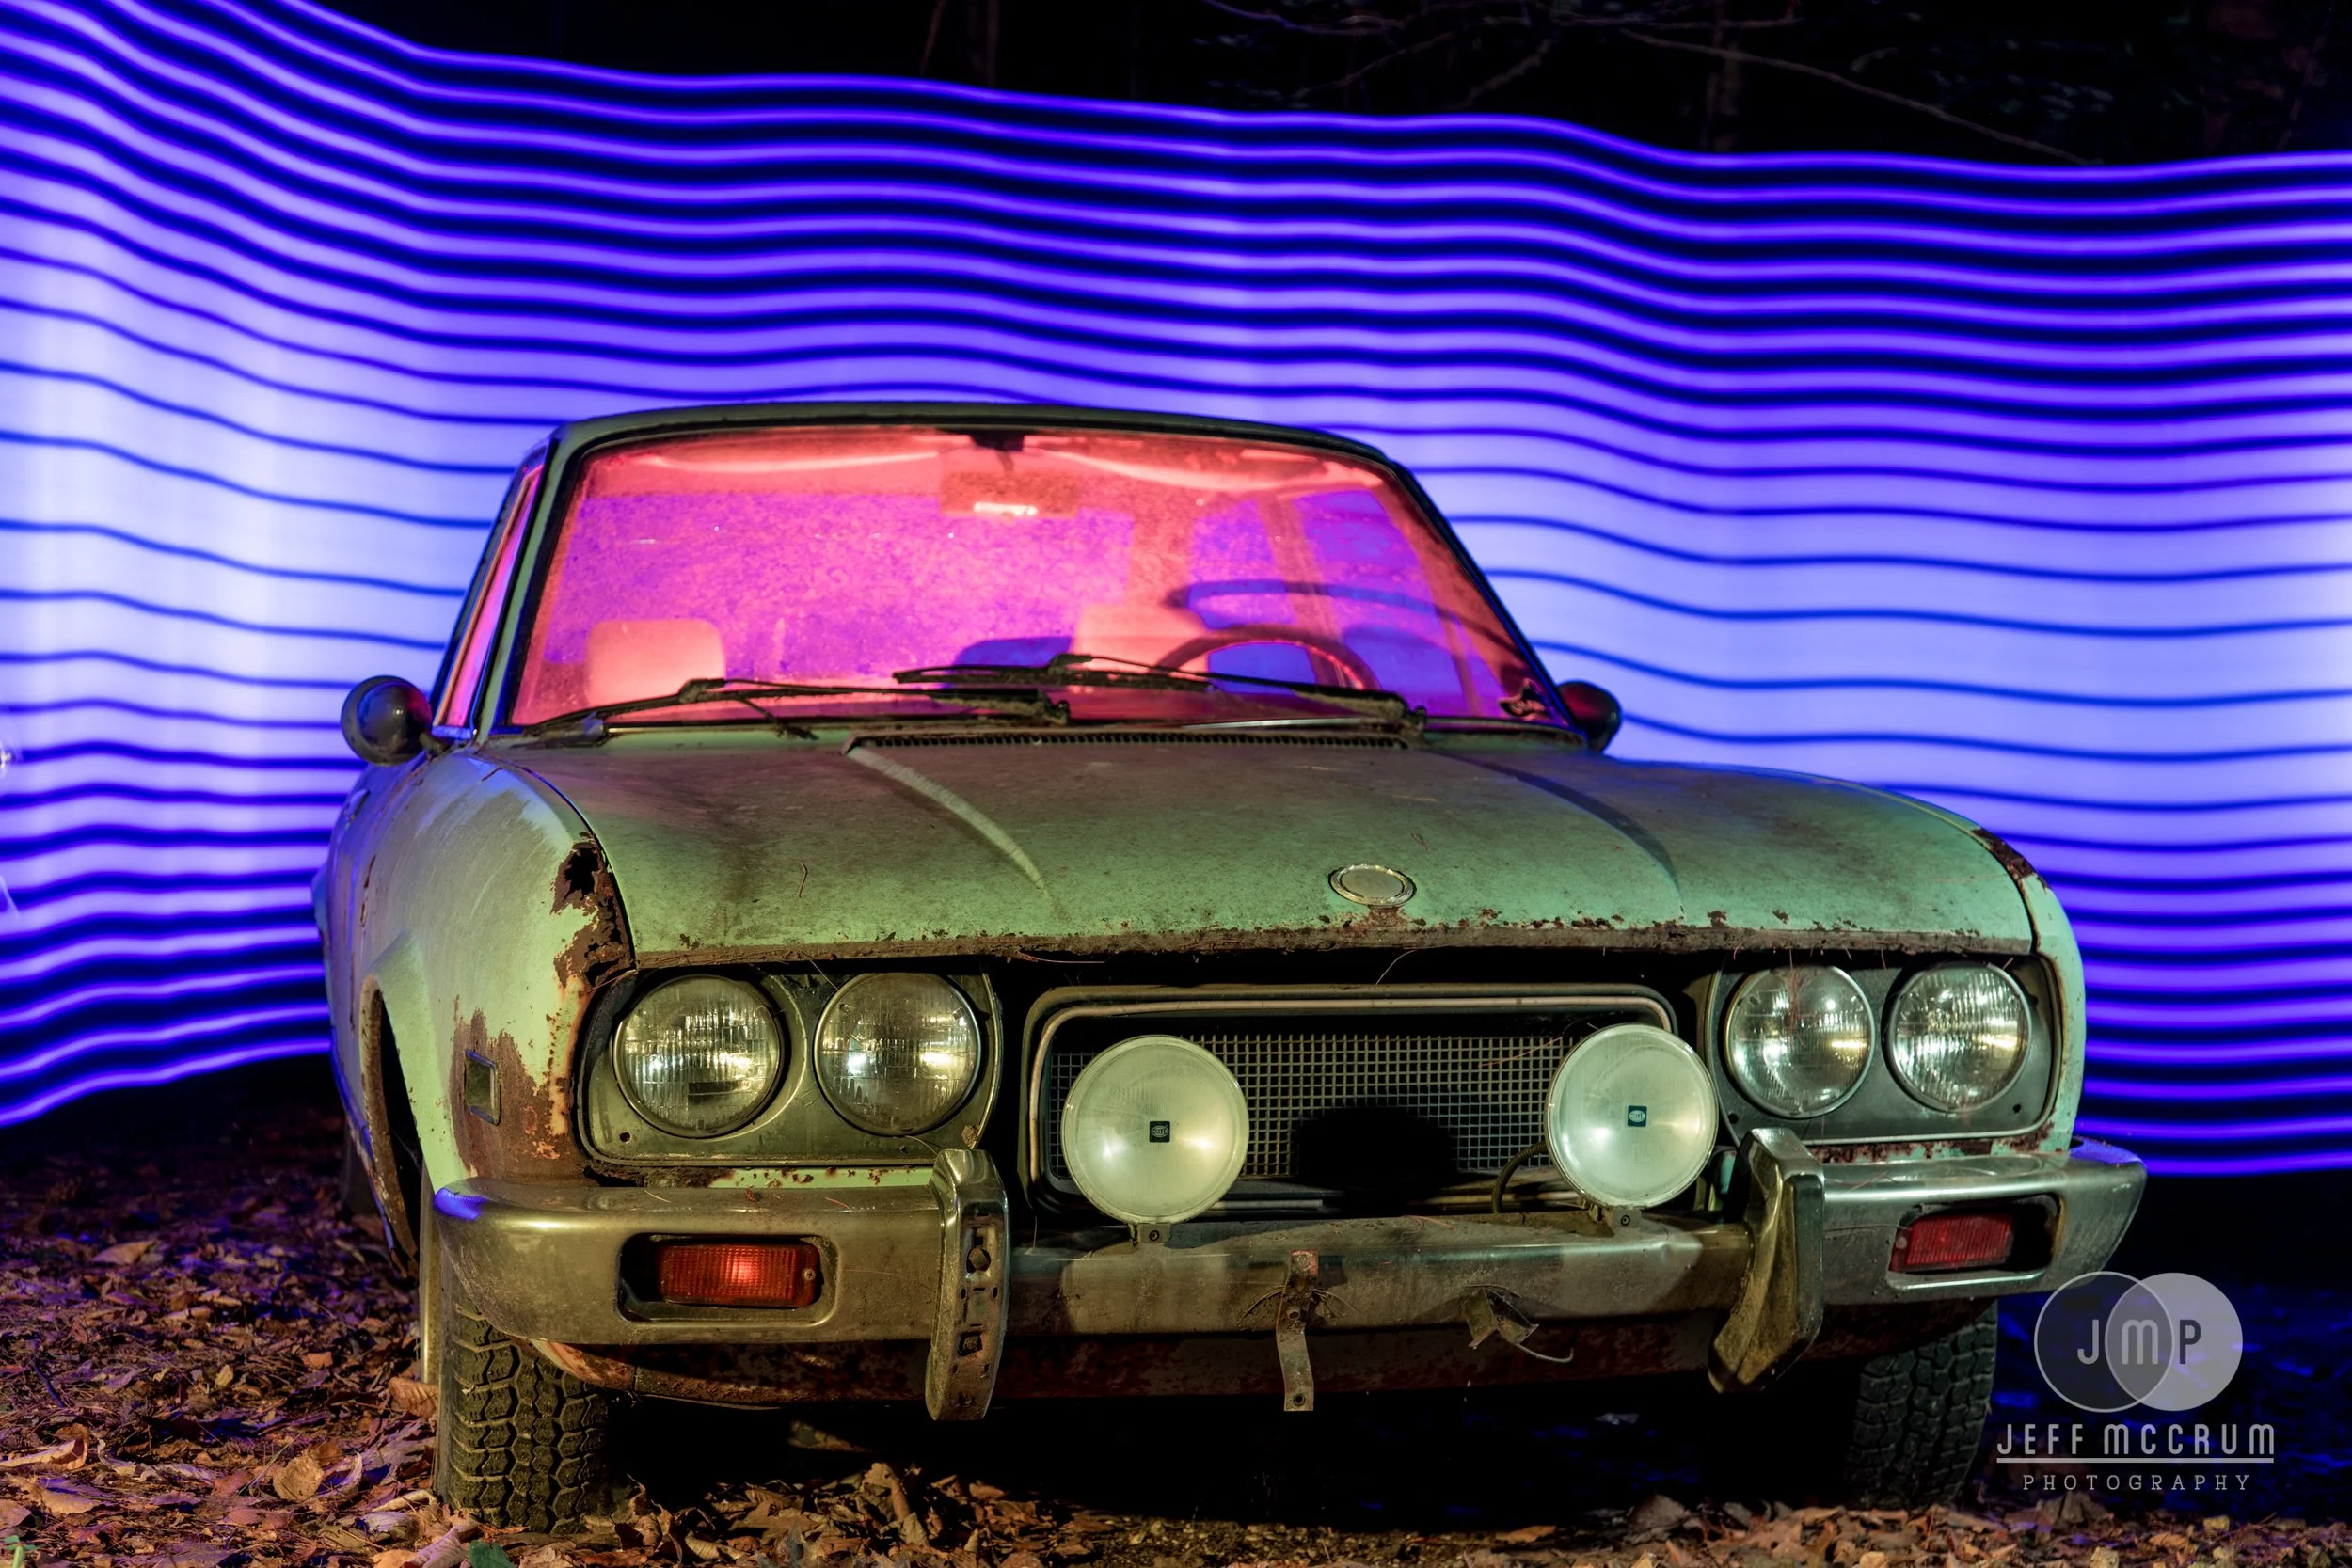
These are all light painted images, each a different subject or intent but all the same medium: capturing light in camera, but with greater creative opportunities for the photographer. And these opportunities can be exactly what you want them to be, subtle delicate balances to the natural landscape to prevent your subject from appearing like a black silhouette or a bole, colorful response to an immobile car in a forest.
Here, you can see what the difference is in Joshua Tree National Park with the tree lit and the same scene without any light painting. One of the keys to light painting is to avoid standing behind the camera, so this was lit entirely with one flashlight from camera right and then moved around to do the same thing from camera left for about half the time. The intent here was to capture the scene with natural color against the starry sky.
Also in Joshua Tree, the rocks in a small valley have been illuminated by hiker with a green headlamp and starlight illuminates the rest of the foreground and the Milky Way. This is a simple solution accomplished with equipment that can be easily carried in your bag, the unexpected pop from the green rocks plays well with the splash of yellow at the horizon and the dark blue skies.
Here’s s stark and minimalist approach at Mono Lake. Again, everything is lit via flashlight to the point of brightness where the stars are too dim to be noticed in the thumbnail. It makes the rocks appear to be glowing and with the still water reflection provides a very non-terrestrial appearance.
LED panels have helped facilitate a sea change in possibilities, with an ability to set up a few batery-powered lights for a scene and then remotely modify their intensity and color. It allows for photographers to quickly come up with a variety of looks for a subject with equipment that easily fits in any camera bag. But as you can see here, this allows for a great many options with very little work.
In addition to the light panels providing the color the tool used to create the fire effect and the lines in tehe background is a six-foot tall single-pixel wide LED device called the PixelStick. It uses a bitmap image and then displays one column of pixels at a time as you walk it through the scene. It’s not always perfect and, like all of this, takes trial and error before you can feel really confident in getting it in one shot.
If you’re interested in coming out to learn more about light painting Shehab Hossain and I are hosting a workshop in the middle of September, it’s a full day class and then four hours of shooting in the field at a private collection of approximately 40 acres of cars.
Palermo-ramas
A recent trip to Palermo., Italy was very busy and left me with only one evening to go out and shoot. With that in mind I decided to build on a 360 degree panorama with one of the more majestic nighttime sights: the Quattro Canti or Piazza Vigliena. This is where two main roads (laid out by the Romans) meet and separated Palermo into the four original ancient quarters, hence Quattro Canti. The road becomes circular here and at night is mostly closed to cars and becomes the hub to the city’s nighttime street party.
After dark these buildings come alive with projection mapping from the building directly across from it. The projectors are mostly hidden inside windows but some are located on the balconies, it is a wonderfully accomplished piece by the city that everyone comes to enjoy. Luckily for me it rained enough to send people home early to get the square as clear as possible.
Due to my limited amount of time in town I wanted to create some options and the quickest way was via a panorama rig to create a full 360 that would allow for different arrangements once I got home. The amount of light in the scene meant that exposures would be a relatively quick 5 seconds and while taking 40 exposures to get one 360 degree panorama seems like the opposite of “time saving” achieving it in only 4 minutes total instead of typically spending 4 minutes per shot (so about 30 minutes for a panorama) like I usually do at night.
First up, the obvious flat layout showing all four buildings with some adjustment to create parallel lines for the buildings. The corner is on a hillside so not everything lines up perfectly on the ground, nature isn’t always perfect and sometimes images have to deal with that. However, from this one collection of images it opens up the possibility for a few more, specifically a Little Planet:
PTGui is a stitching software that is incredibly powerful and seems complicated but once you understand what it is asking for and which menus to delve into you can create some very dramatic views from your panorama fairly quickly. Your images will be very large, think 500mb, and unweildy, so the thing that will take time is your computer churning through all those pixels more than determining how to arrange your panorama.
By simply, for lack of a better term, “fooling around” in PTGui you can modify your central point in a panorama or little planet and change your image to make the sky the center of the Little Planet. Above, the buildings are shooting outward from the Little Planet with the camera appearing to be halfway up the buildings. Below they are looming over the center of the image and the camera appears to be very low to the ground. And then the top image appears as though the camera is shooting in front of each of these buildings down a street.
However, these are all based on the same set of images combined into a 360 degree panoramic, all I am doing is changing the presentation of the projection to create the image that I want to see. 360 degree panoramas can create options with the right subjects!
Venice workshop wrap up
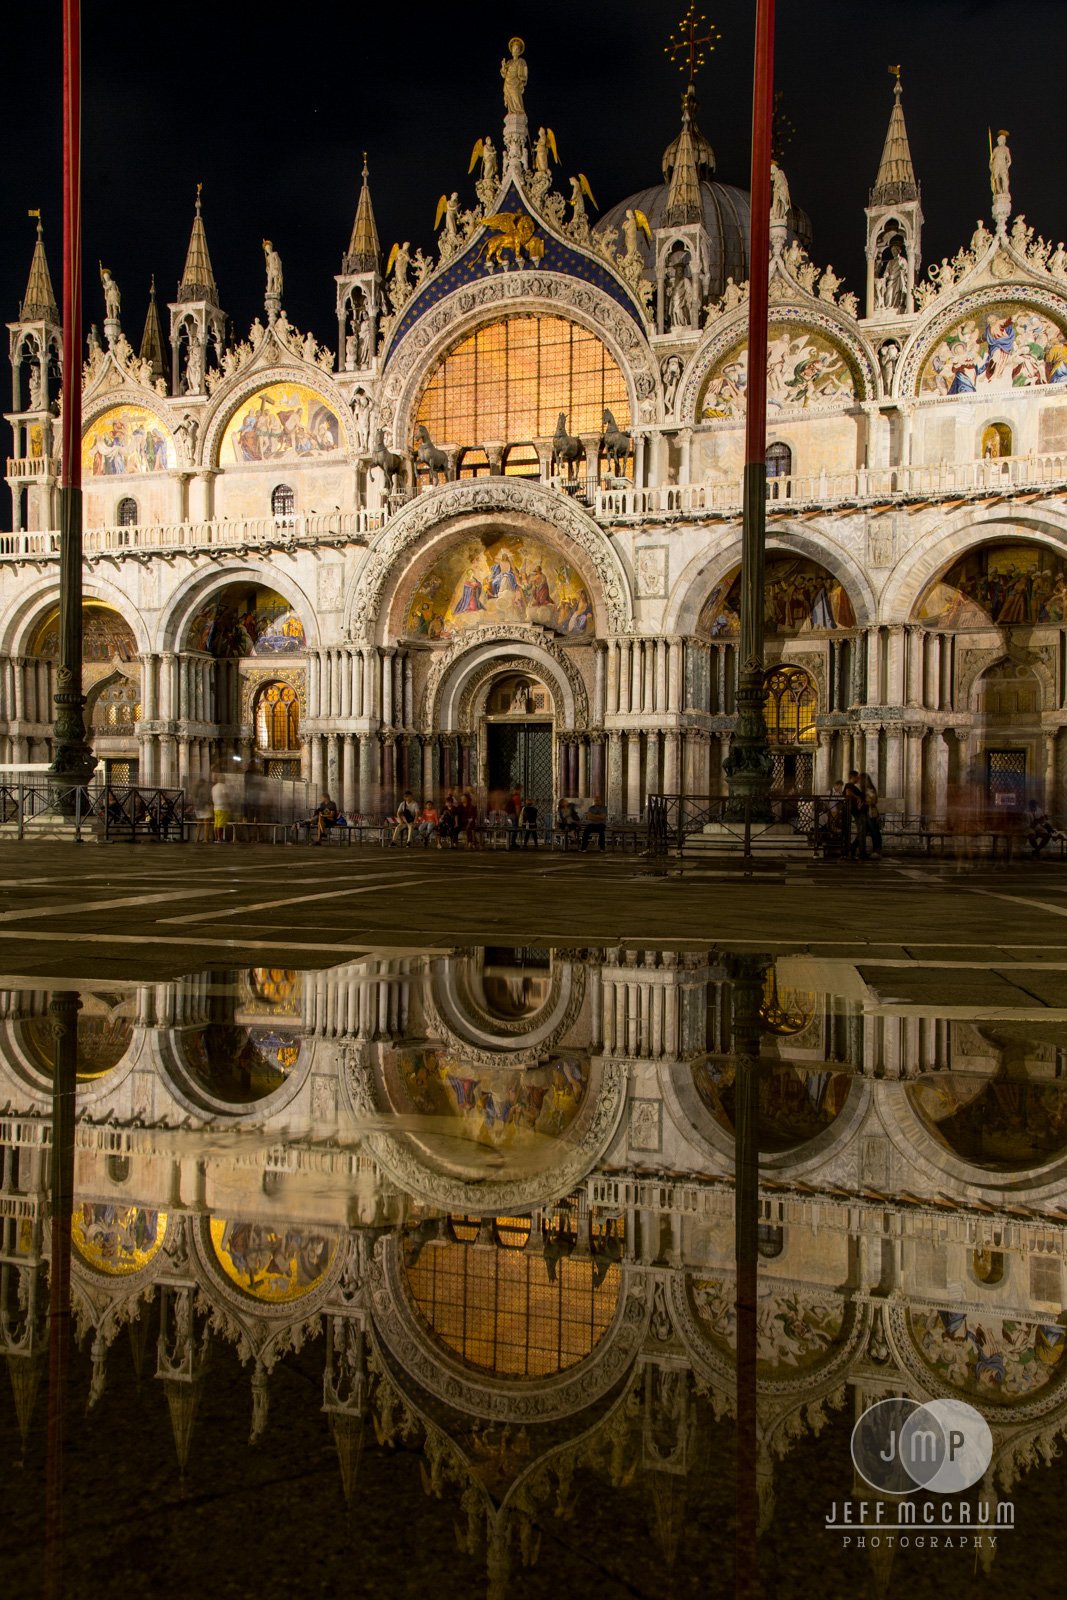
Shehab Hossain and I wrapped up our Venetial light painting workshop recently and while we we weren’t there to to shoot for ourselves we were able to take some of the educational moments and capture some of that magic. We felt like the people coming to this workshop also wanted opportunities to find their own personal magic and reserved the time between lunch and dinner for everyone to explore the city at their leisure.
First up: Venice from above! After arriving via water taxi we started our first Saturday evening on a rooftop above the Rialto bridge and worked into the evening captuing the existing light and light trails before finding a dark corner to create some light orbs with a light wand.
An early morning shoot at the basin and during our class time we checked the tide levels to discover that Piazza San Marco met our expectations of acqua alta during October and we took a break to get some crystal ball shots to play with those watery reflections. with some of the locals Later in the day we got back on schedule with light orbs and rainbow waves in the quieter Cannaregio neighborhood.
Mondays are always manic and starting at the busy Accademia bridge set the pace for the day. Classroom time was spent going into depth with some techniques and working with students to have them create orbs of their own. The evening started with an after hours trip with unbelivable views in the breathless Basilica San Marco. This is truly a remarkable space and the construction over hundreds of years is magnificent, if you are ever in Venice I would recommend.
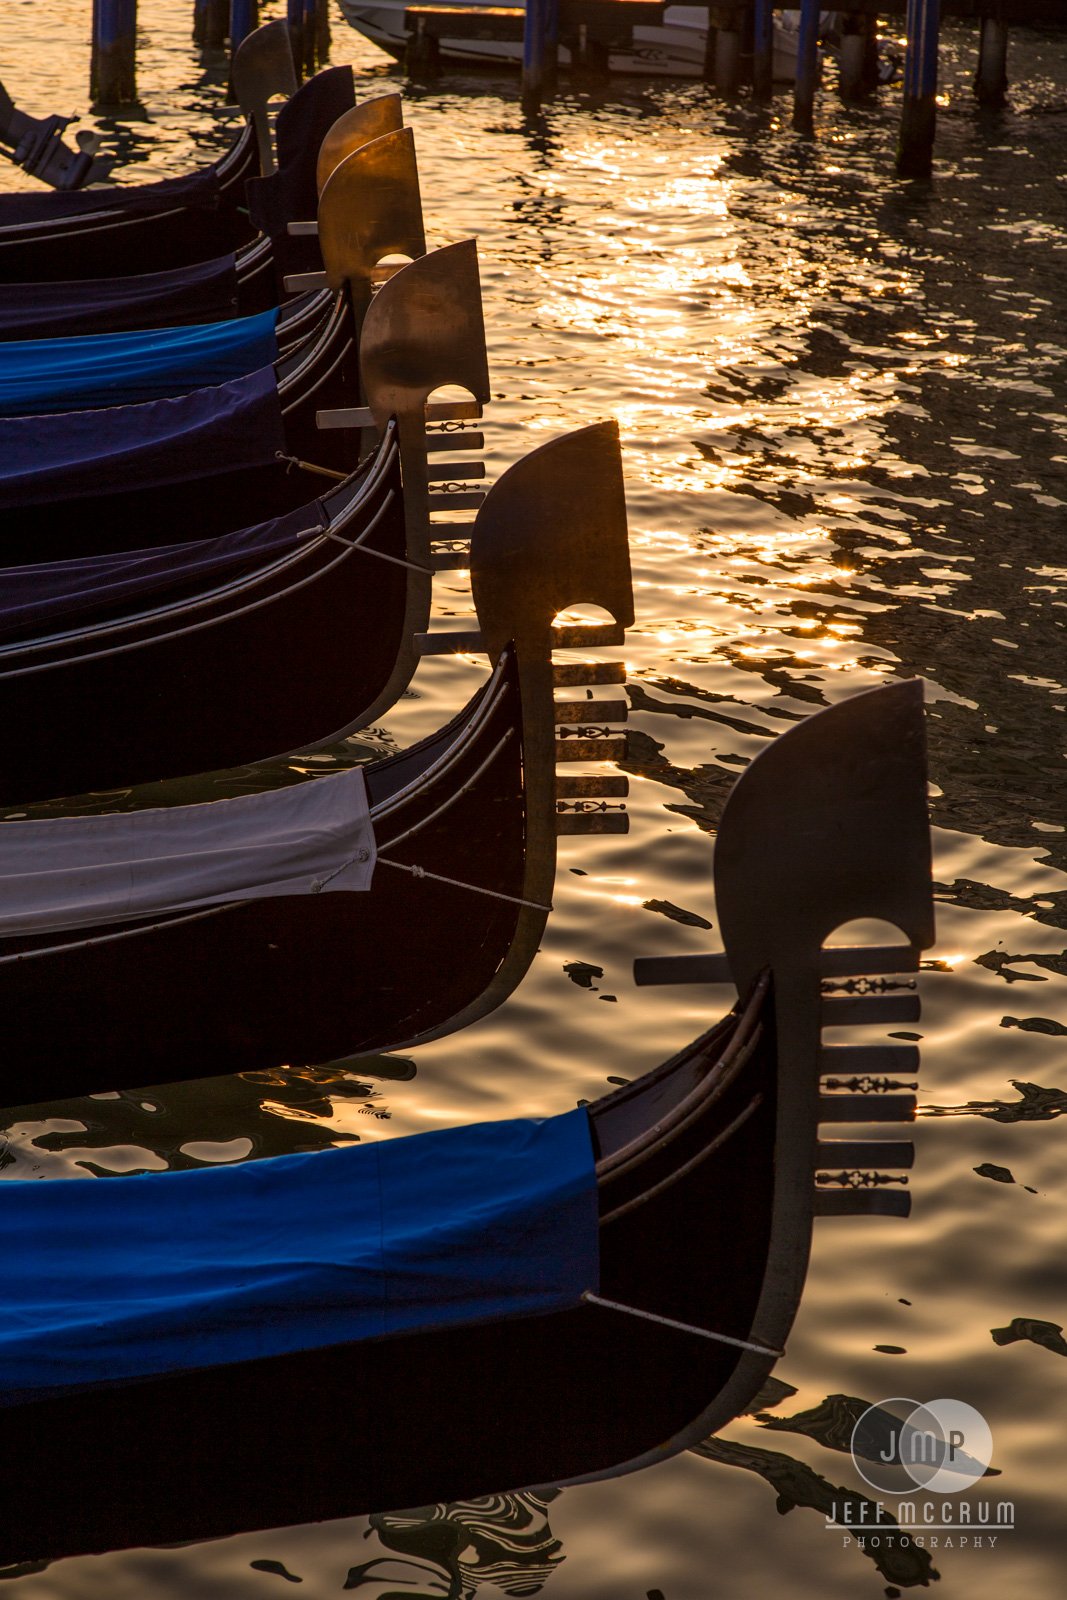
Afterward we came outside and continued into the later hours at a nearby basin filled with gondolas and wrapped up the day creating some little planets in the piazza with the towering buildings popping up from the horizon.
Everyone was hitting their stride after three amazing days and four fantastic nights and so we threw the students into the deep and gave them all the tools from our bags and set them loose into the Venetian night. More light orbs, rainbow light trails, and just taking time to talk through locations we were able to provide, hopefully, some great feedback and help through some of the specific tricky issues and questions.
I didn’t get as many photos as I wanted to this night as I was more often acting as the model or describing things in front of the camera.
Our last day in town the weather caught up with us and it was rainier than expected and we all agreed the night before to skip the morning shoot due to the lack of sun. Some people hopped a train to the mainland for a winery tour where it was a bit drier, and we all met up to have dinner together before going out to dodge the storms as best as possible.
Shehab and I ended up getting very few shots that night because we were so busy helping and demonstrating techniques. We worked on helping people create their own light orbs and brought out some light stencils to explore layering those in the field. It helped to have a laptop along to quickly show some of the options available and the creative ideas once can create in post.
Overall, this workshop was a delight, exactly what we thought it would be: an incredible opportunity to demonstrate a variety of light painting techniques in a staggeringly beautiful location. October turned out to be a great time to visit, much less crowded than the summer and certainly less hot. The high tides worked well to bring some reflections to San Marco for the acqua alta but they weren’t too high to cause issues getting around. And the hotel was excellent both in location and services, the breakfast was superb and the elevator was exactly what was needed after the end of a long evening when a hike up the stairs was too much.
Would we do it again? Absolutely, it was the perfect location to get amazing reflections from light painting and to have the opportunity to steep ourselves in that history was astonishing. We’d love to do some smaller, more localized workshops both around New York and Boston so add your email below to hear about upcoming events!
Ulanzi and Lulxi light panel shootout
I have had a few conversations with people recently about Luxli Fiddles being discontinued. Apparently they have been out of stock for a few weeks now and there doesn’t seem to be any indication as to when they might be available.
So I asked around to see what others were using and one name that kept coming up was Ulanzi, which is a Chinese manufacturer of a variety of photography elements, mostly centering around smartphone and mobile content creators. Their product line includes travel tripods, mounts, cages, stabilizers, and some lightweight LED lighting options. These lighting options include ring lights, small stand lights, and on-camera panels, the latter of which I was interested in as an alternative to the Luxli panels.
I ordered the $30 VL49 Pro and the $40 LT002 7” RGB video light. The former is a square format about 2 1/2” in either direction on the face and slightly thicker than 1”, the latter is 3” by 5 1/2” and less than 3/4” thick. The exterior is all plastic with a built-in white plastic diffuser covering the entirety, for a very elegant look. Both units have a 1/4”-20 thread on the bottom for tripod attachment and a USB-C receptacle (the VL49 is on the side and the 7” RGB is on the bottom). There are magnets on the back on both and the VL49 also has them on the top and sides.
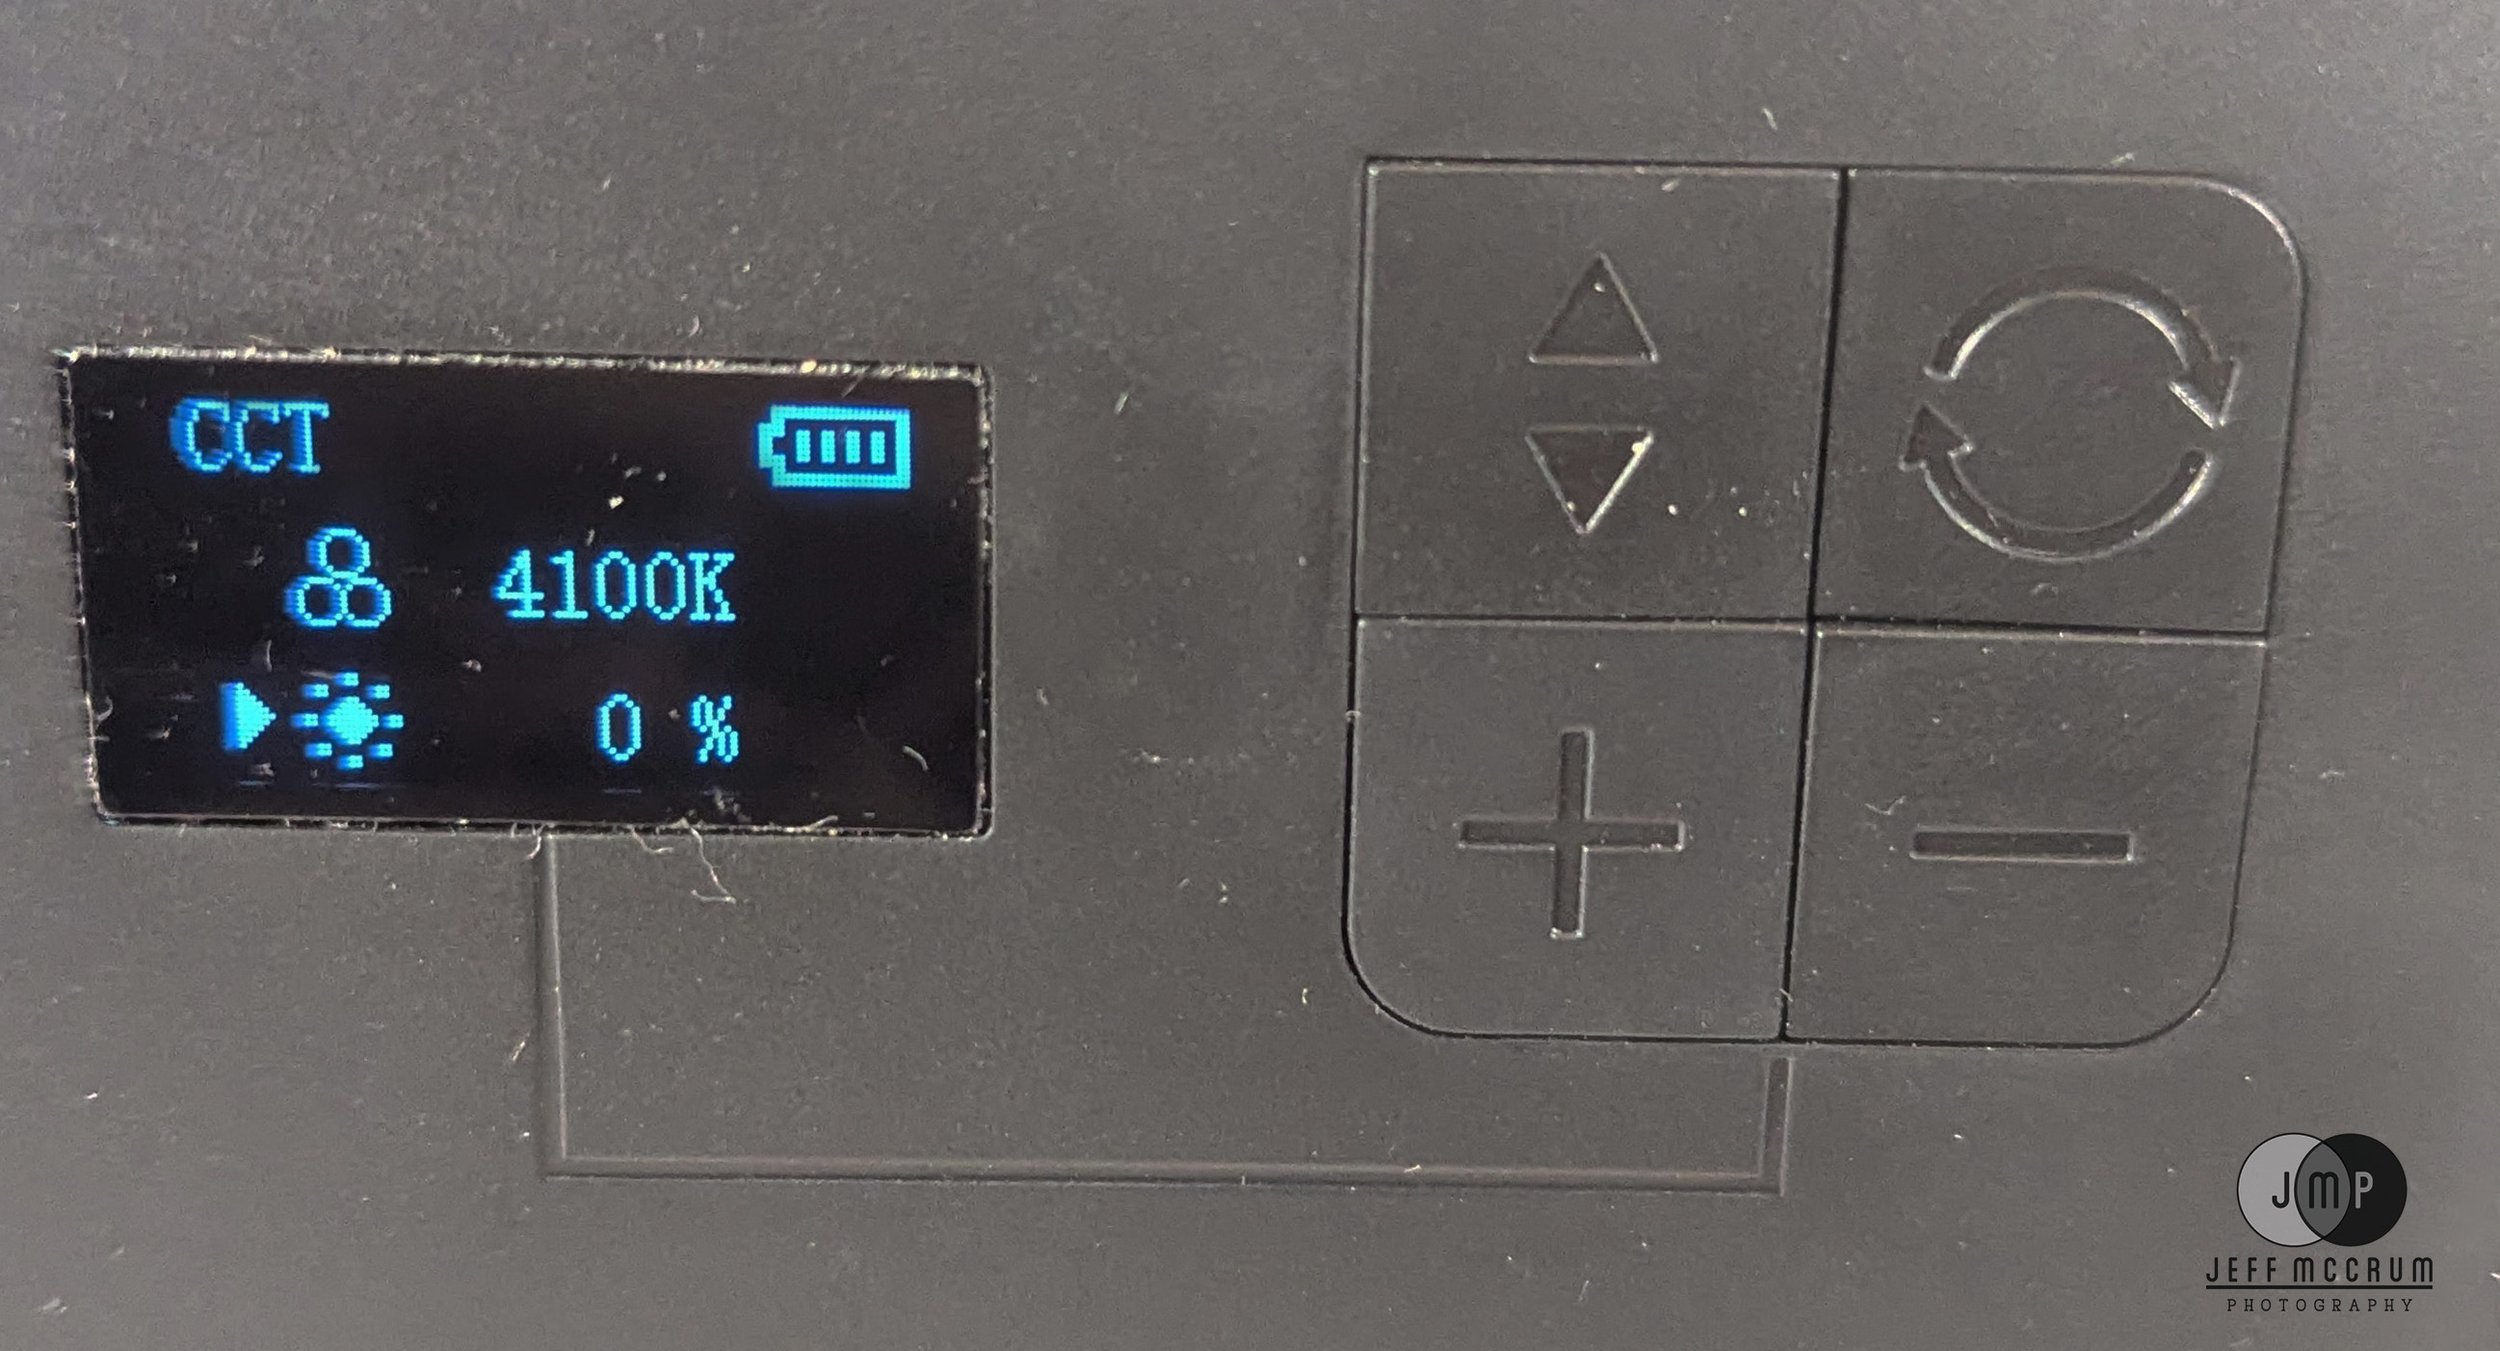
Power is via a switch on the side and fixture controls are via four buttons on the back: mode control, menu control, up and down. Mode control switches between variable white, variable color, and preprogrammed scenes, menu control changes what menu functionality you are changing (color temperature or intensity), and up and down increase or decrease the setting (take the color temperature up, for example). A small, rectangular, monochrome 1” LCD shows the current mode, setting, and fixture intensity.
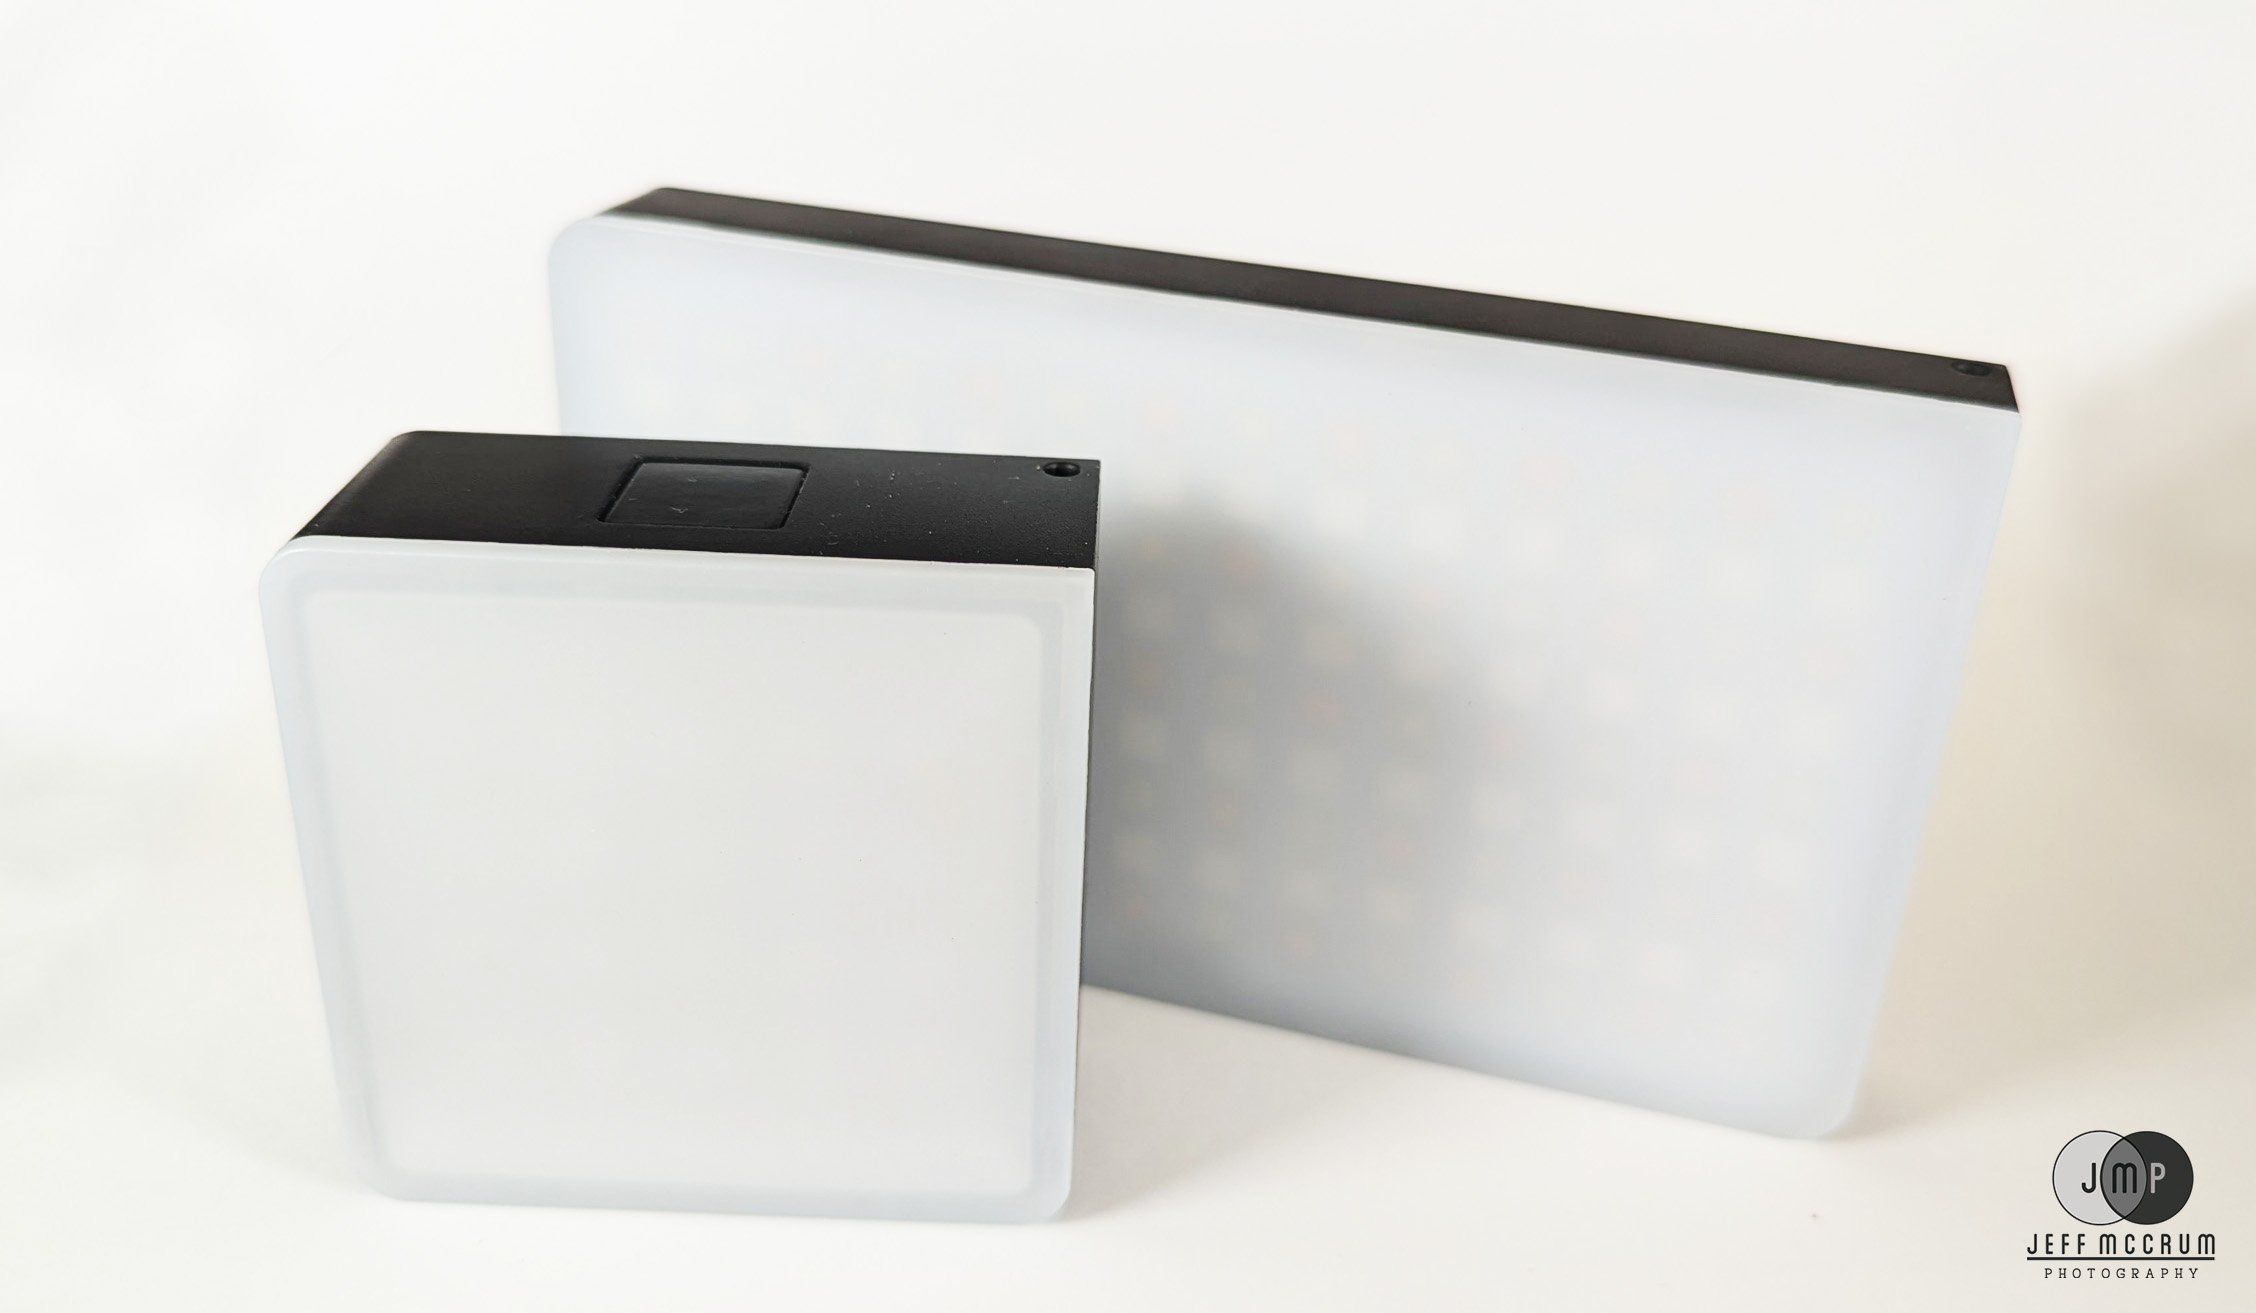
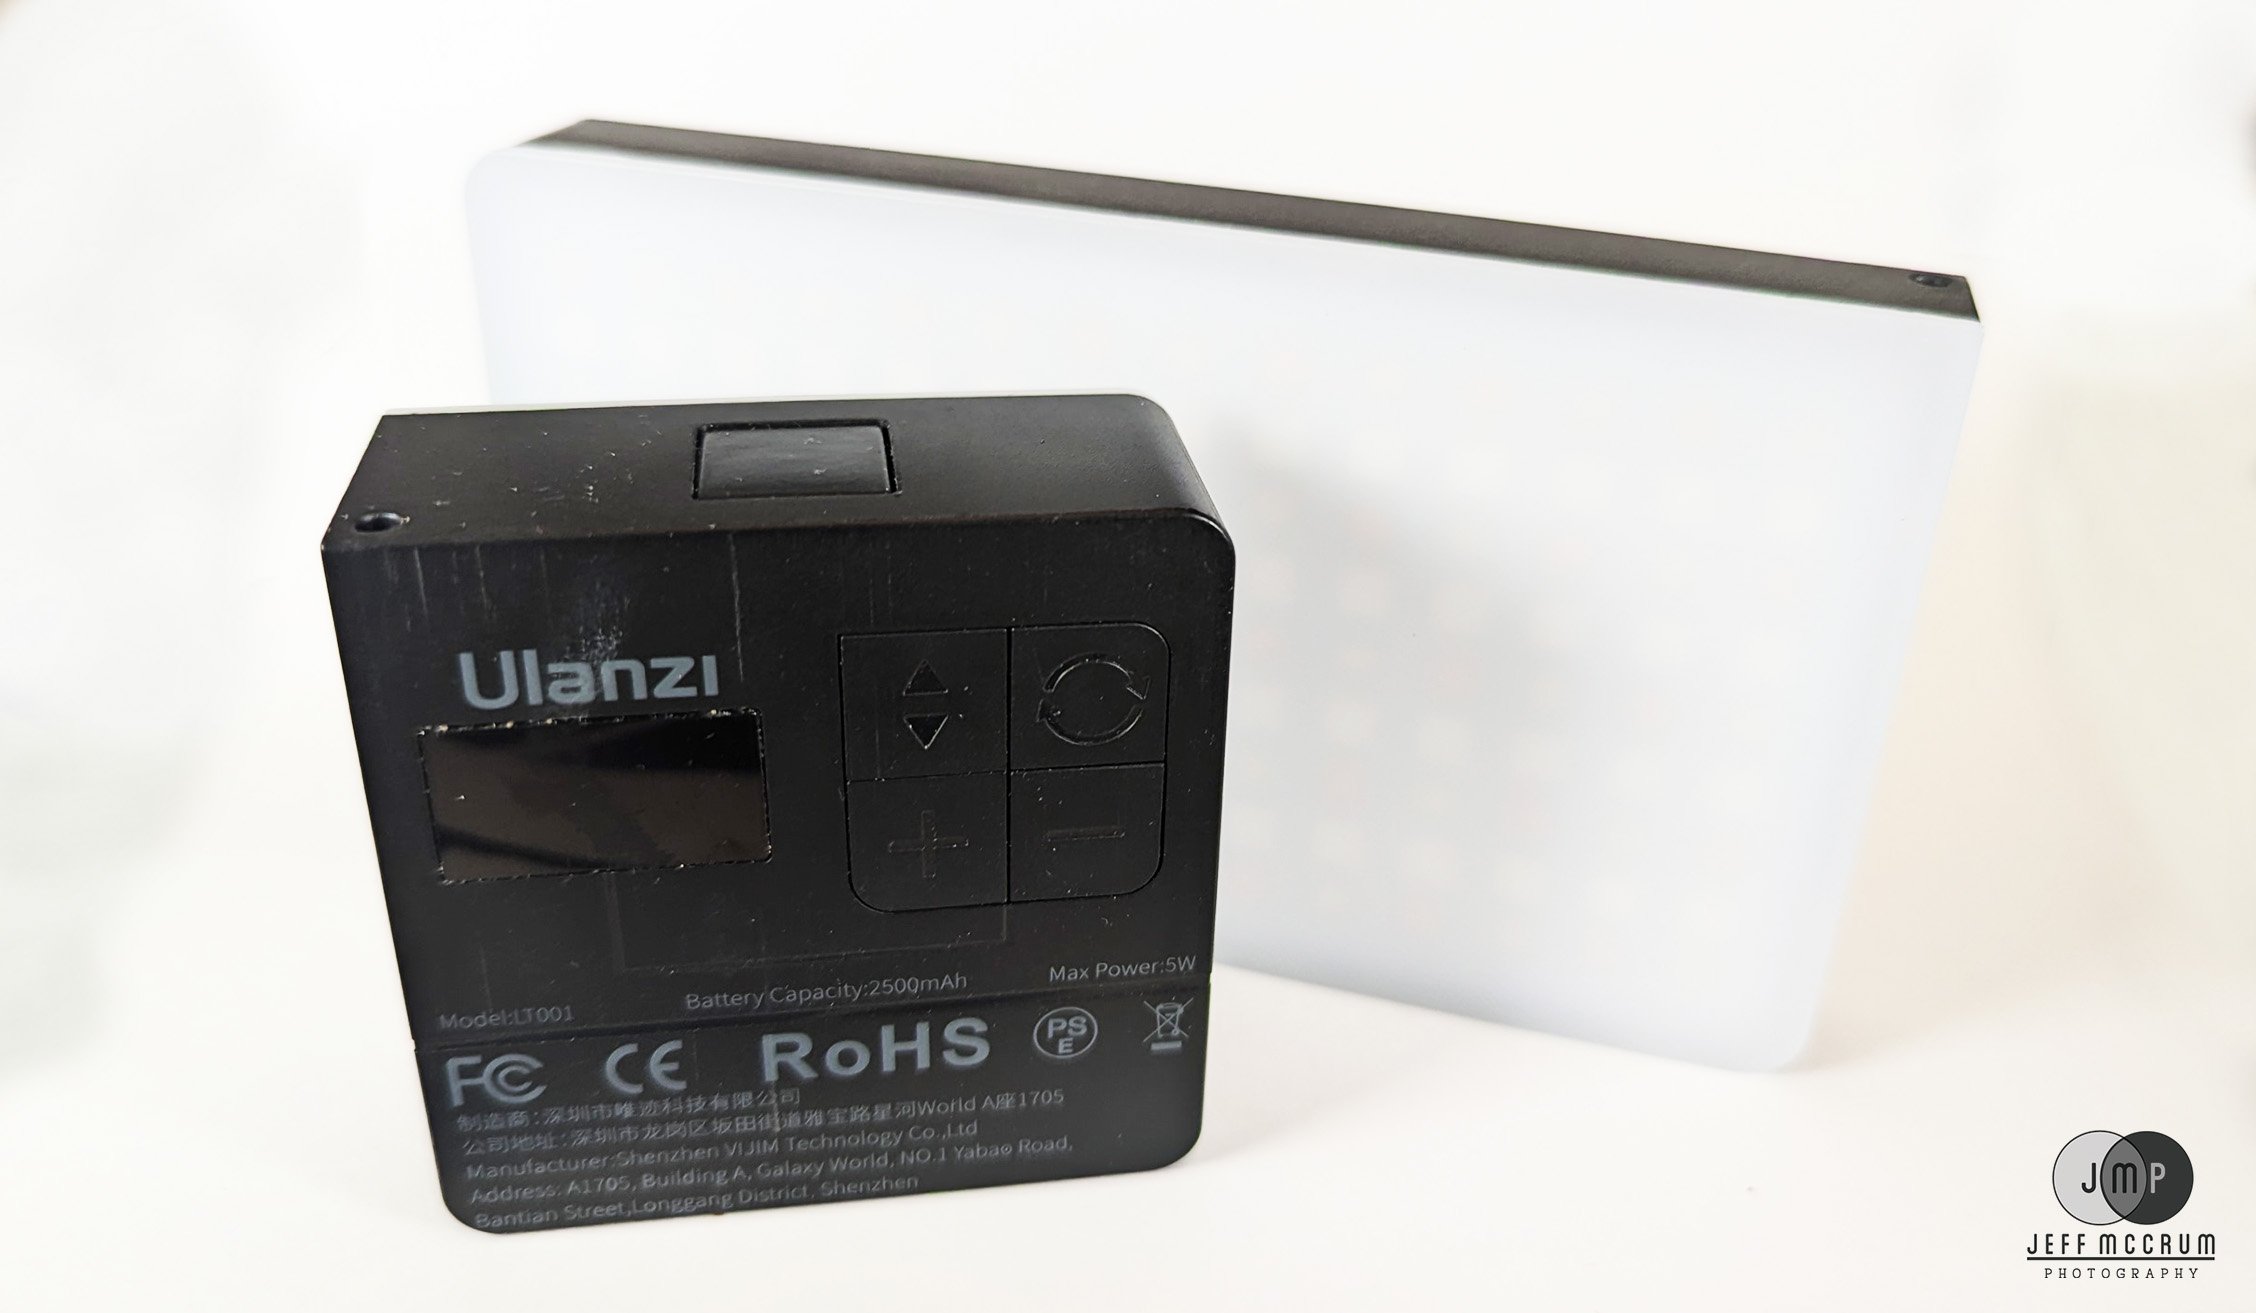
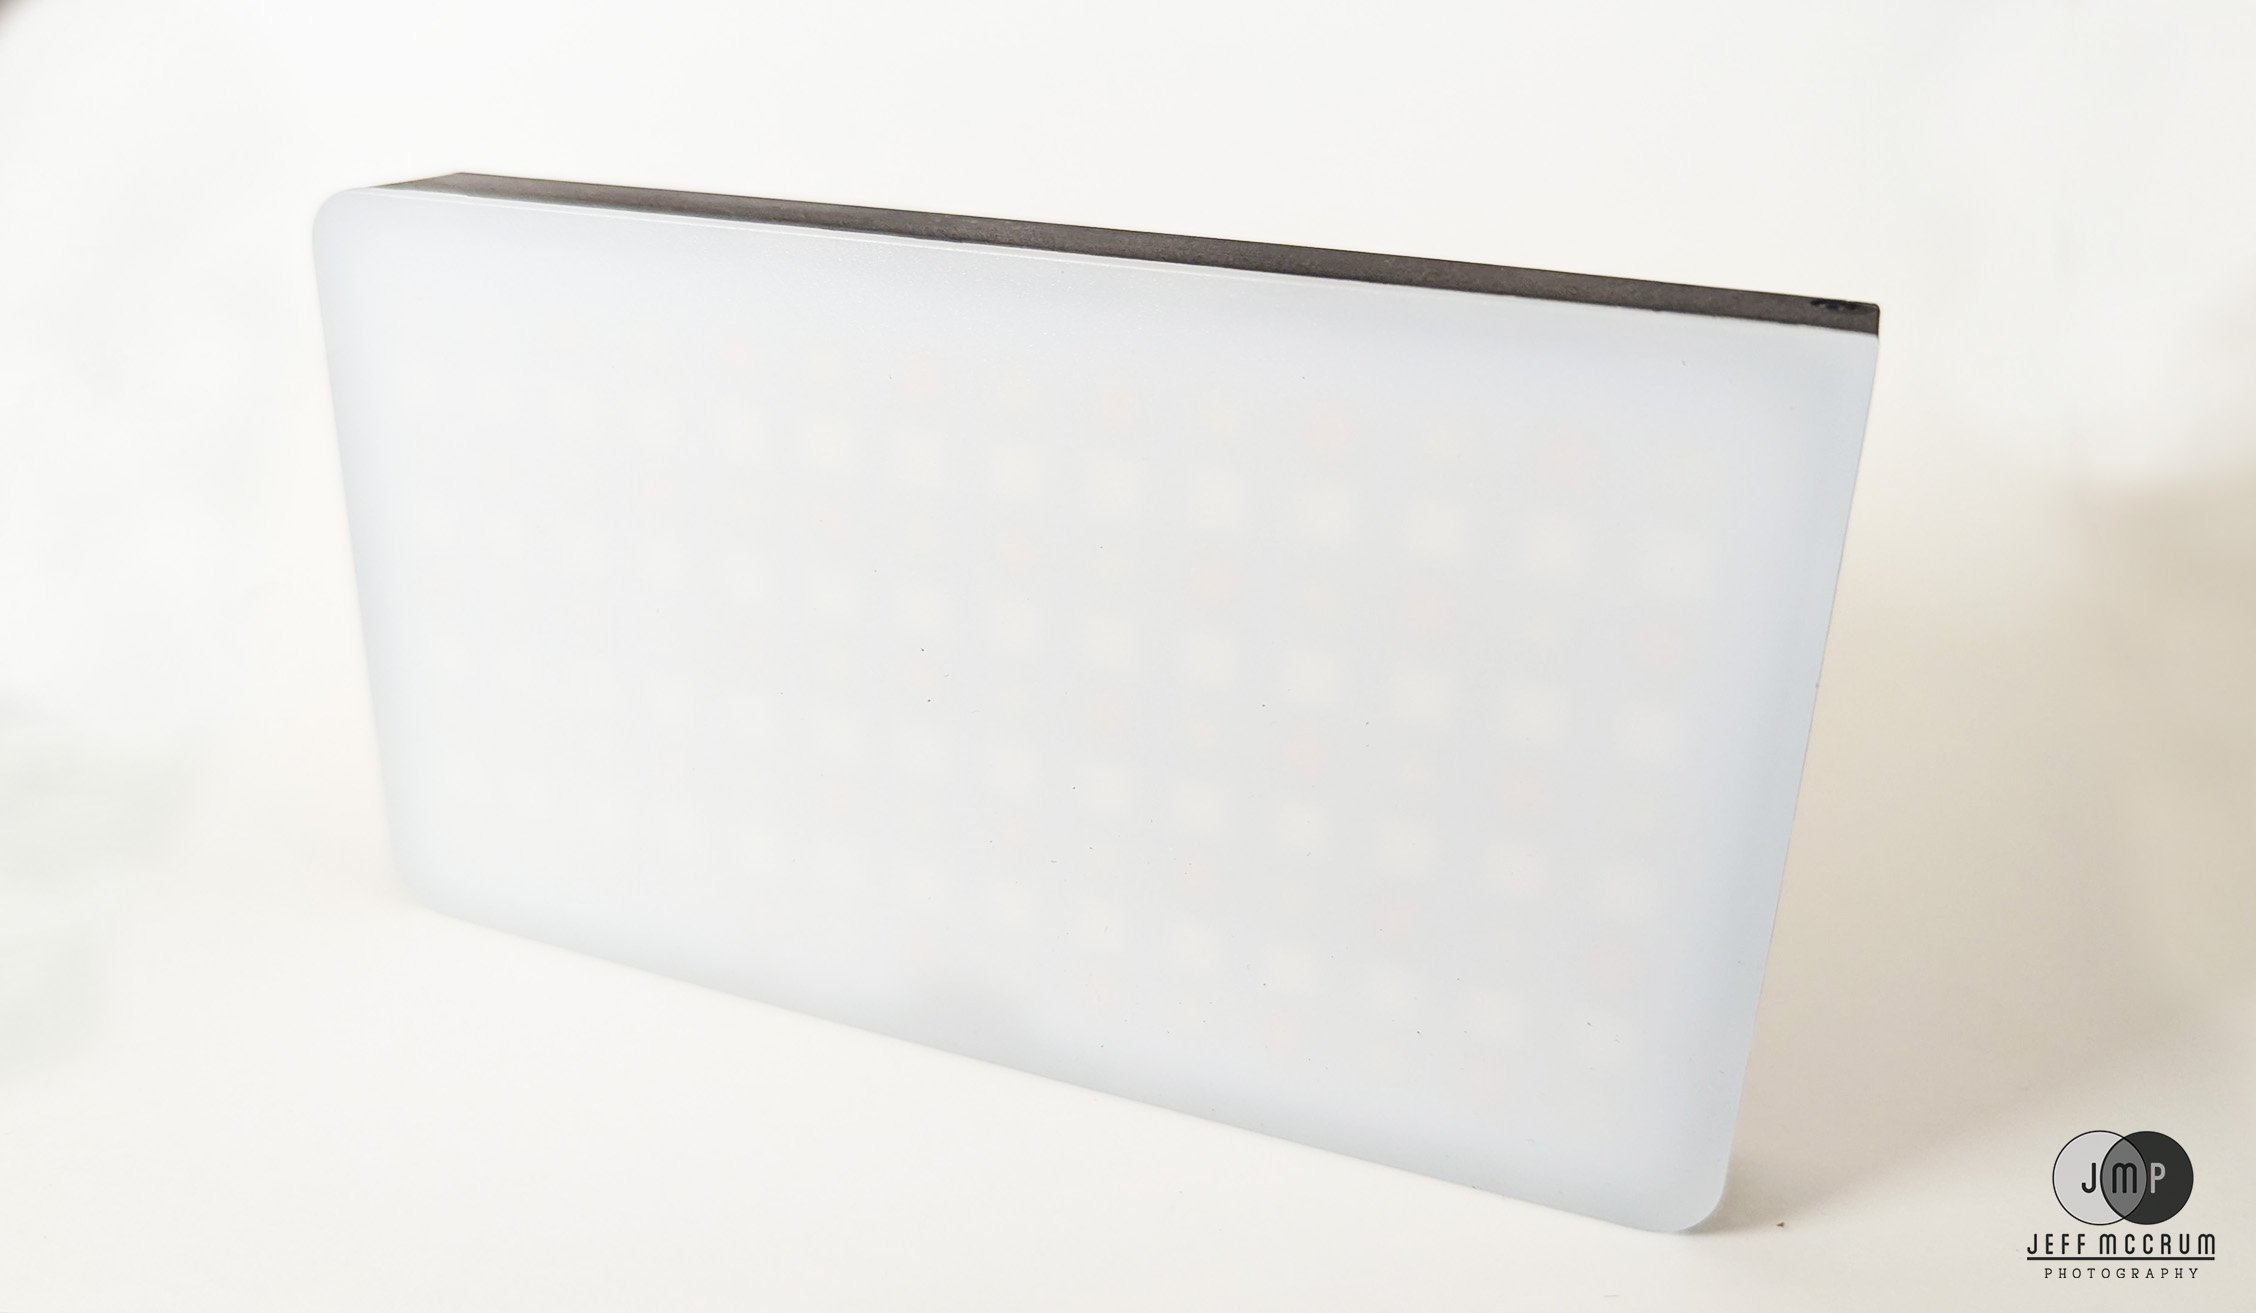
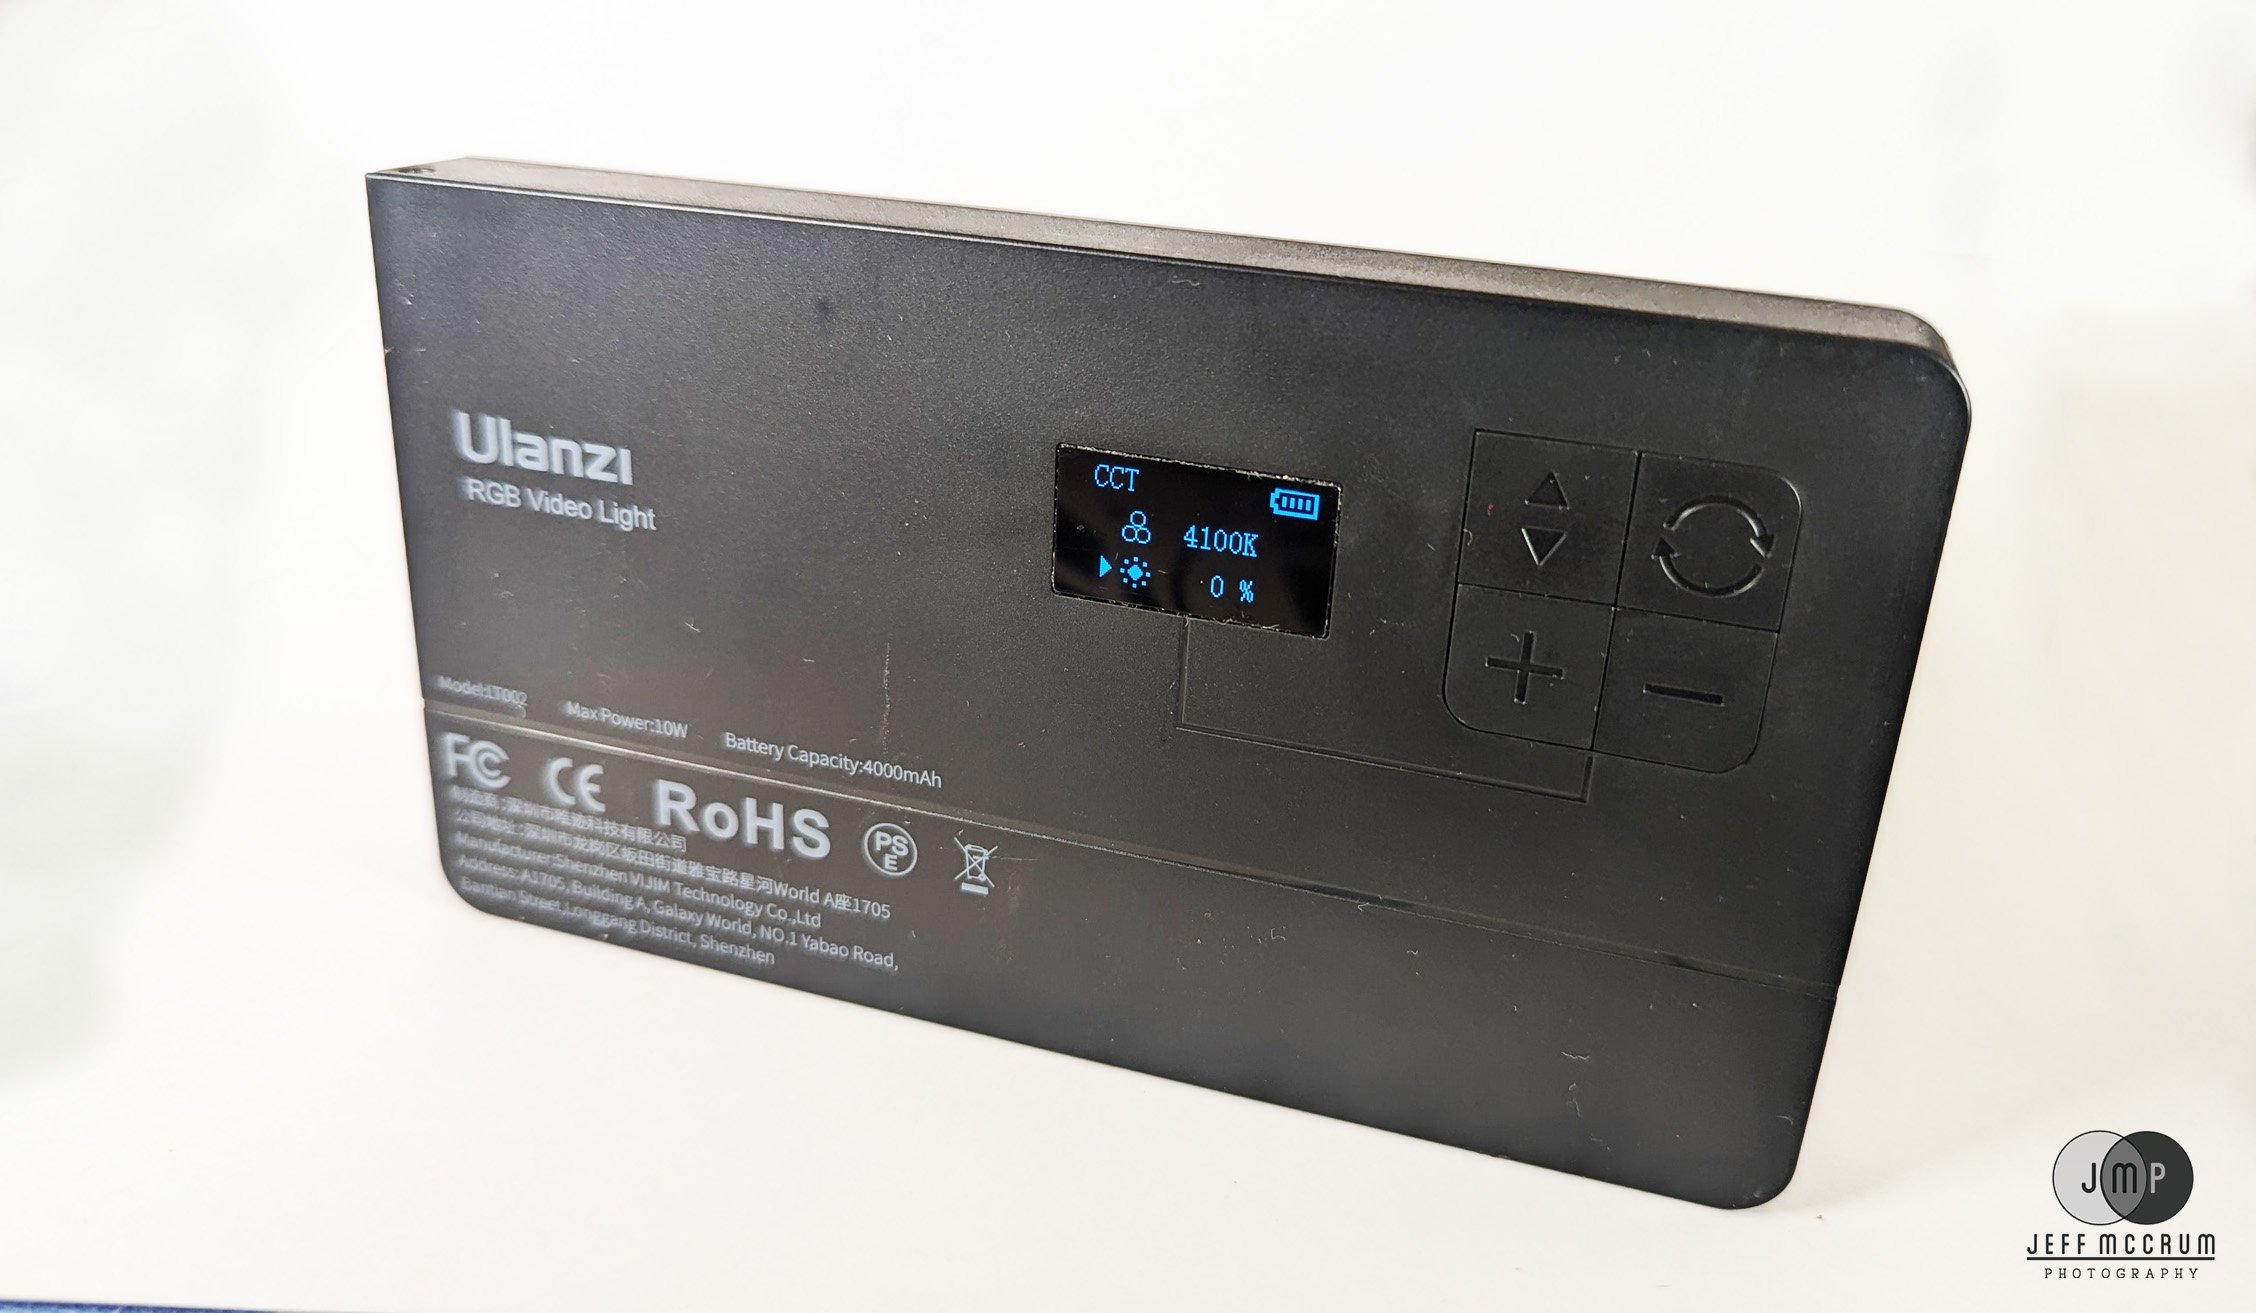
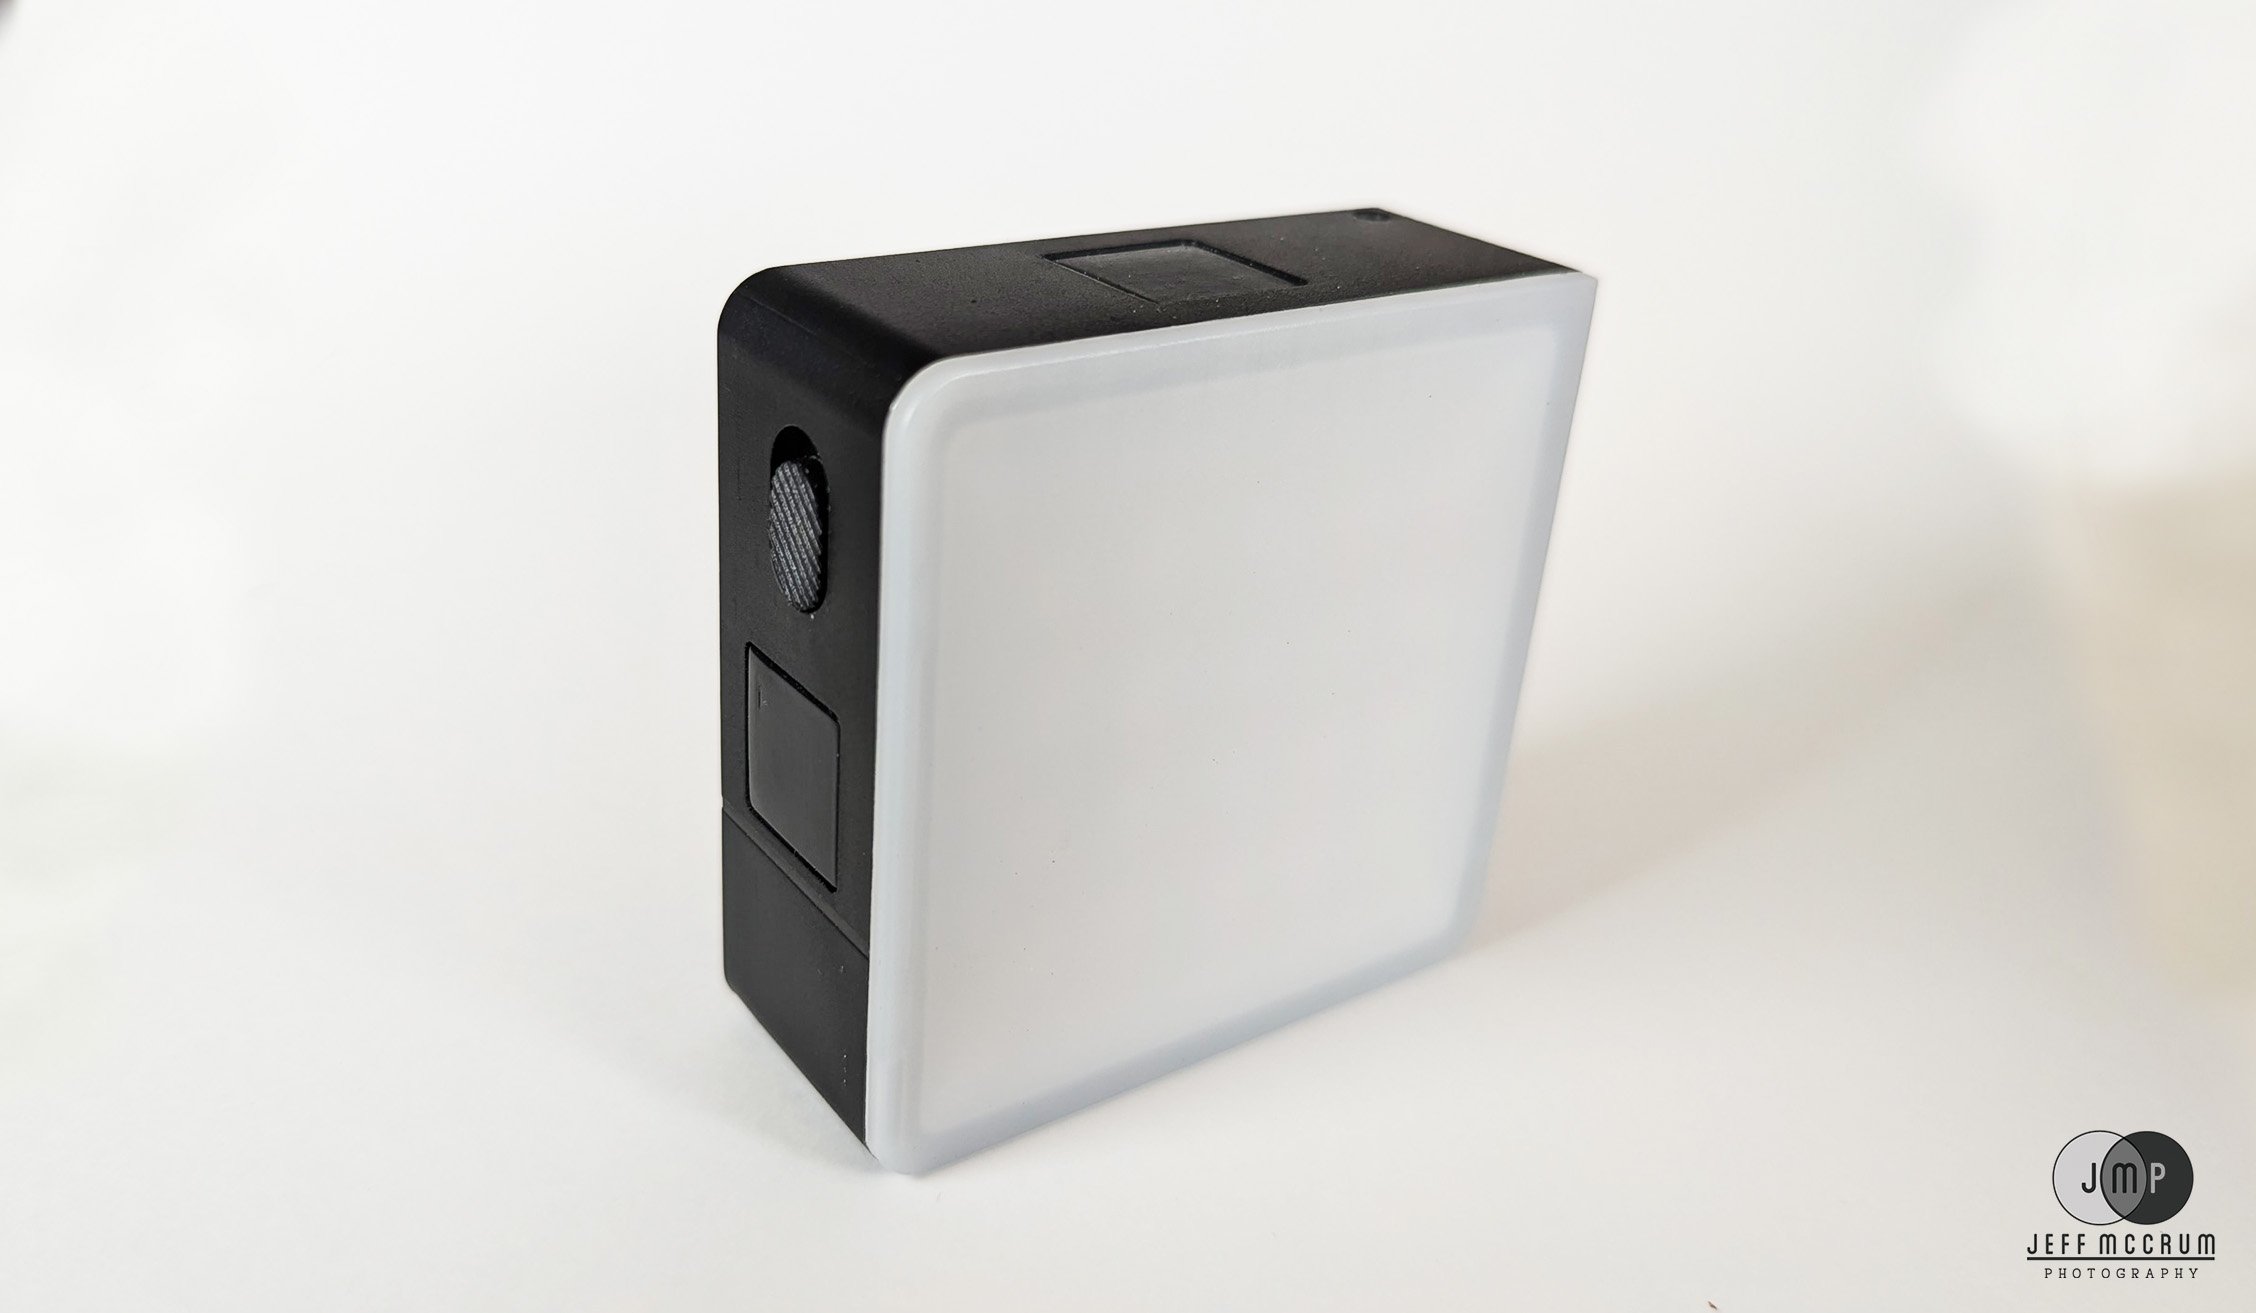
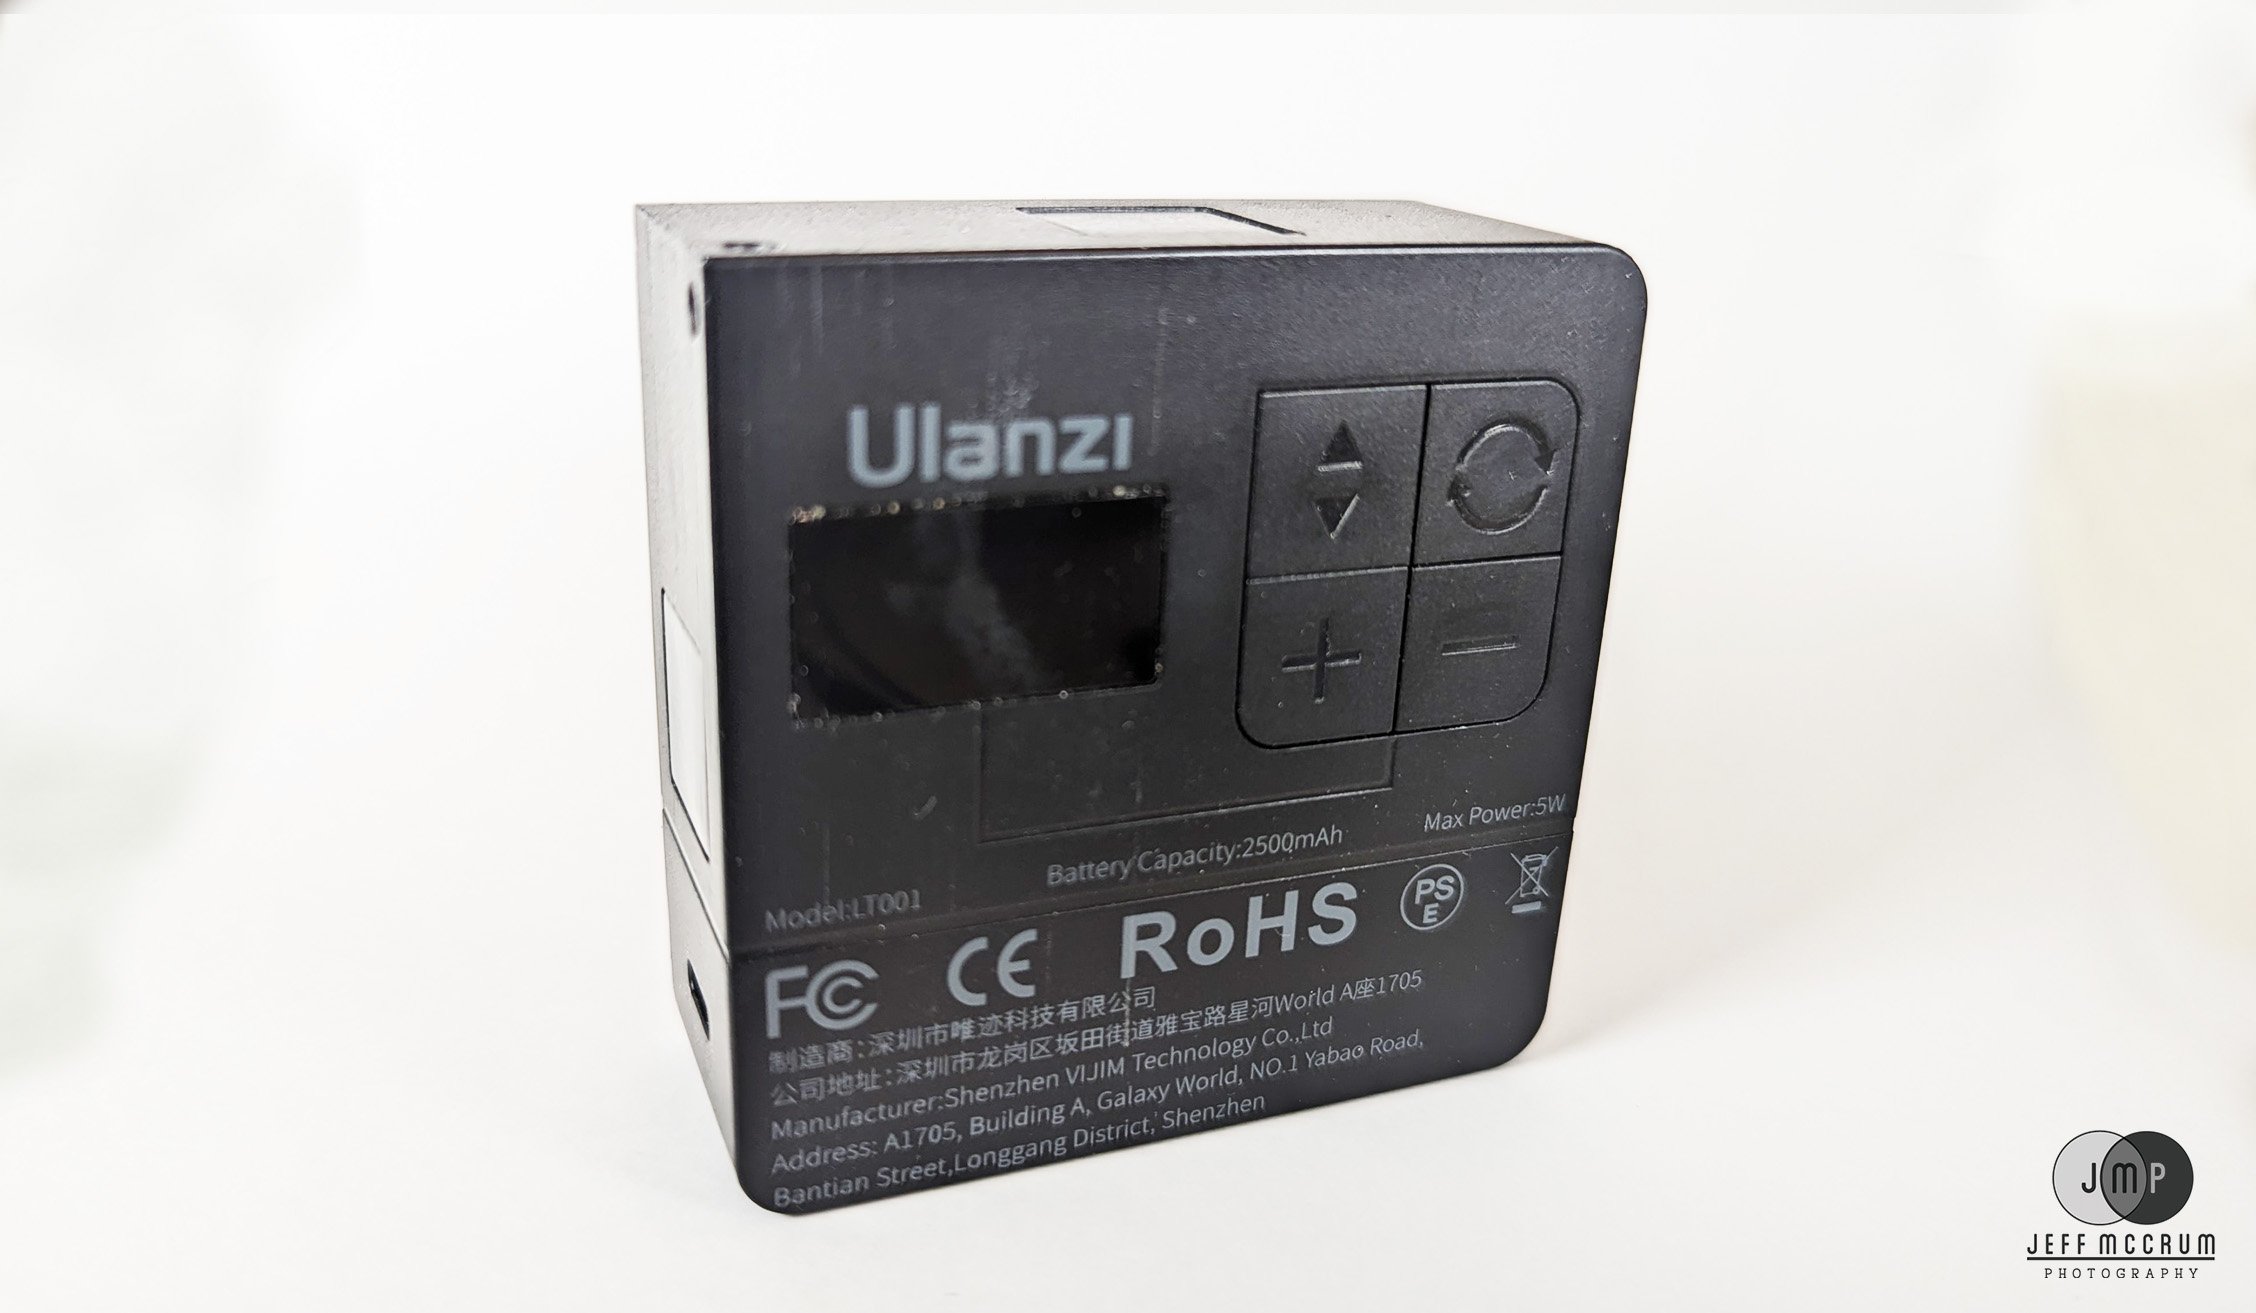
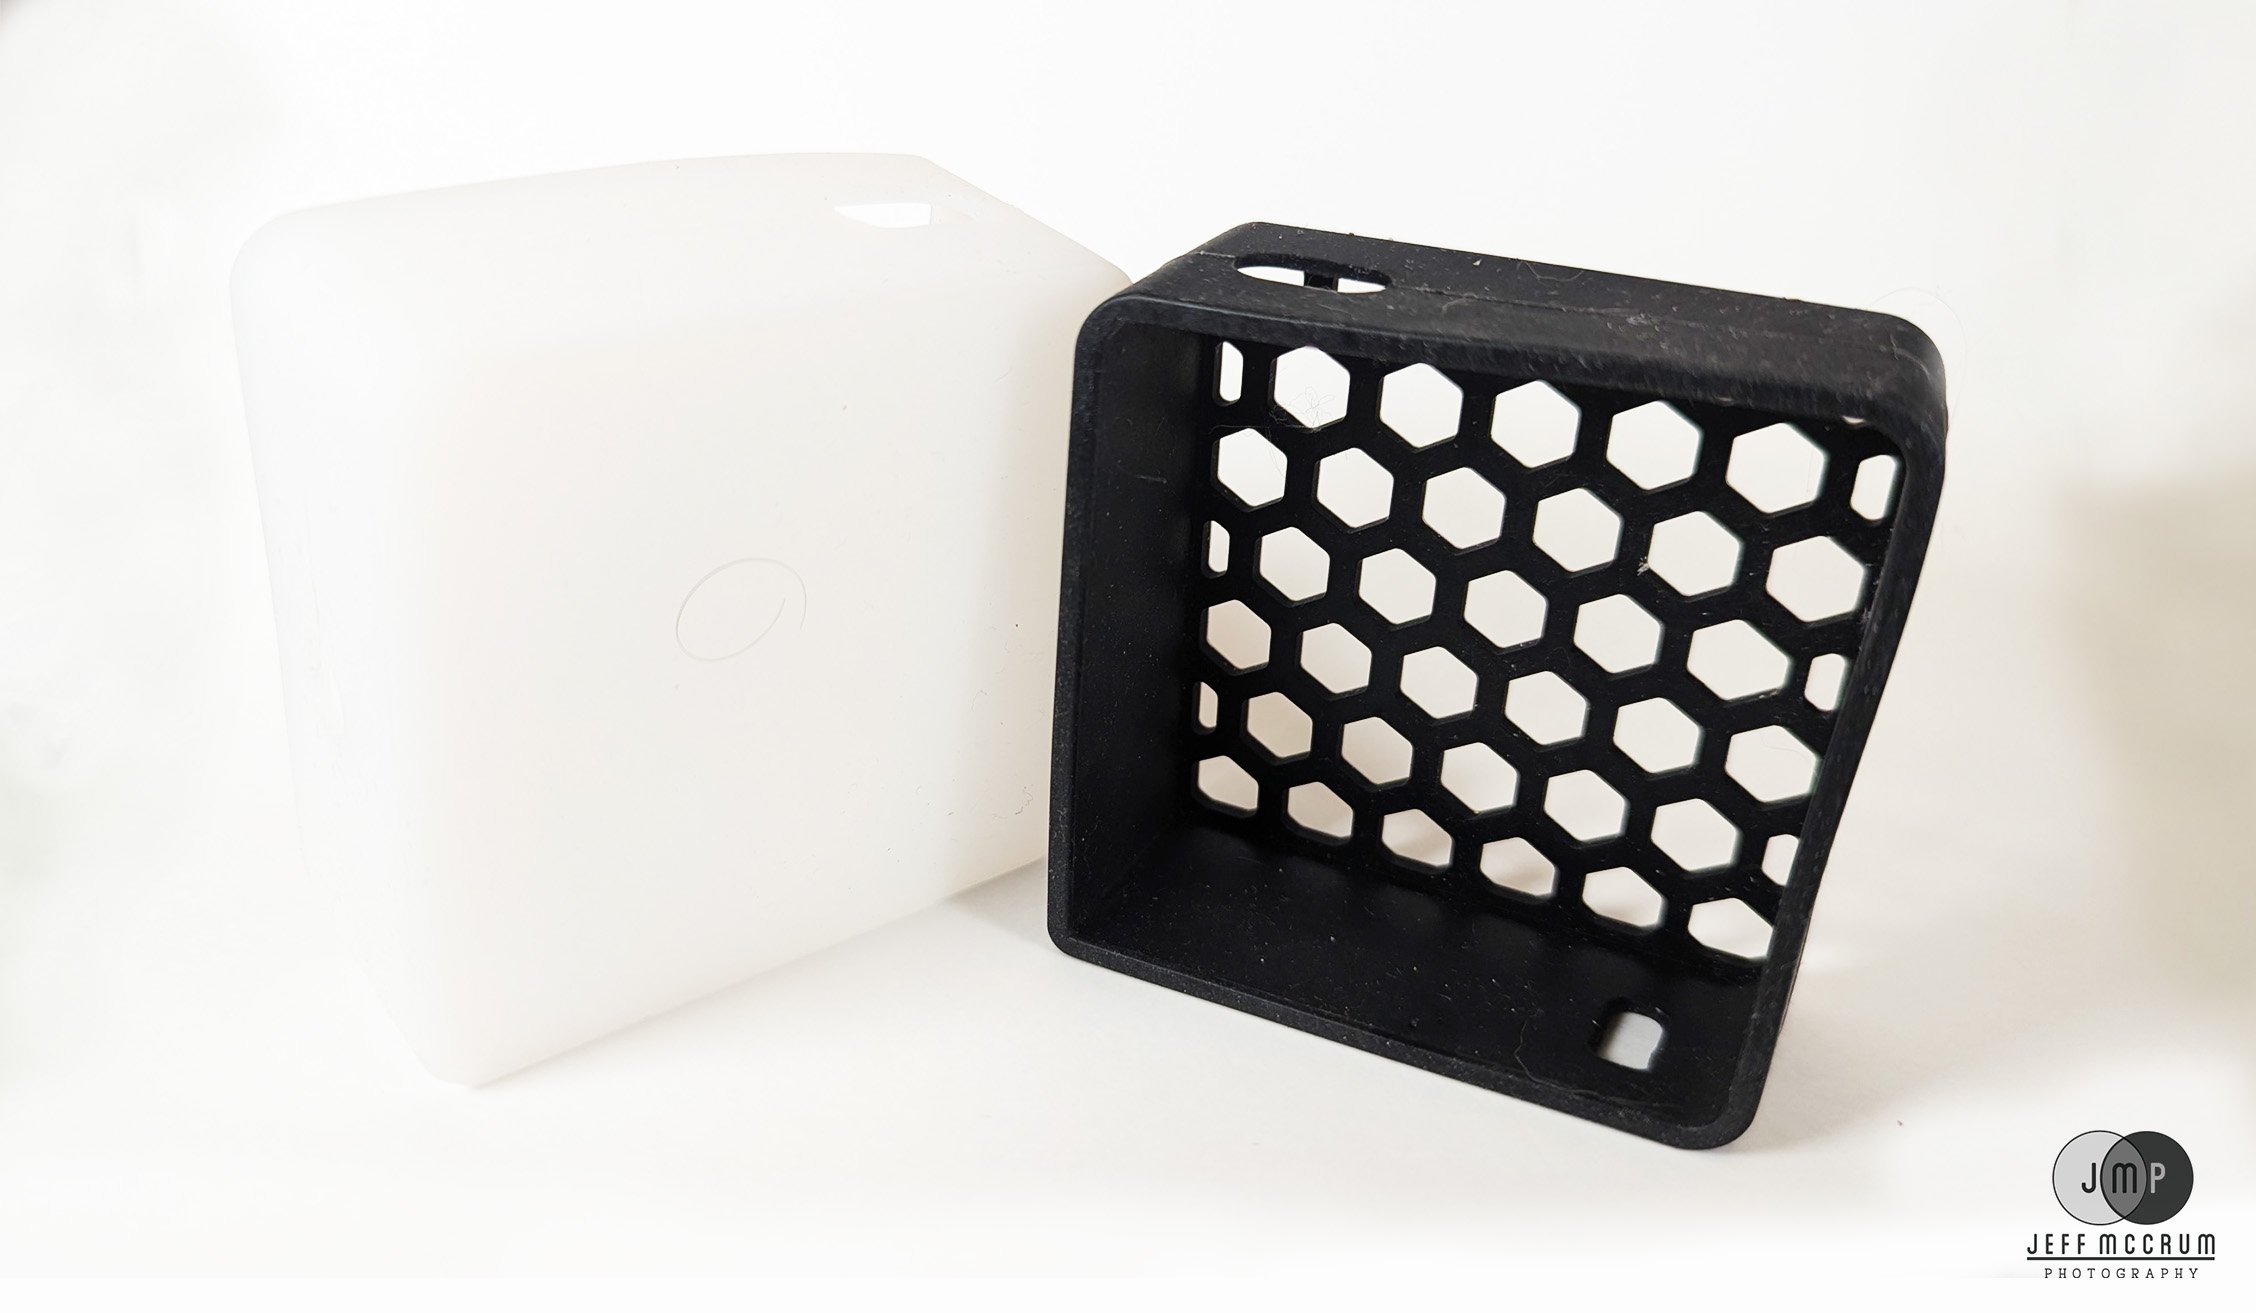
Functionality is the same on both fixtures and I suspect they are using the same chipset on both units. Settings include variable white from 2500-9000K, RGB color (adjustable Hue from 0-360 degrees and saturation from 0-100), along with 20 creative light scenes that essentially flash the fixture in different configurations like emergency vehicles, flame flickering, and rainbow chases. All of these are adjustable in brightness from 0 to 100. Accessories in the box include a white silicone diffuser, black silicone hexcell louver, power cable, and two small adhesive metal panels that can be placed to allow magnetic attachment anywhere they will stick.
At 4100K the Luxli Fiddle is about 87 footcandles at 24” and the Ulanzi 7” is 26 footcandles (the VL49 Pro is 13 footcandles) at the same distance; this is mostly due to the Luxli using 18 watts and the Ulanzi’s 10 watts of power, but the built-in diffuser of the Ulanzi accounts for the remaining difference. However, the Ulanzi is much smoother as a wash unit as a result. The Luxli claims a 102 degree beam and the Ulanzi claims 120 degrees but the reality on the Ulanzi is closer to a 180 degree beam. The included hexcell grid for Ulanzi is something I would recommend for typical use in order to have some level of control, but the light loss will be significant, about halving the intensity.
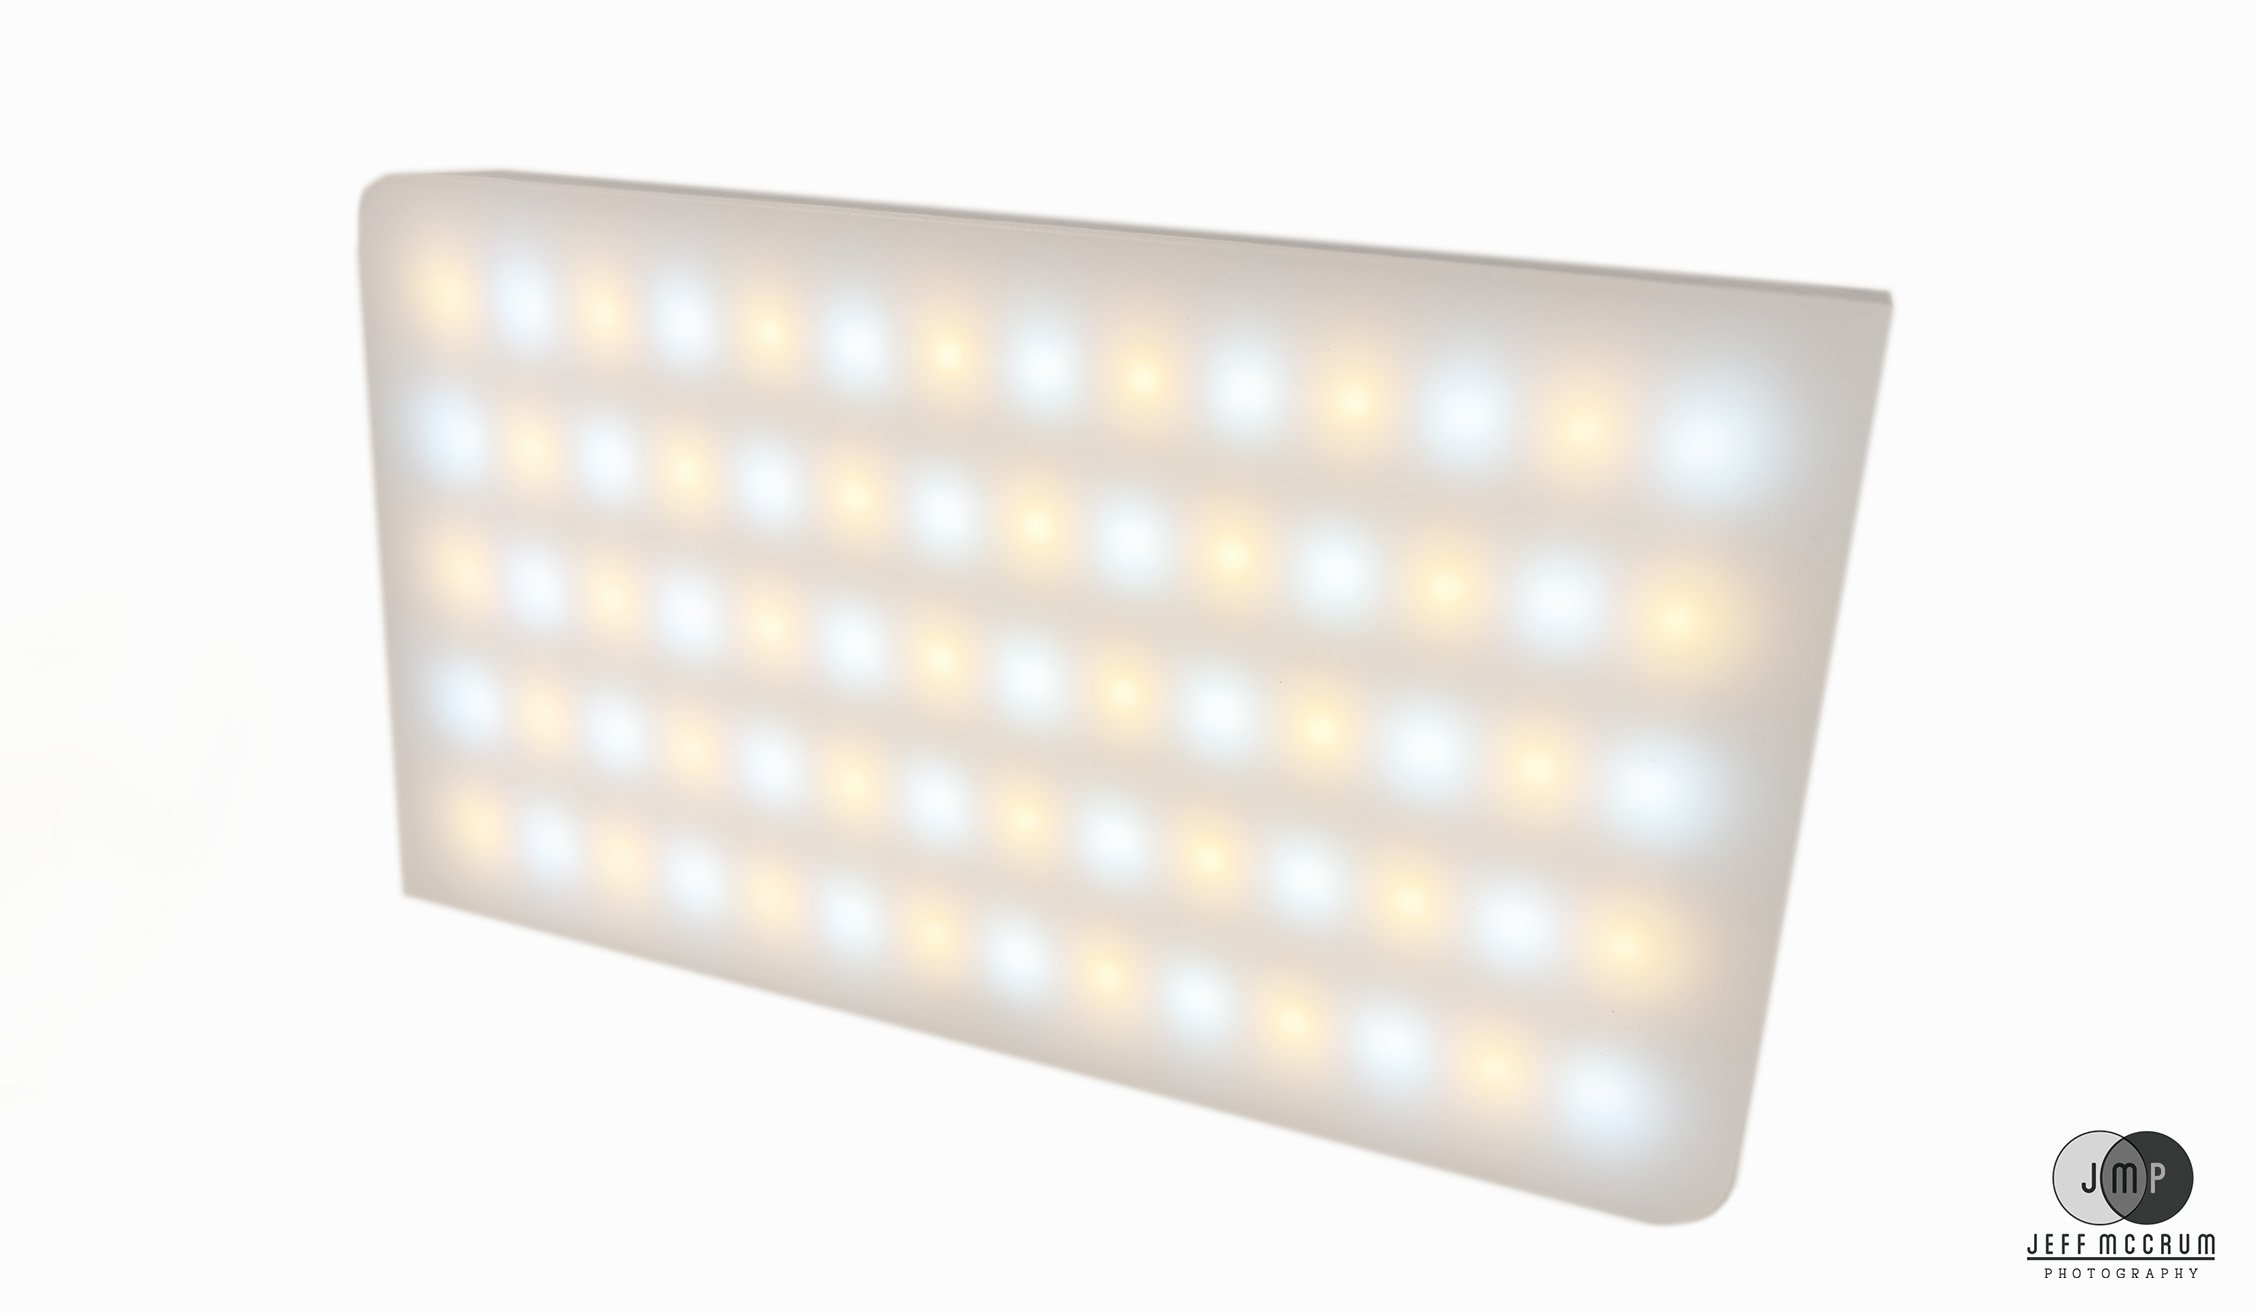
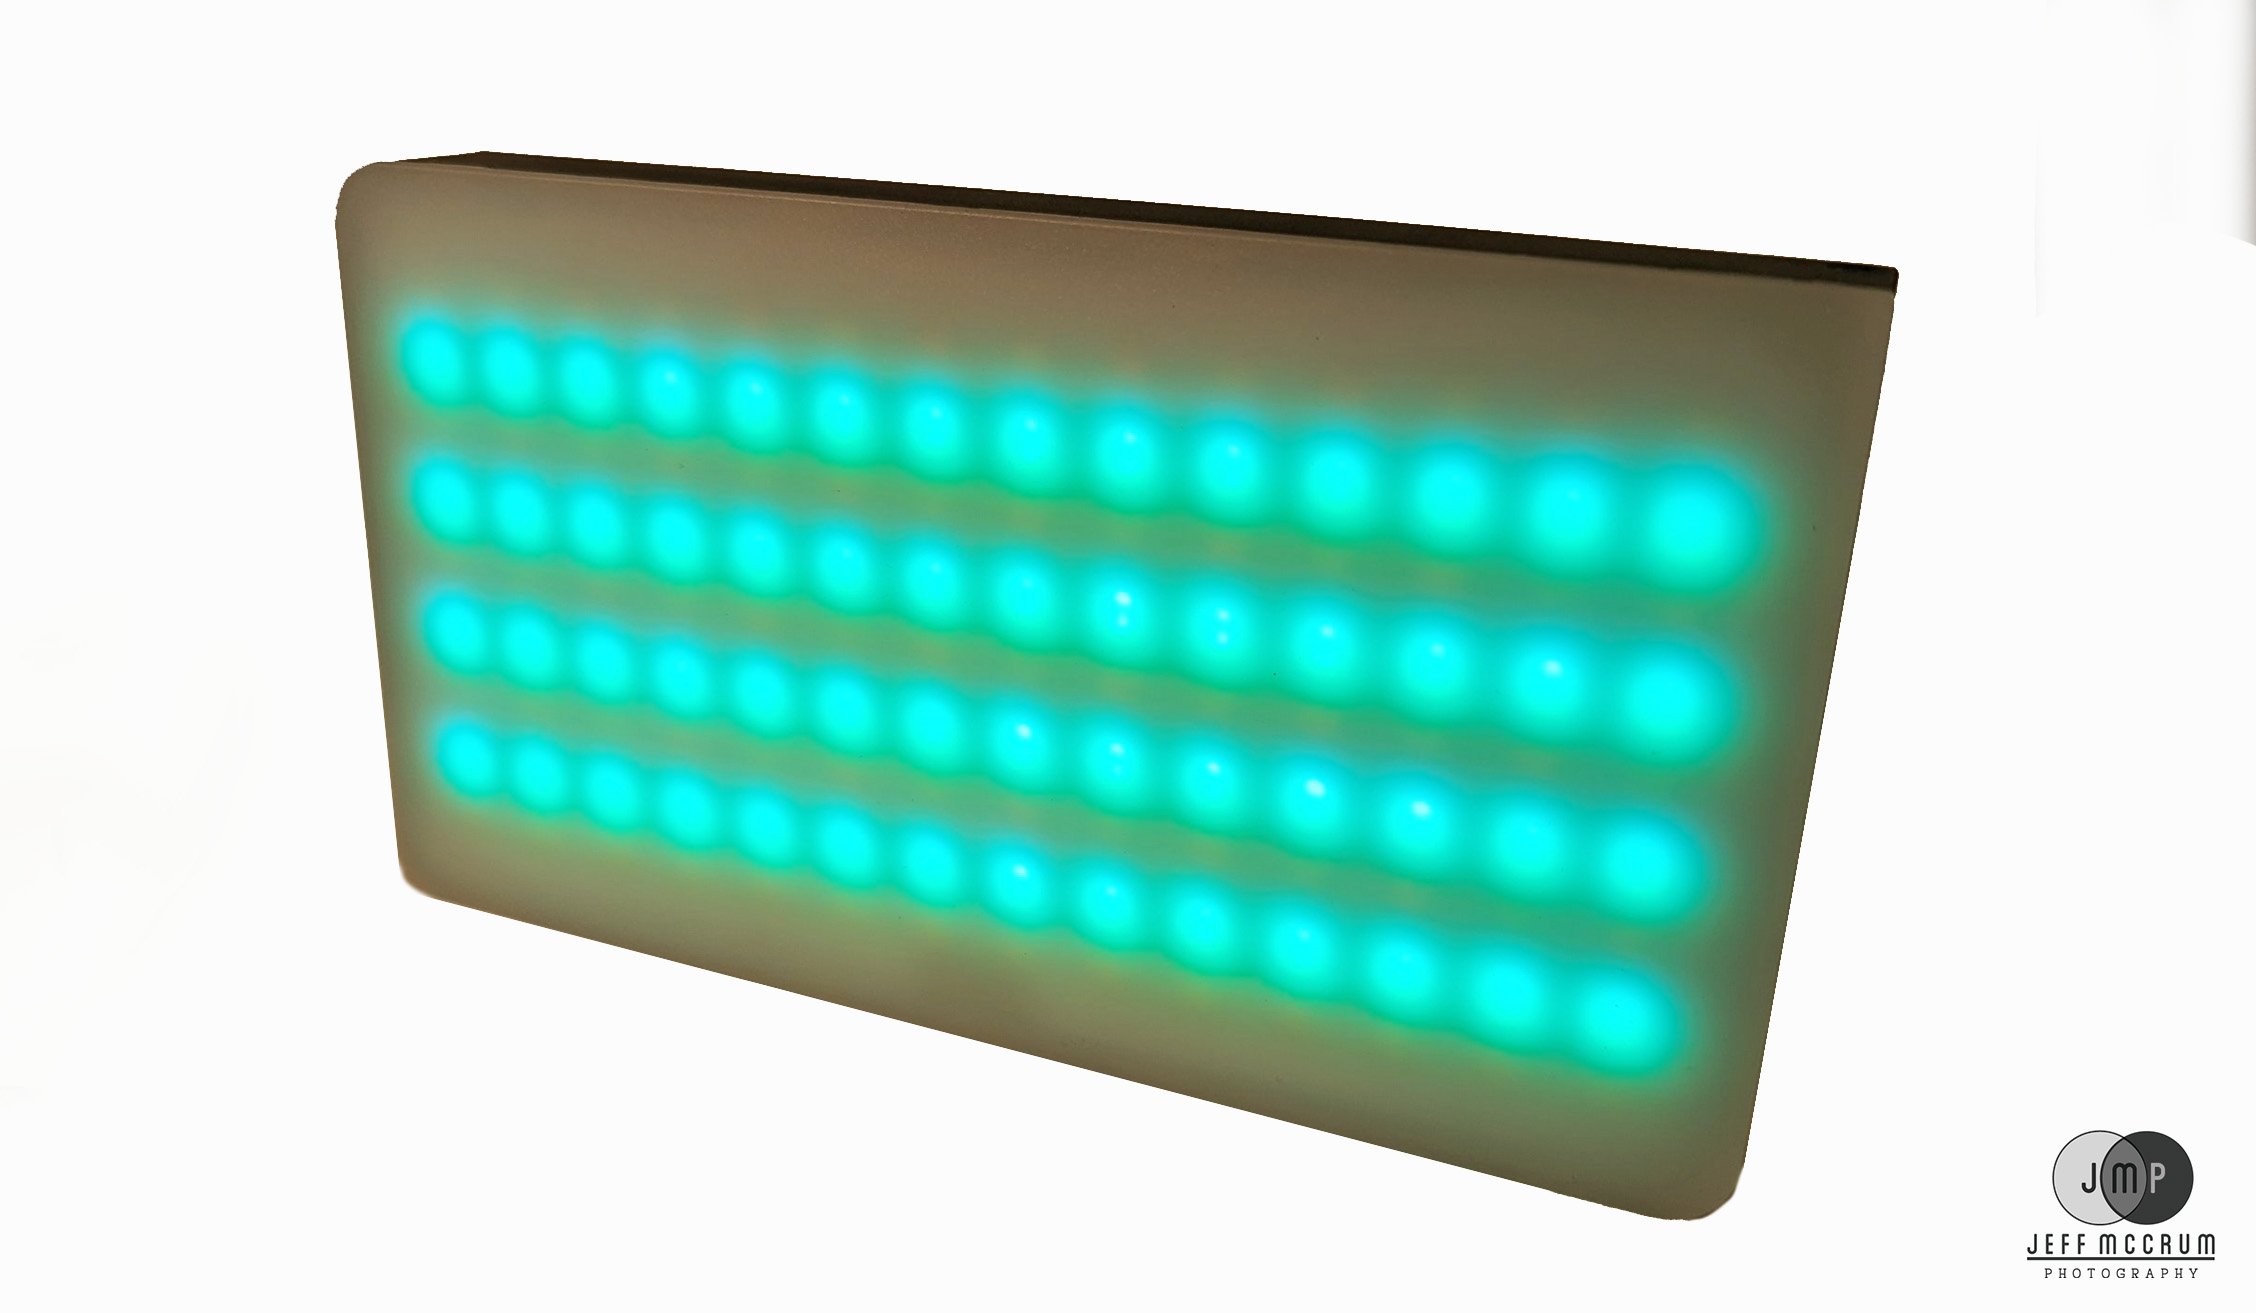
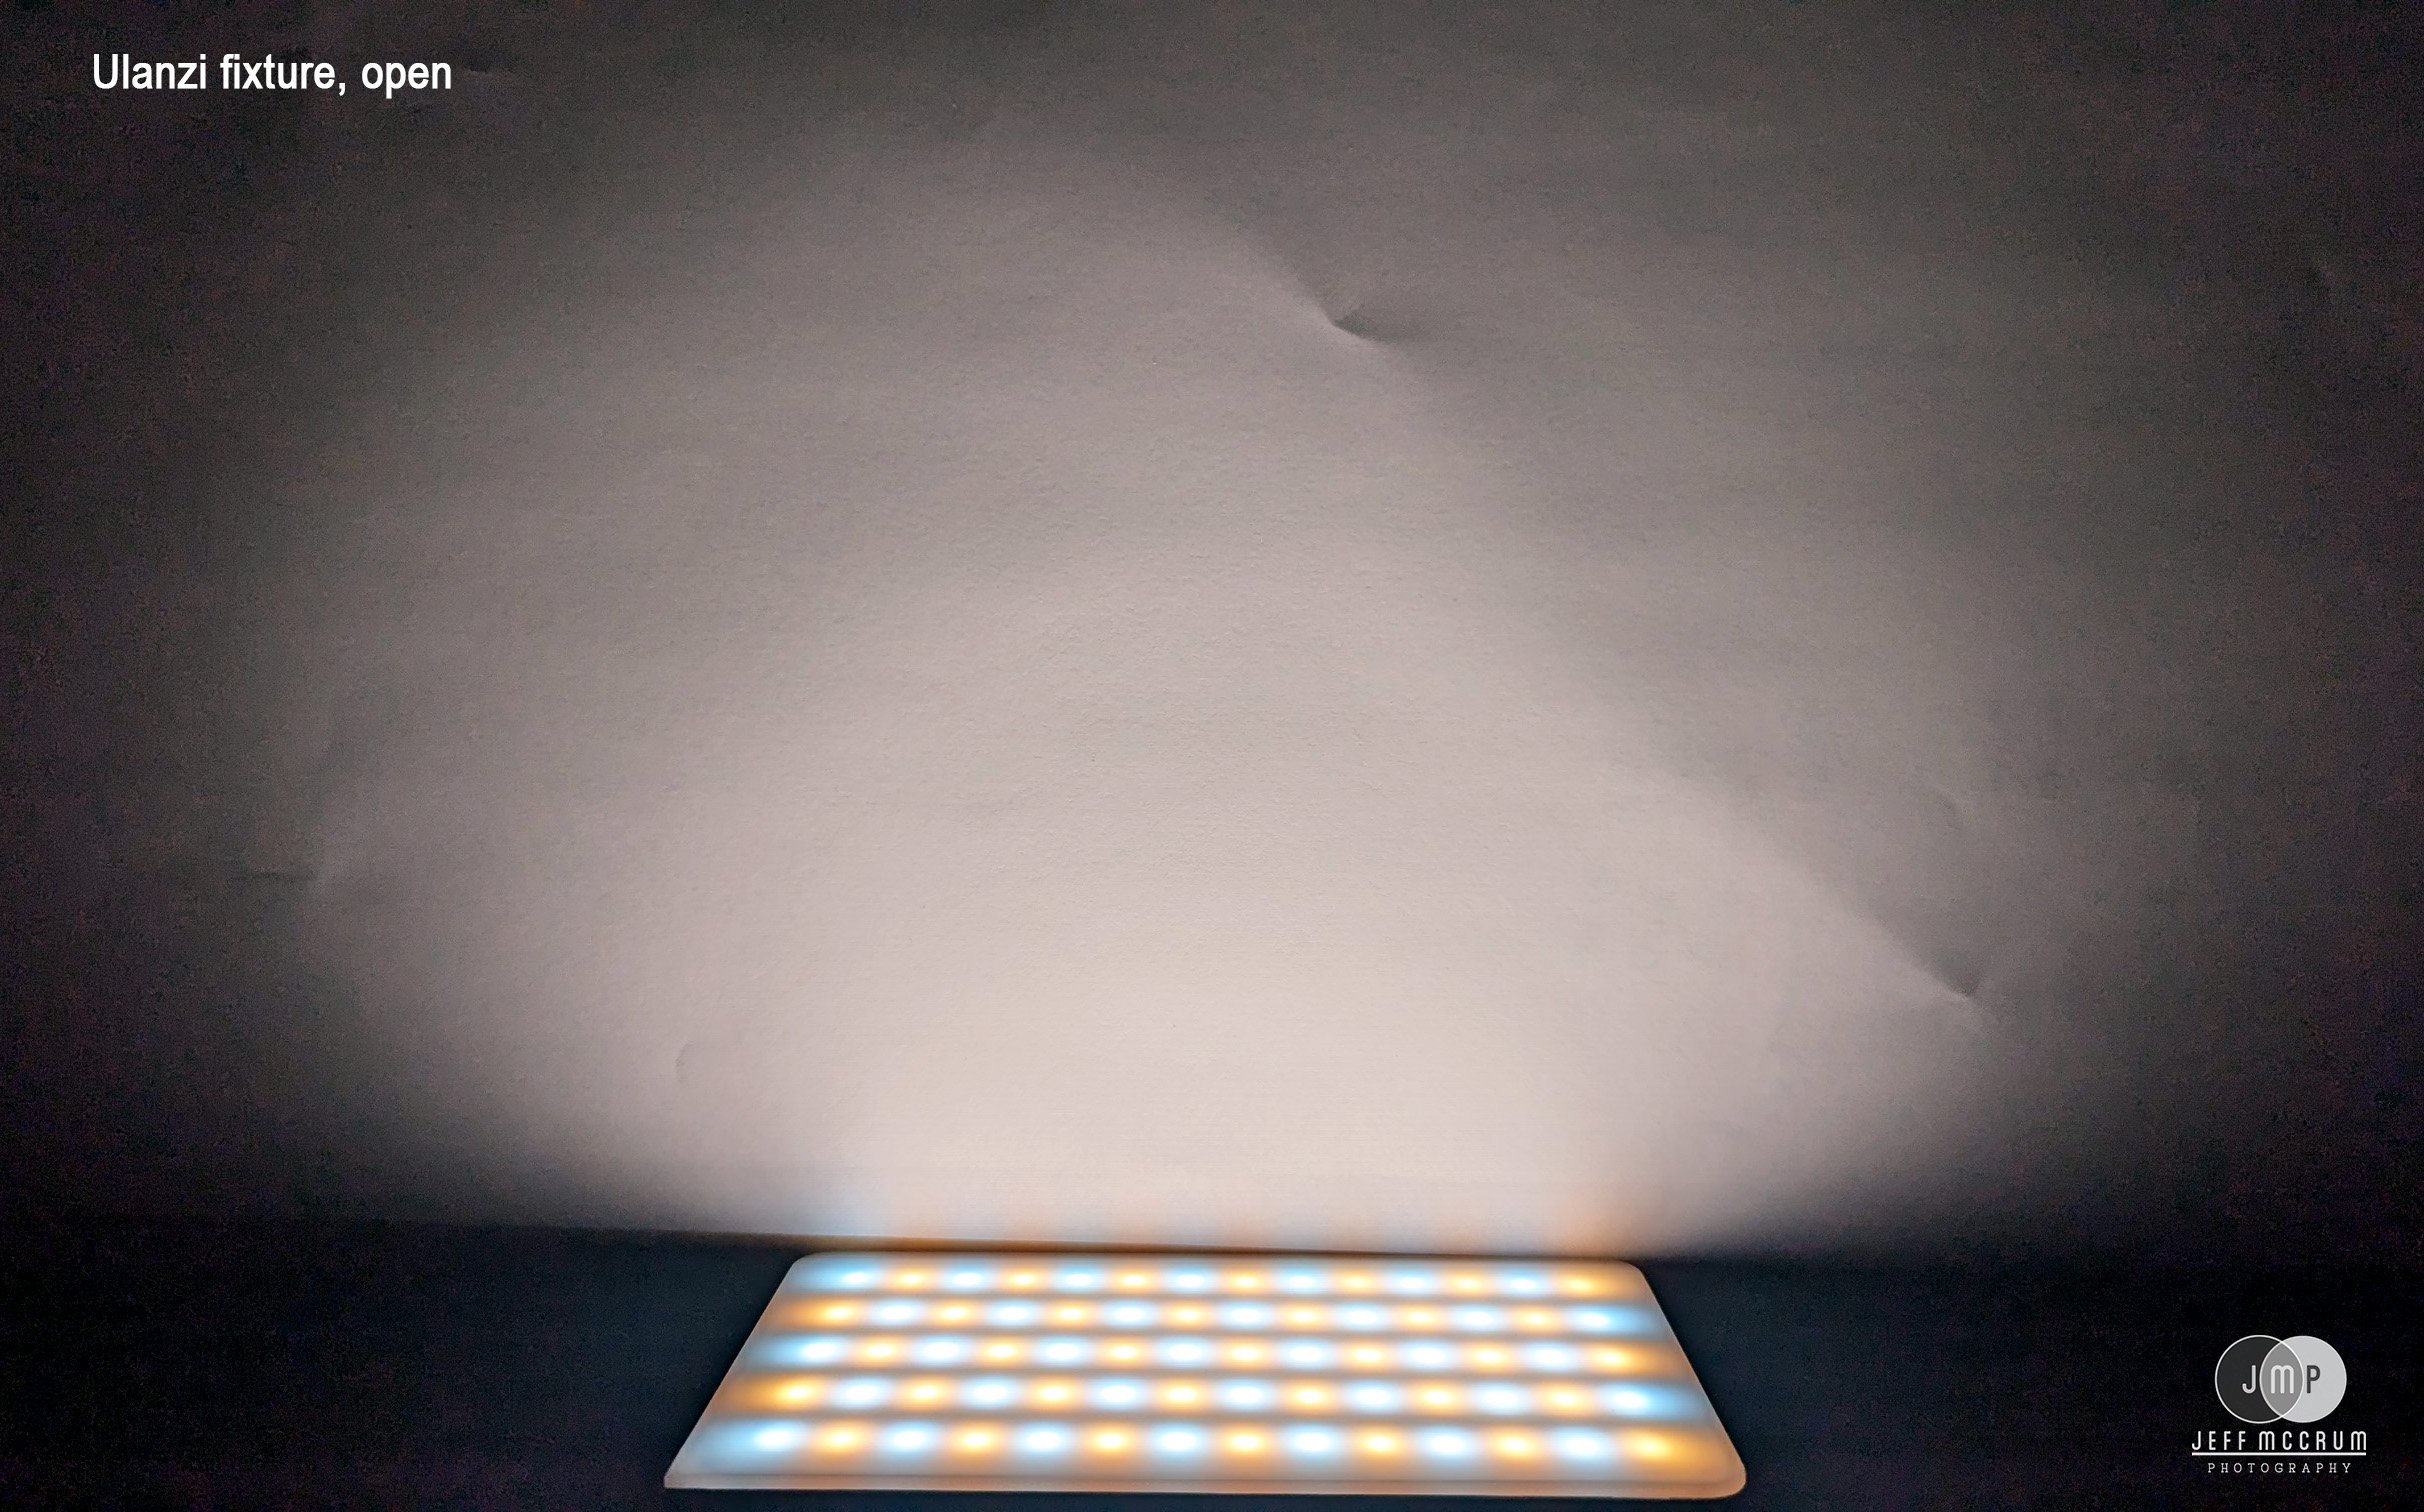
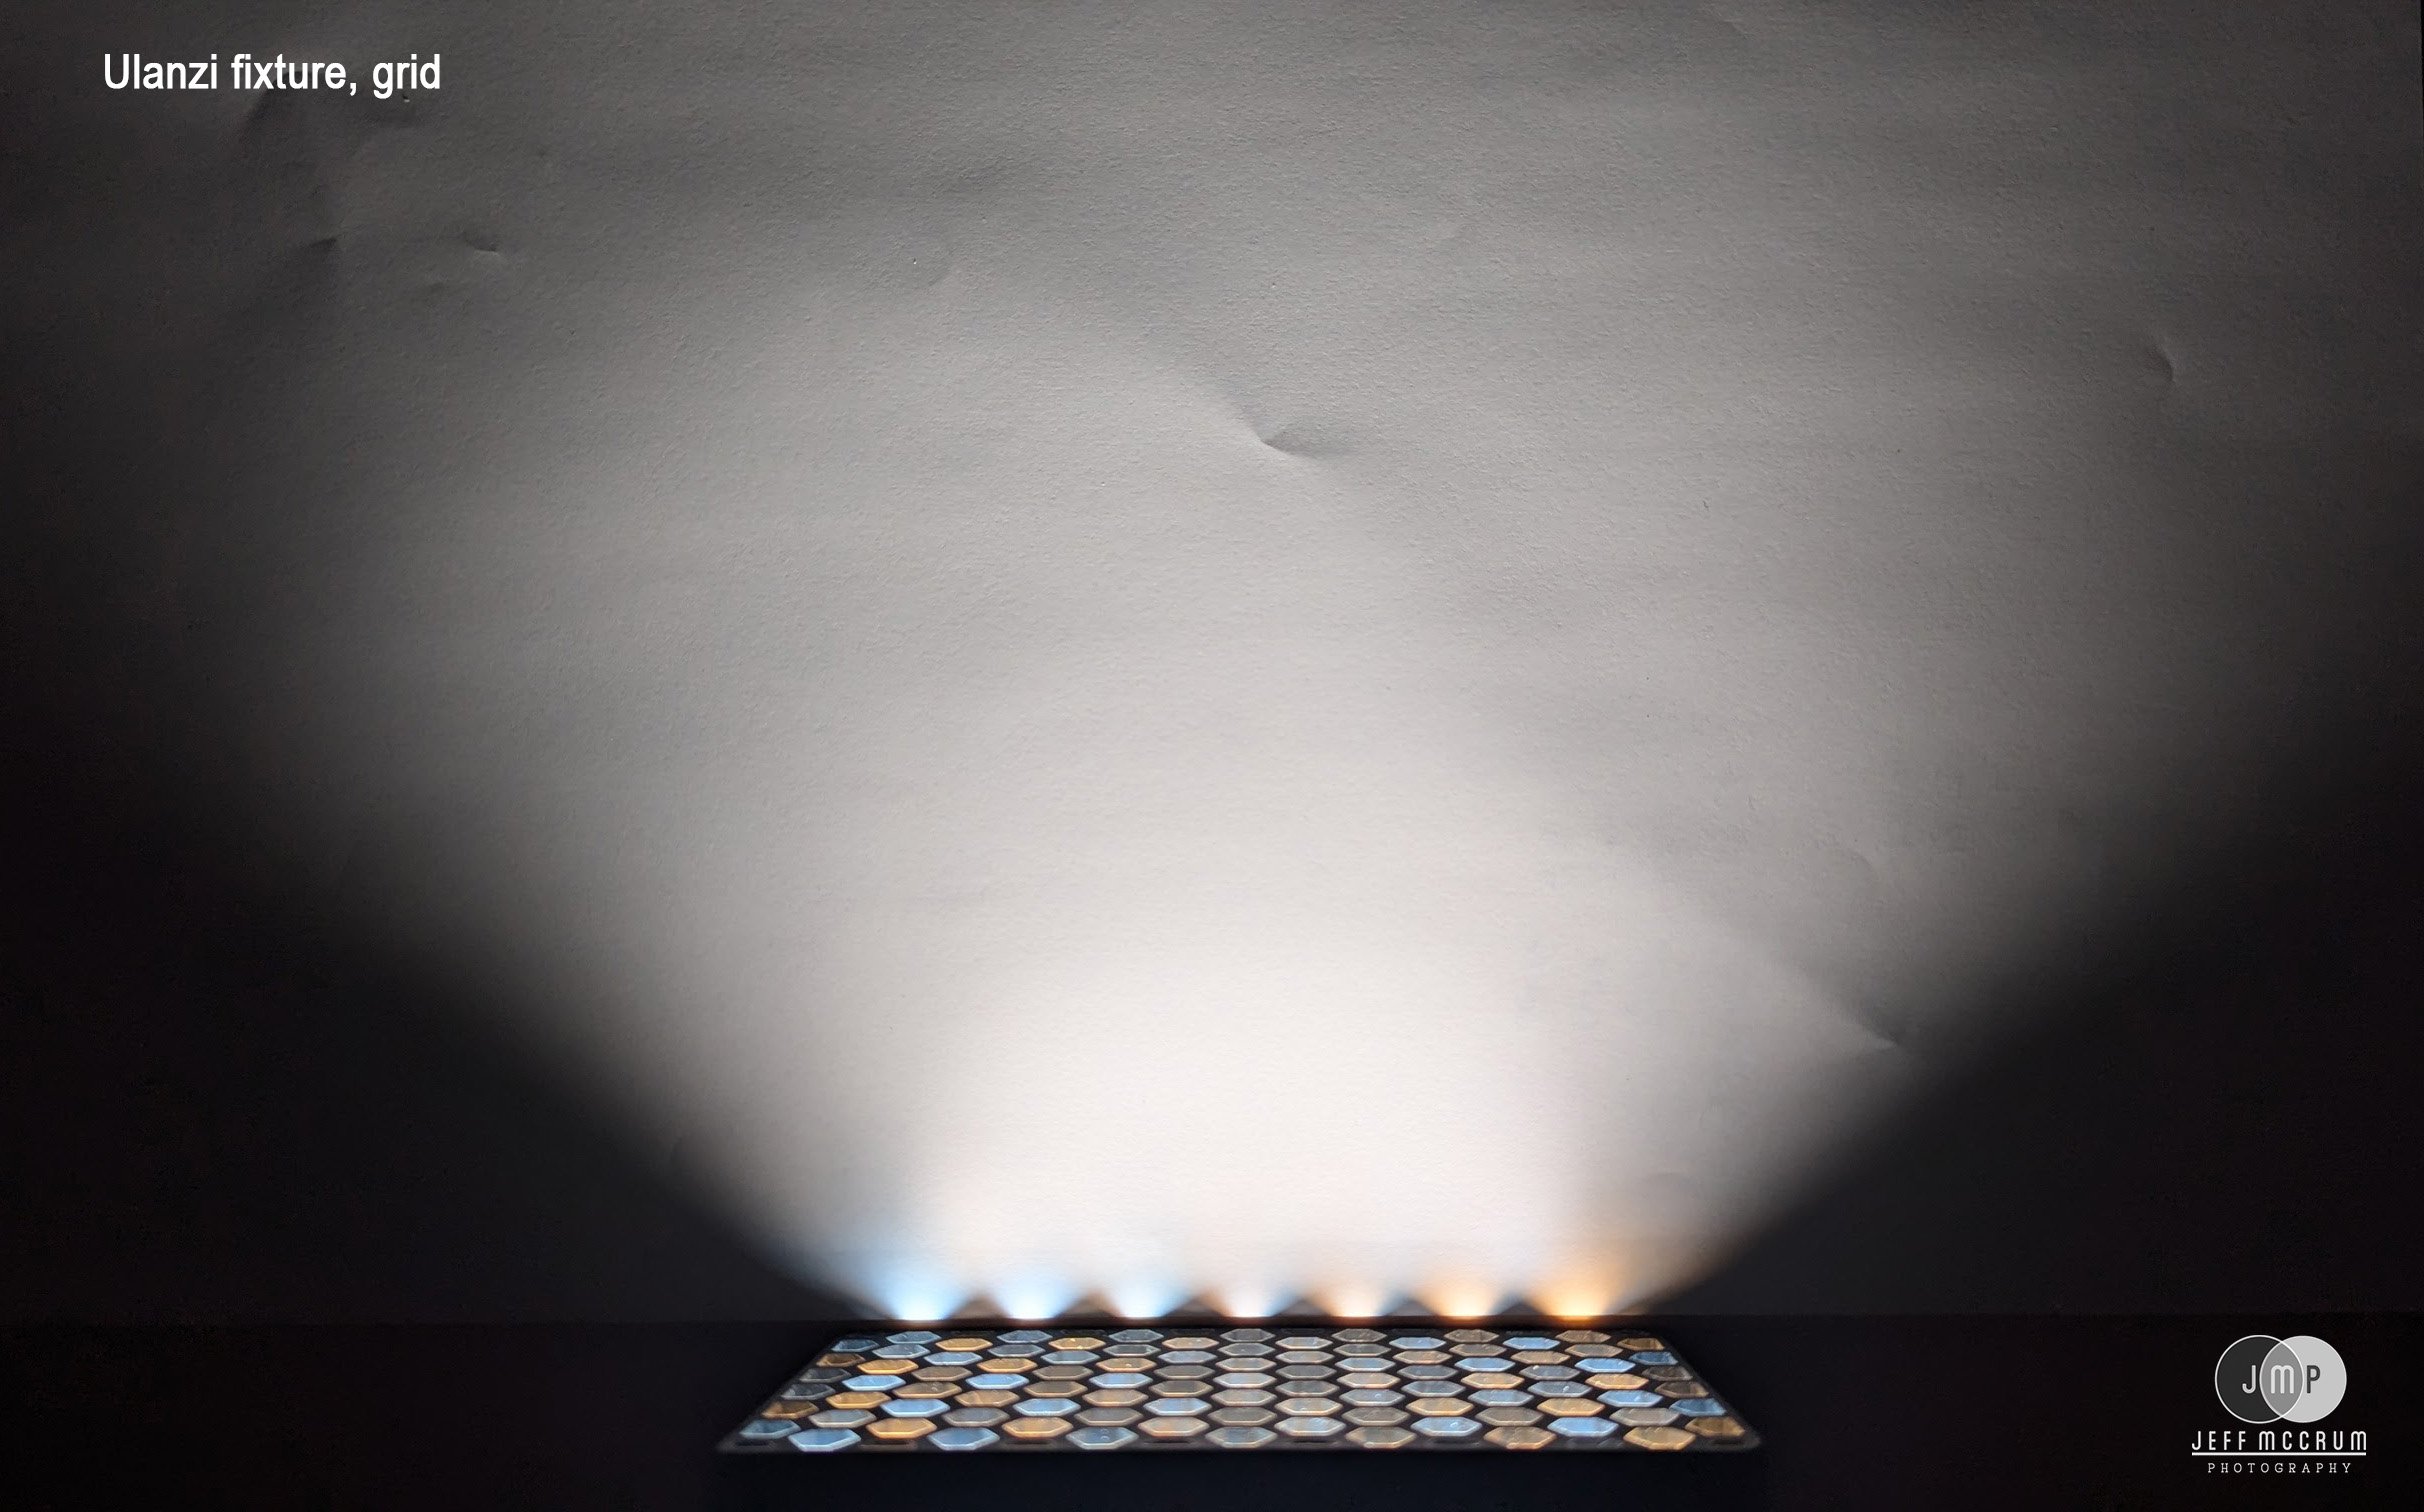
Performance-wise the fixture is classified as having a 95+ CRI, similar to other LED panels of this size. CRI is short for Color Rendering Index, which is a metric based on the percentage of light wavelengths reflecting off fourteen specific color chips picked in the 1960’s. It may not be the best metric but it is the one currently in use by a number of manufacturers. I feel the best way to compare things is to look at comparisons of the same colors under different conditions and the X-Rite ColorChecker happens to have eight of the fourteen colors for CRI and eight steps from white to black so it seemed like the perfect way to compare the 95+ CRI sources of the Luxli Fiddle and the Ulanzi.
For comparison, consider that the sun, with its broad full spectrum, has a CRI of 100, as do halogen and incandescent lamps. A source with 95+ CRI is therefore missing over four percent of the visible light wavelengths. One concern is where in the color spectrum these lights are missing. With most LED sources, the loss ends up being in some of the more robust reds.
I set up an X-Rite ColorChecker and a camera and captured the Luxli Fiddle set to 5600K, natural daylight on a cloudy day, and the Ulanzi 7” RGB also set to 5600K. As you can see from the image below the sun’s full spectrum provides some additional red tones that the Luxli and Ulanzi are not able to replicate. (Again, this is fairly common with LEDs and can be clearly seen in the top two and last two colors.) The blue, green, and yellow colors, which have the least amount of red, are fairly closely replicated. The eight tones from white to black are also within reasonable metrics of similar.
Now that we better understand how LEDs are doing at replicating the sun, the question then became about how well they do against each other. How does the $40 Ulanzi look compared to the $260 Luxli? The answer is “incredibly well” as you can tell from the images below where the daylight column has been removed and the two LED fixture color charts are placed next to each other. In the whites the Ulanzi shows a slight magenta tone in comparison to the Luxli panels. This is also visible in tones 2, 3 and 4 on the left, where the lavender, periwinkle and aqua tones have a cooler green tint in the Luxli and the 5, 6, and 7 tones are slightly warmer on the Ulanzi due to the magenta shift.
Real World Use:
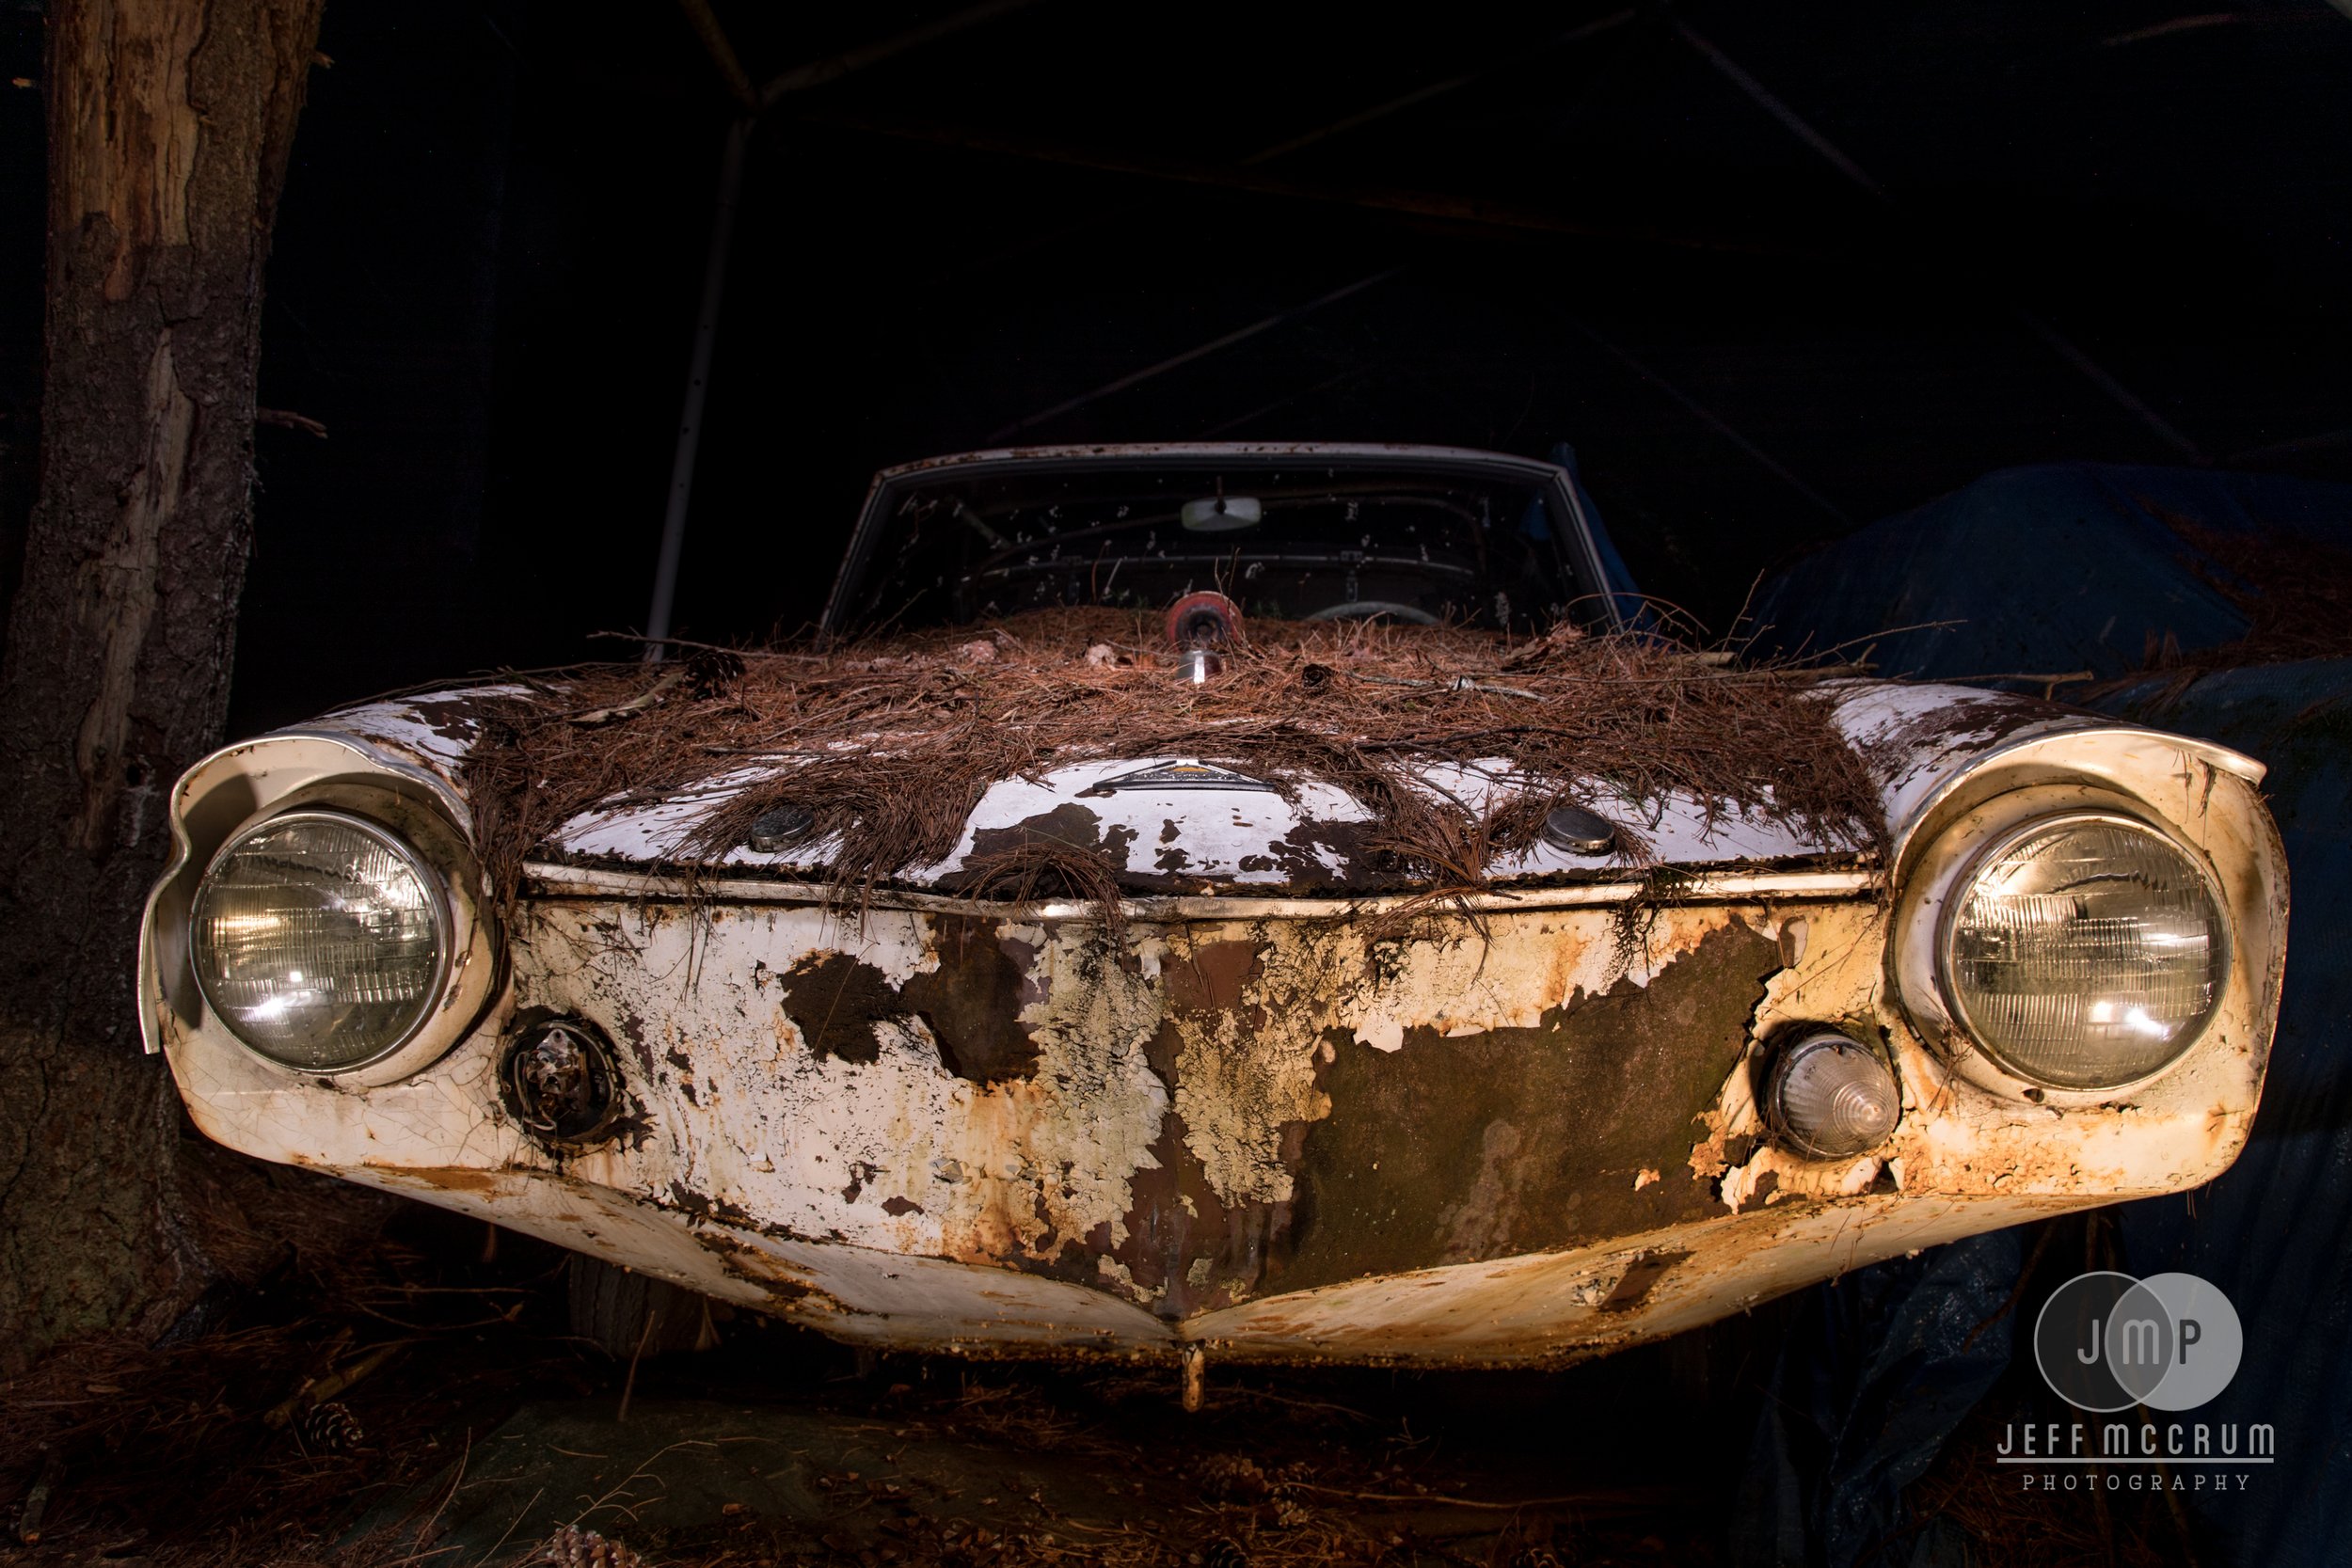
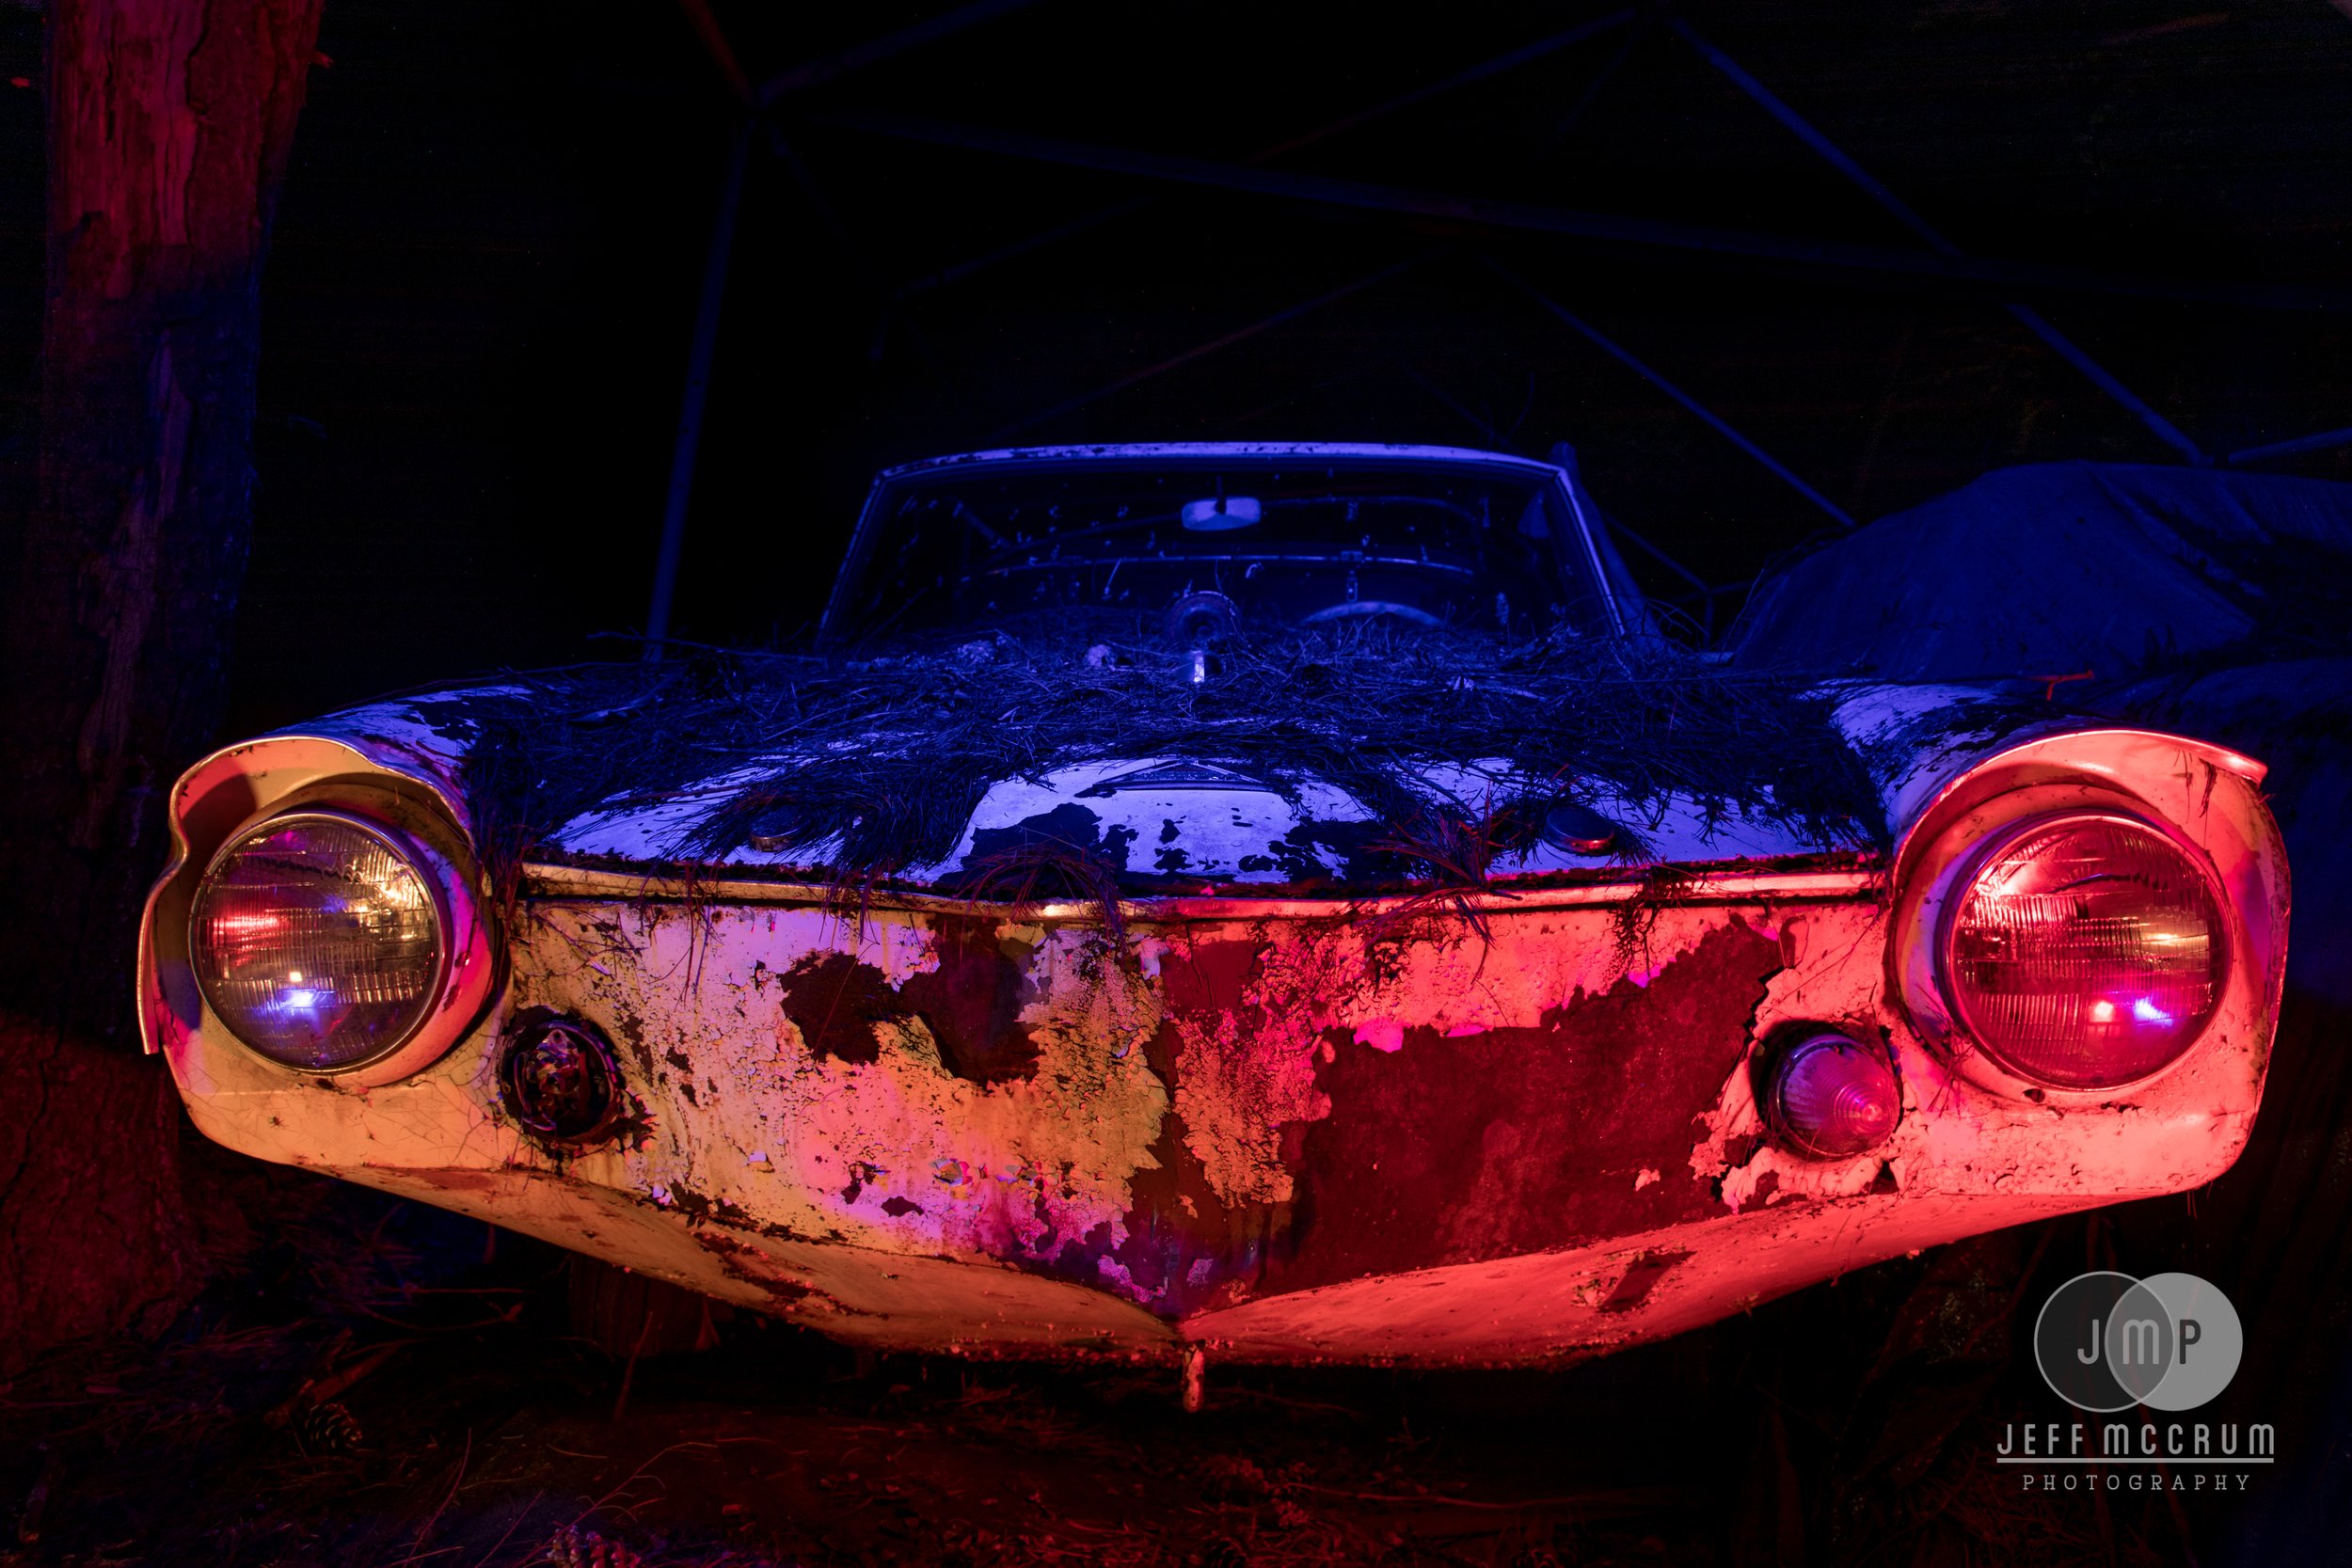
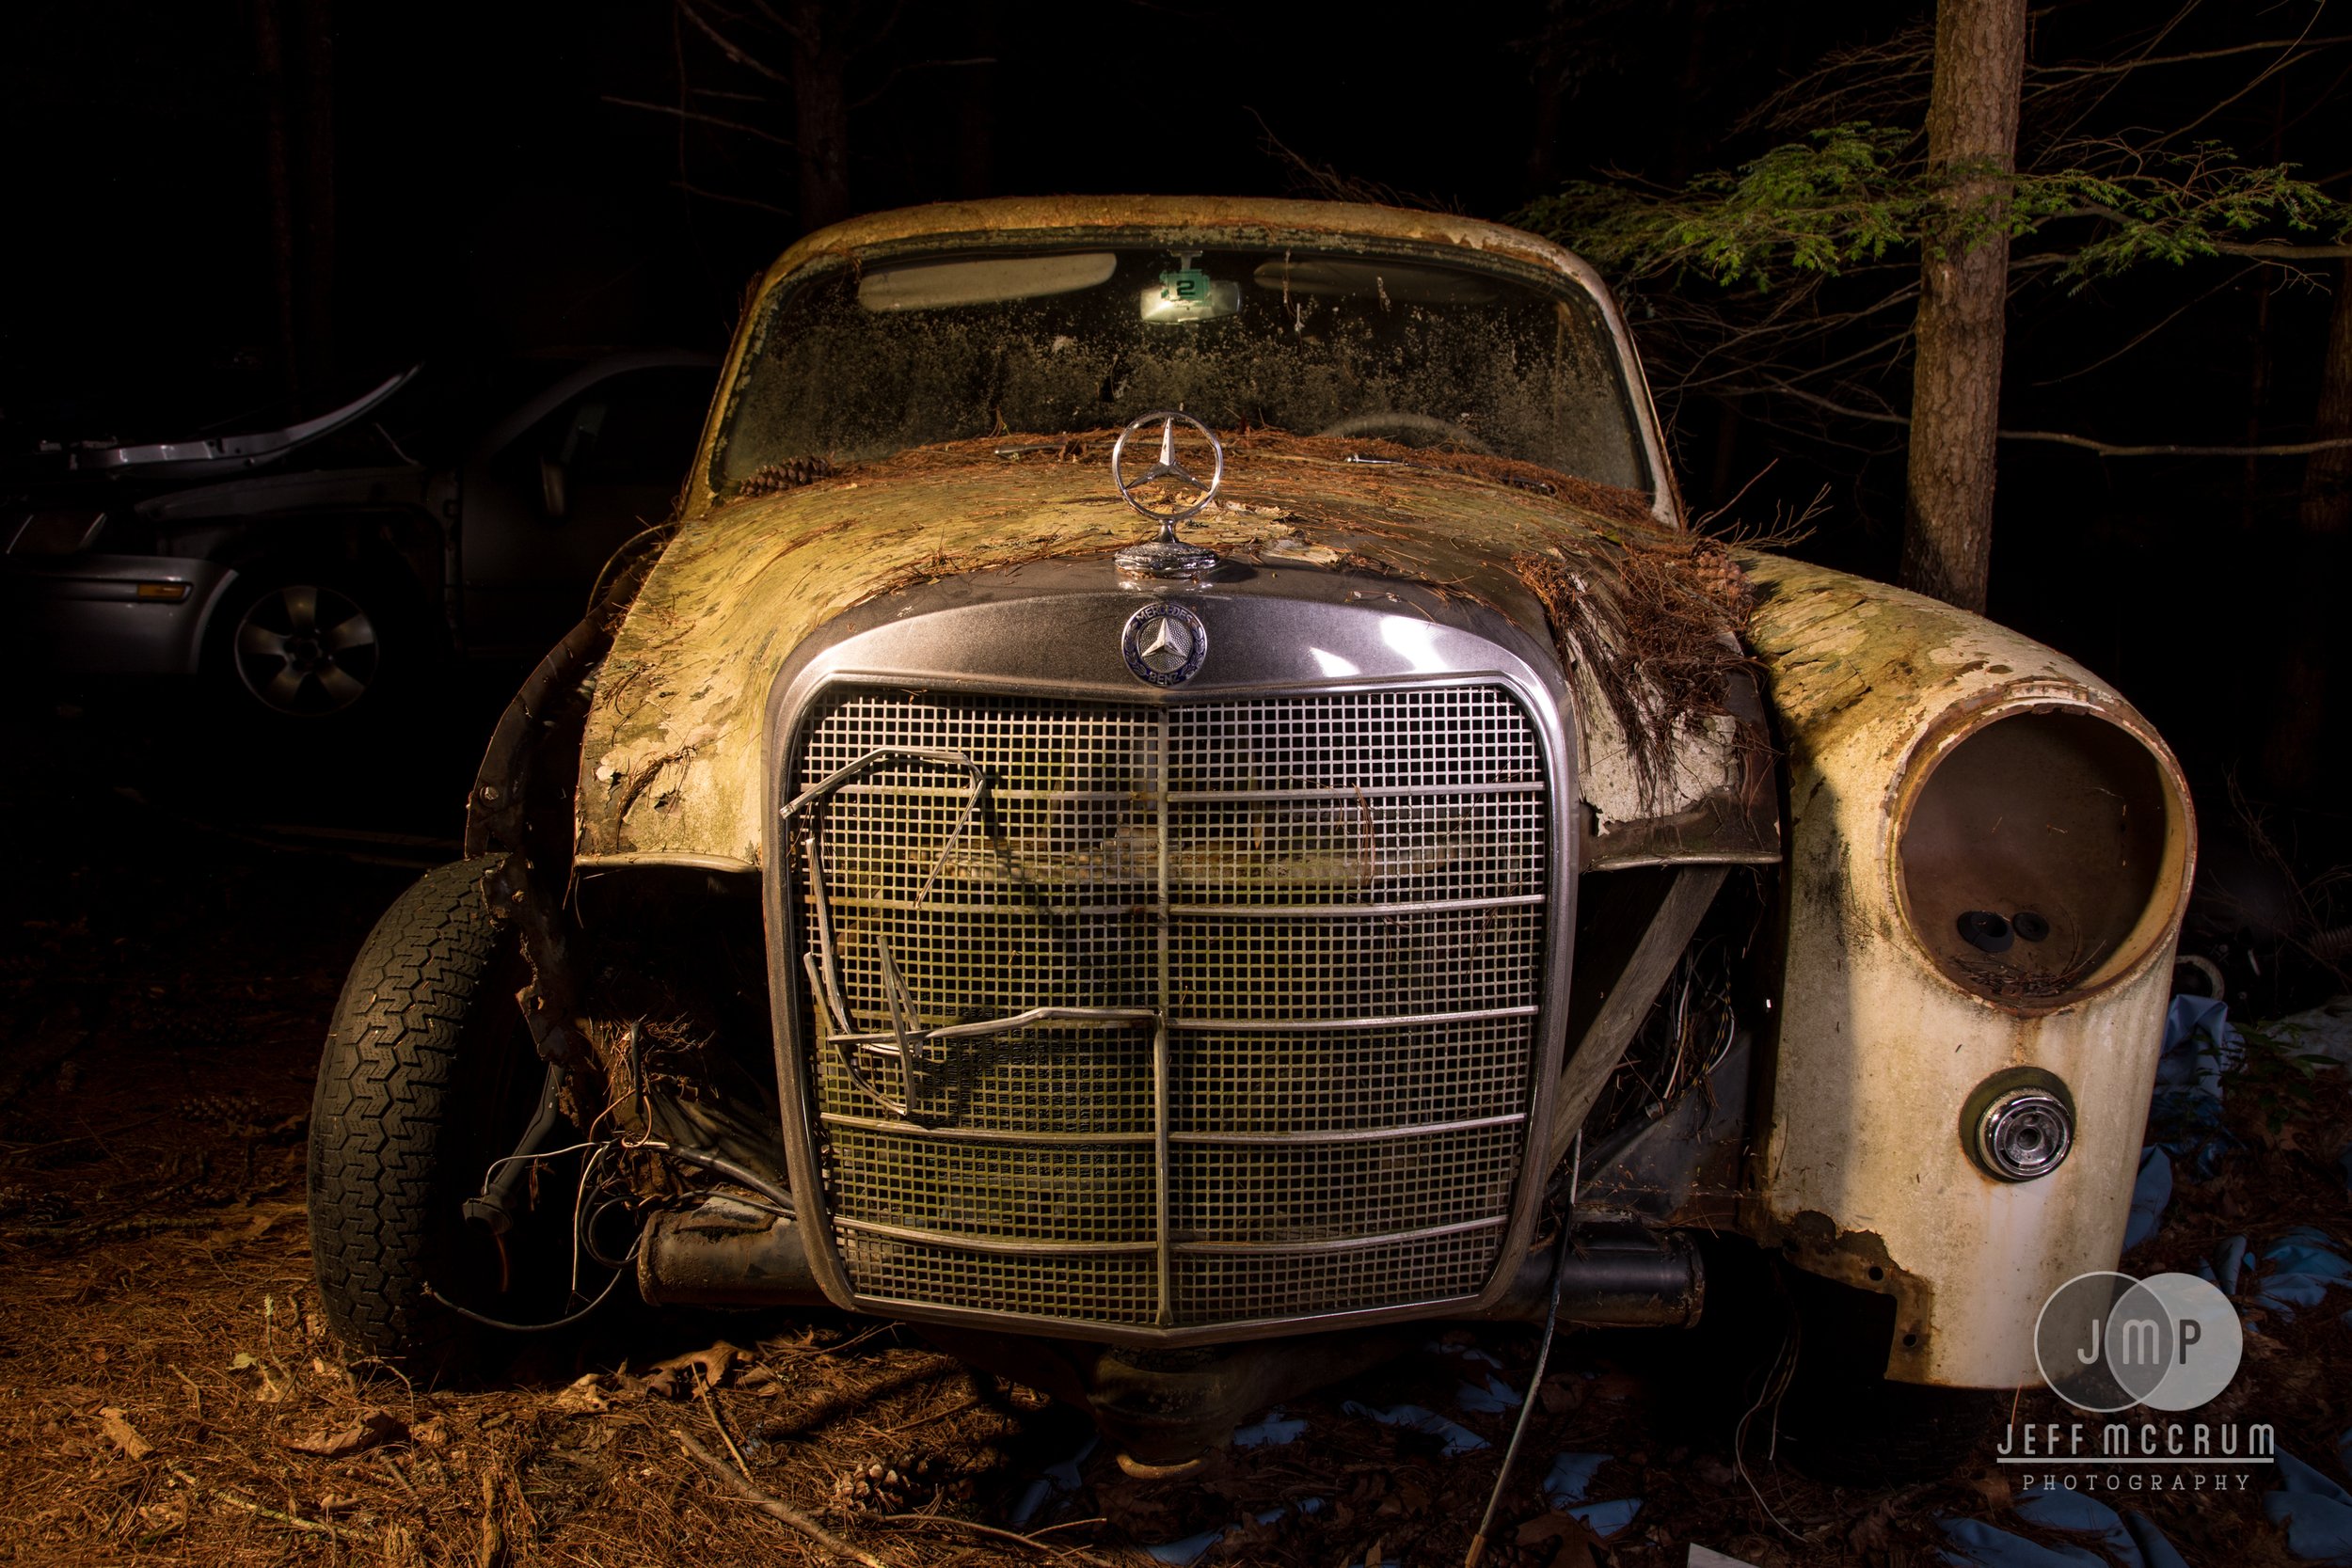
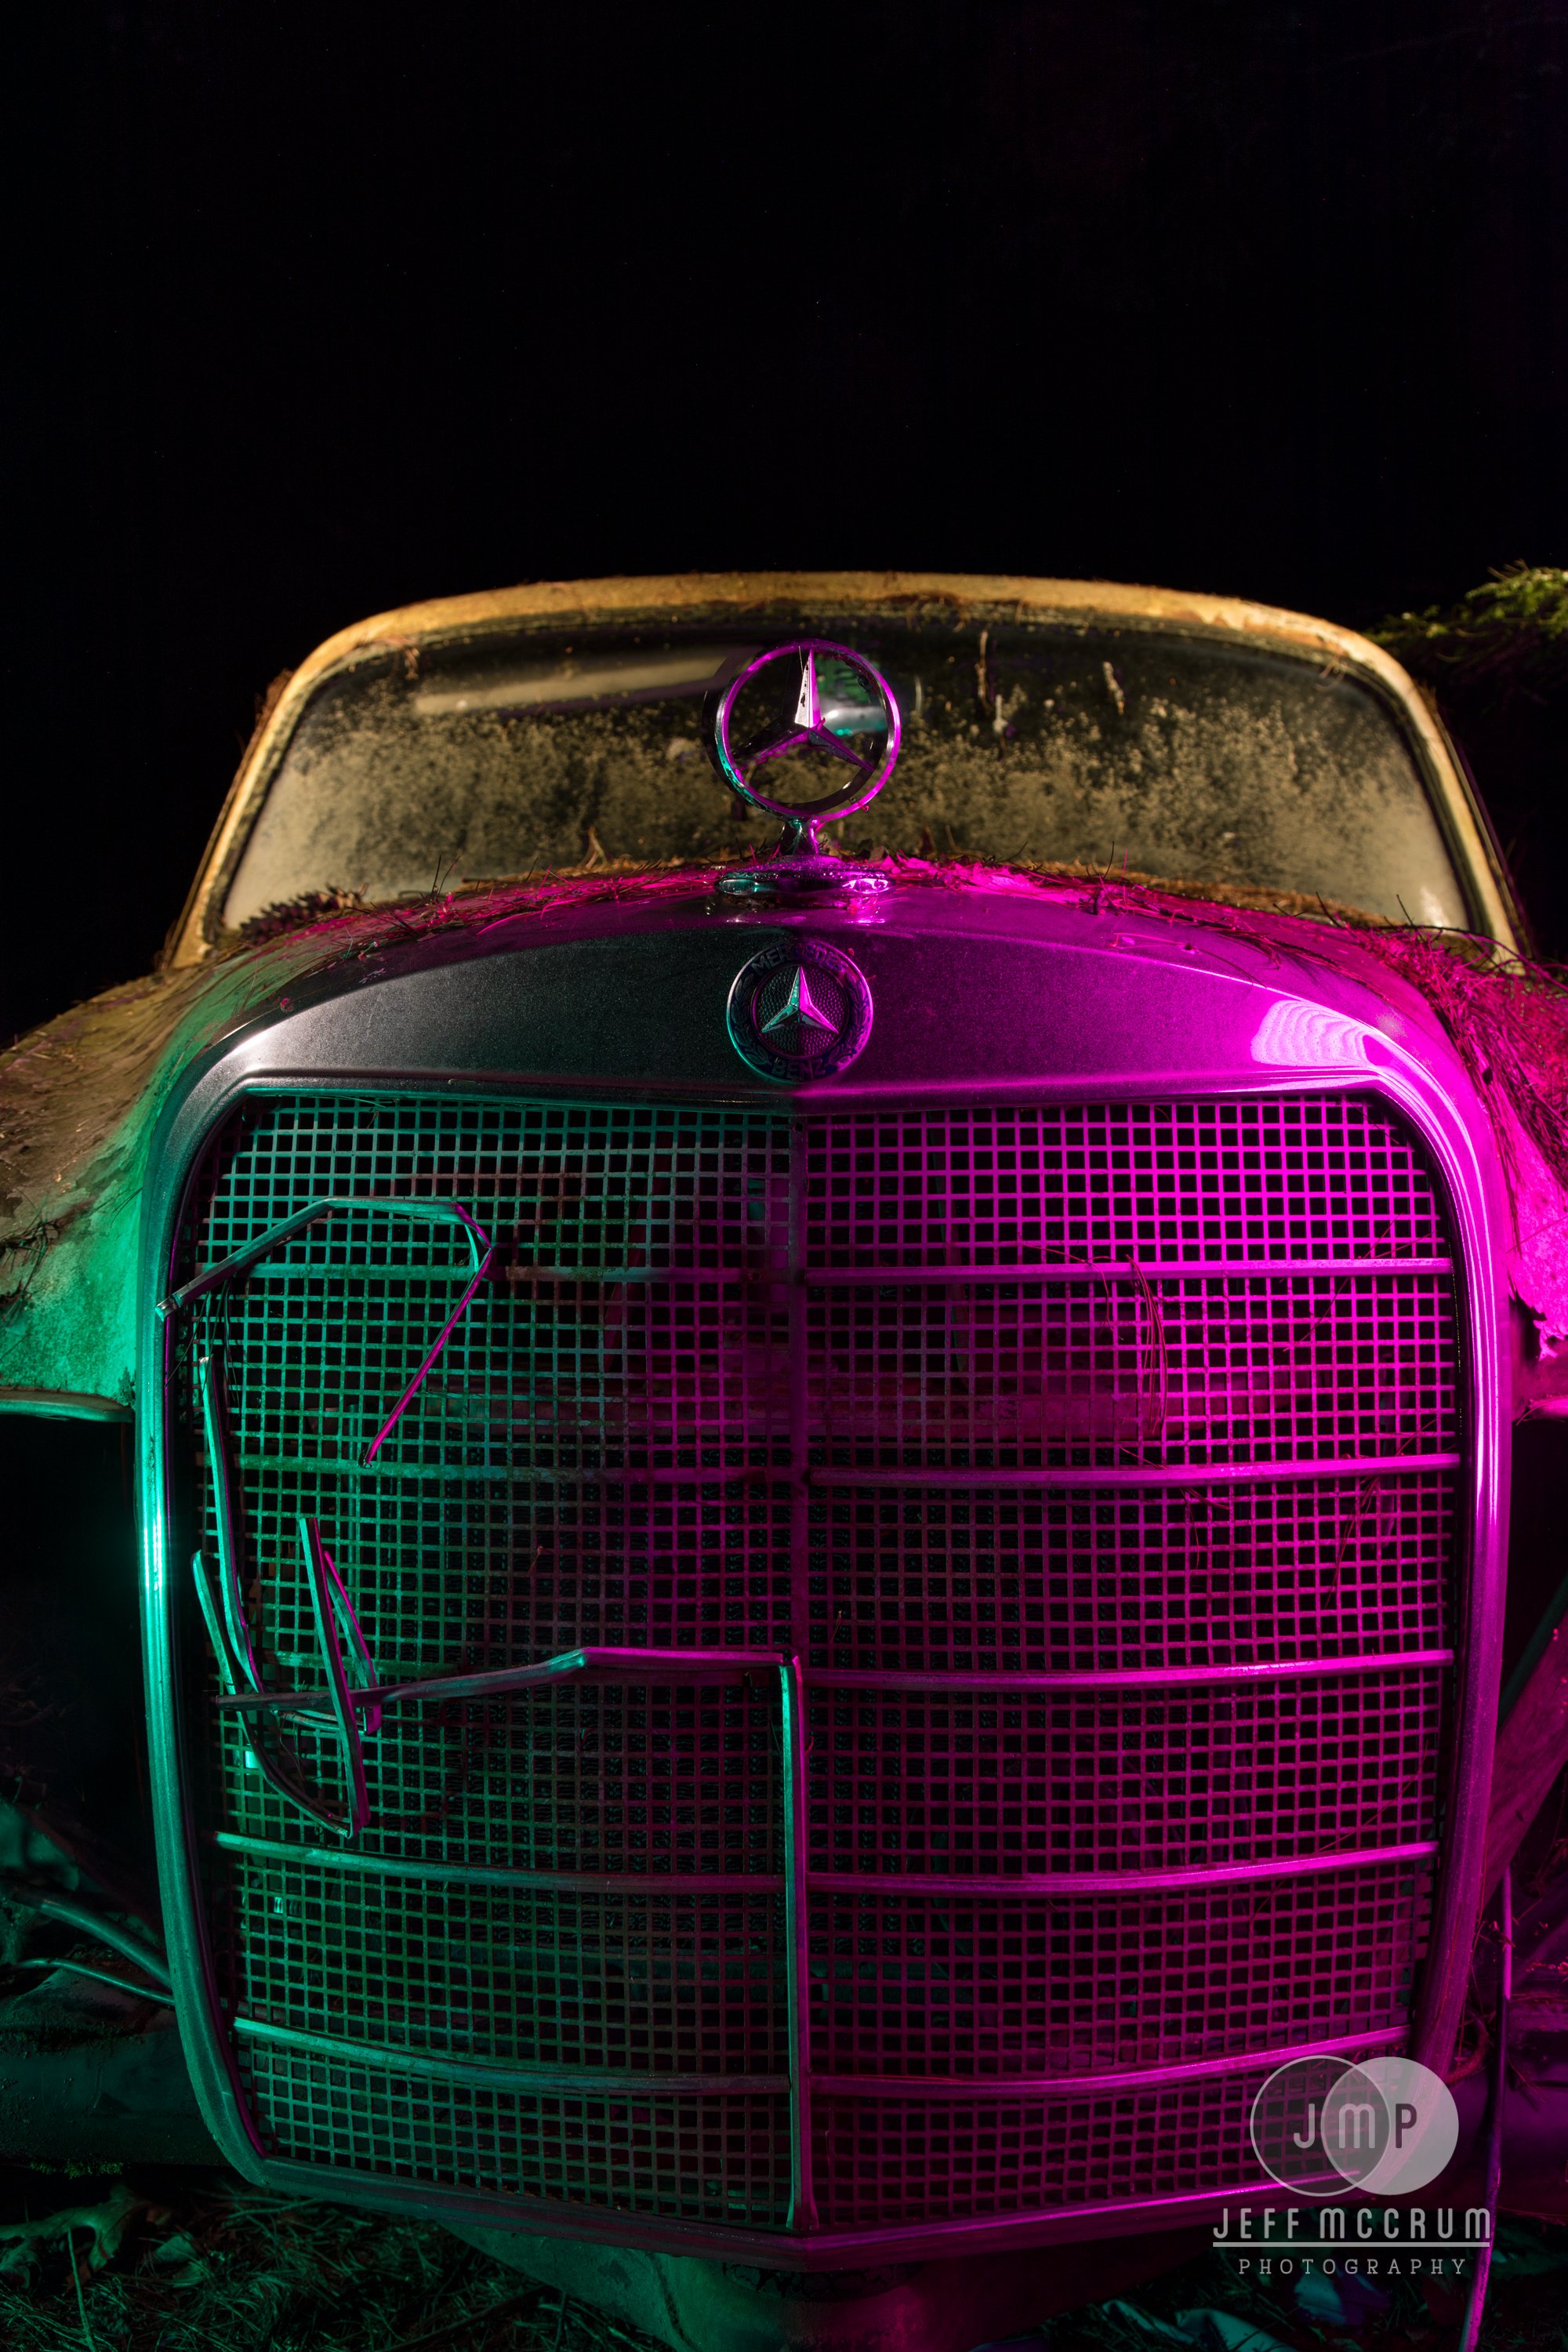
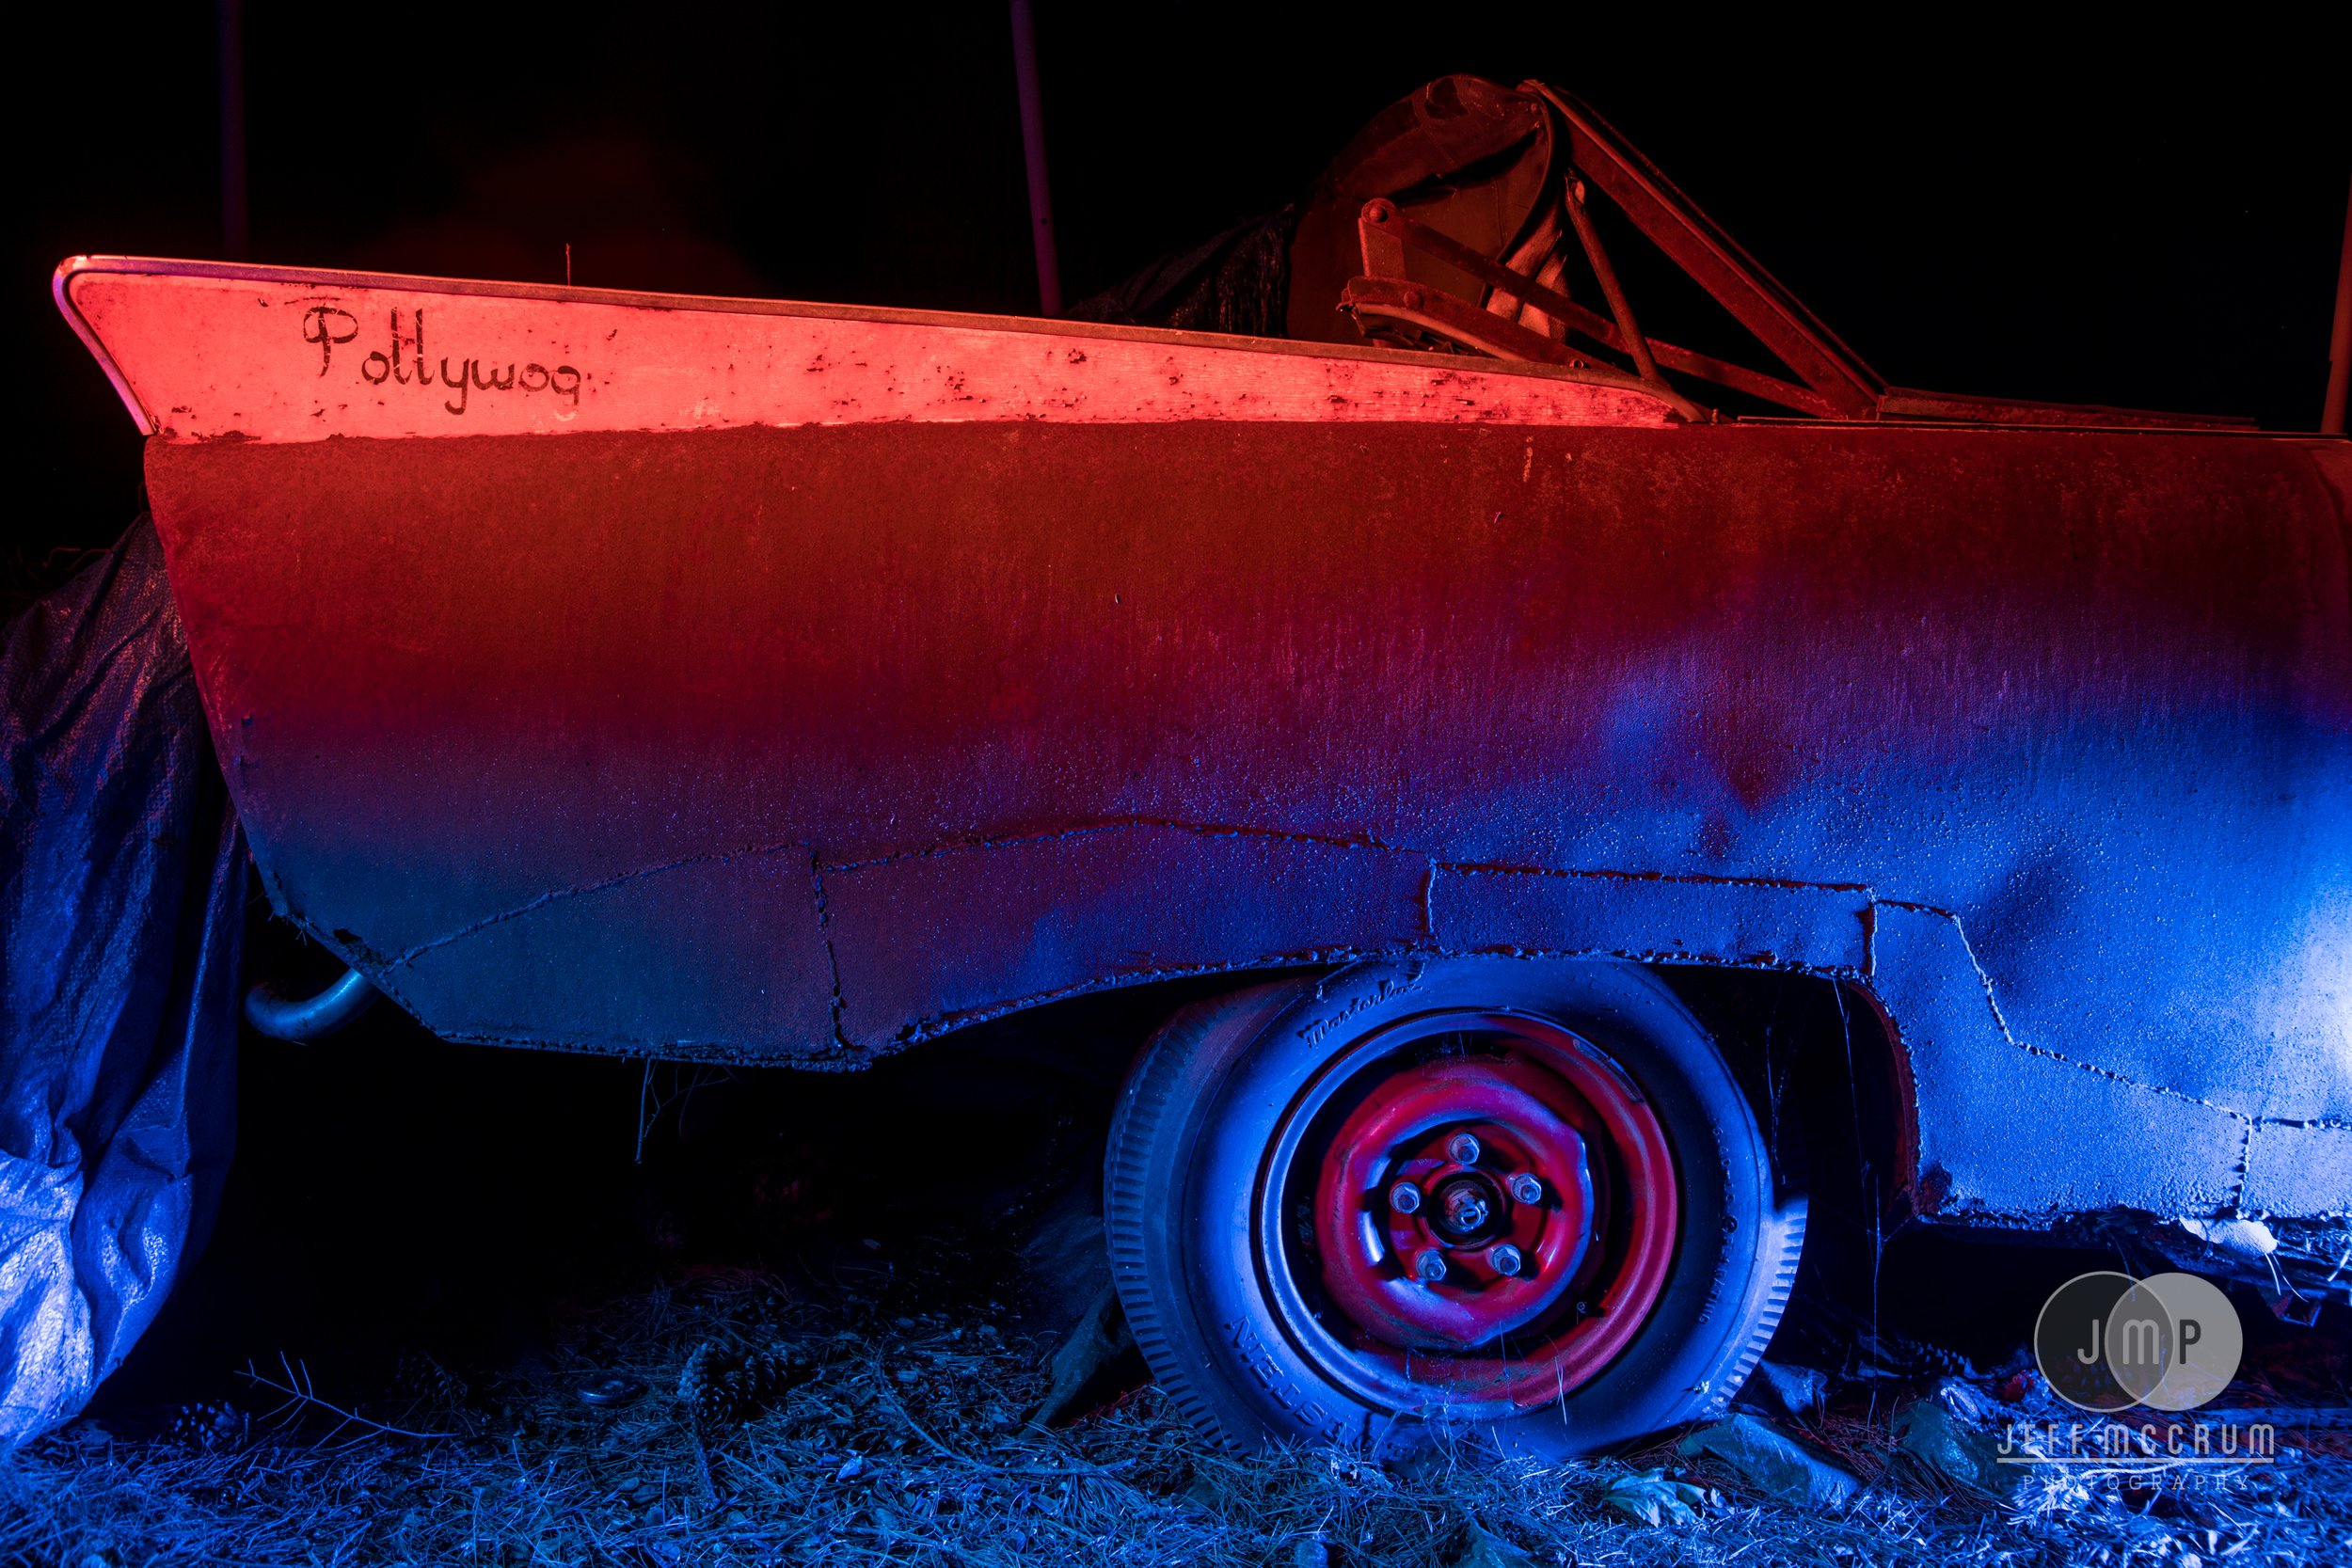
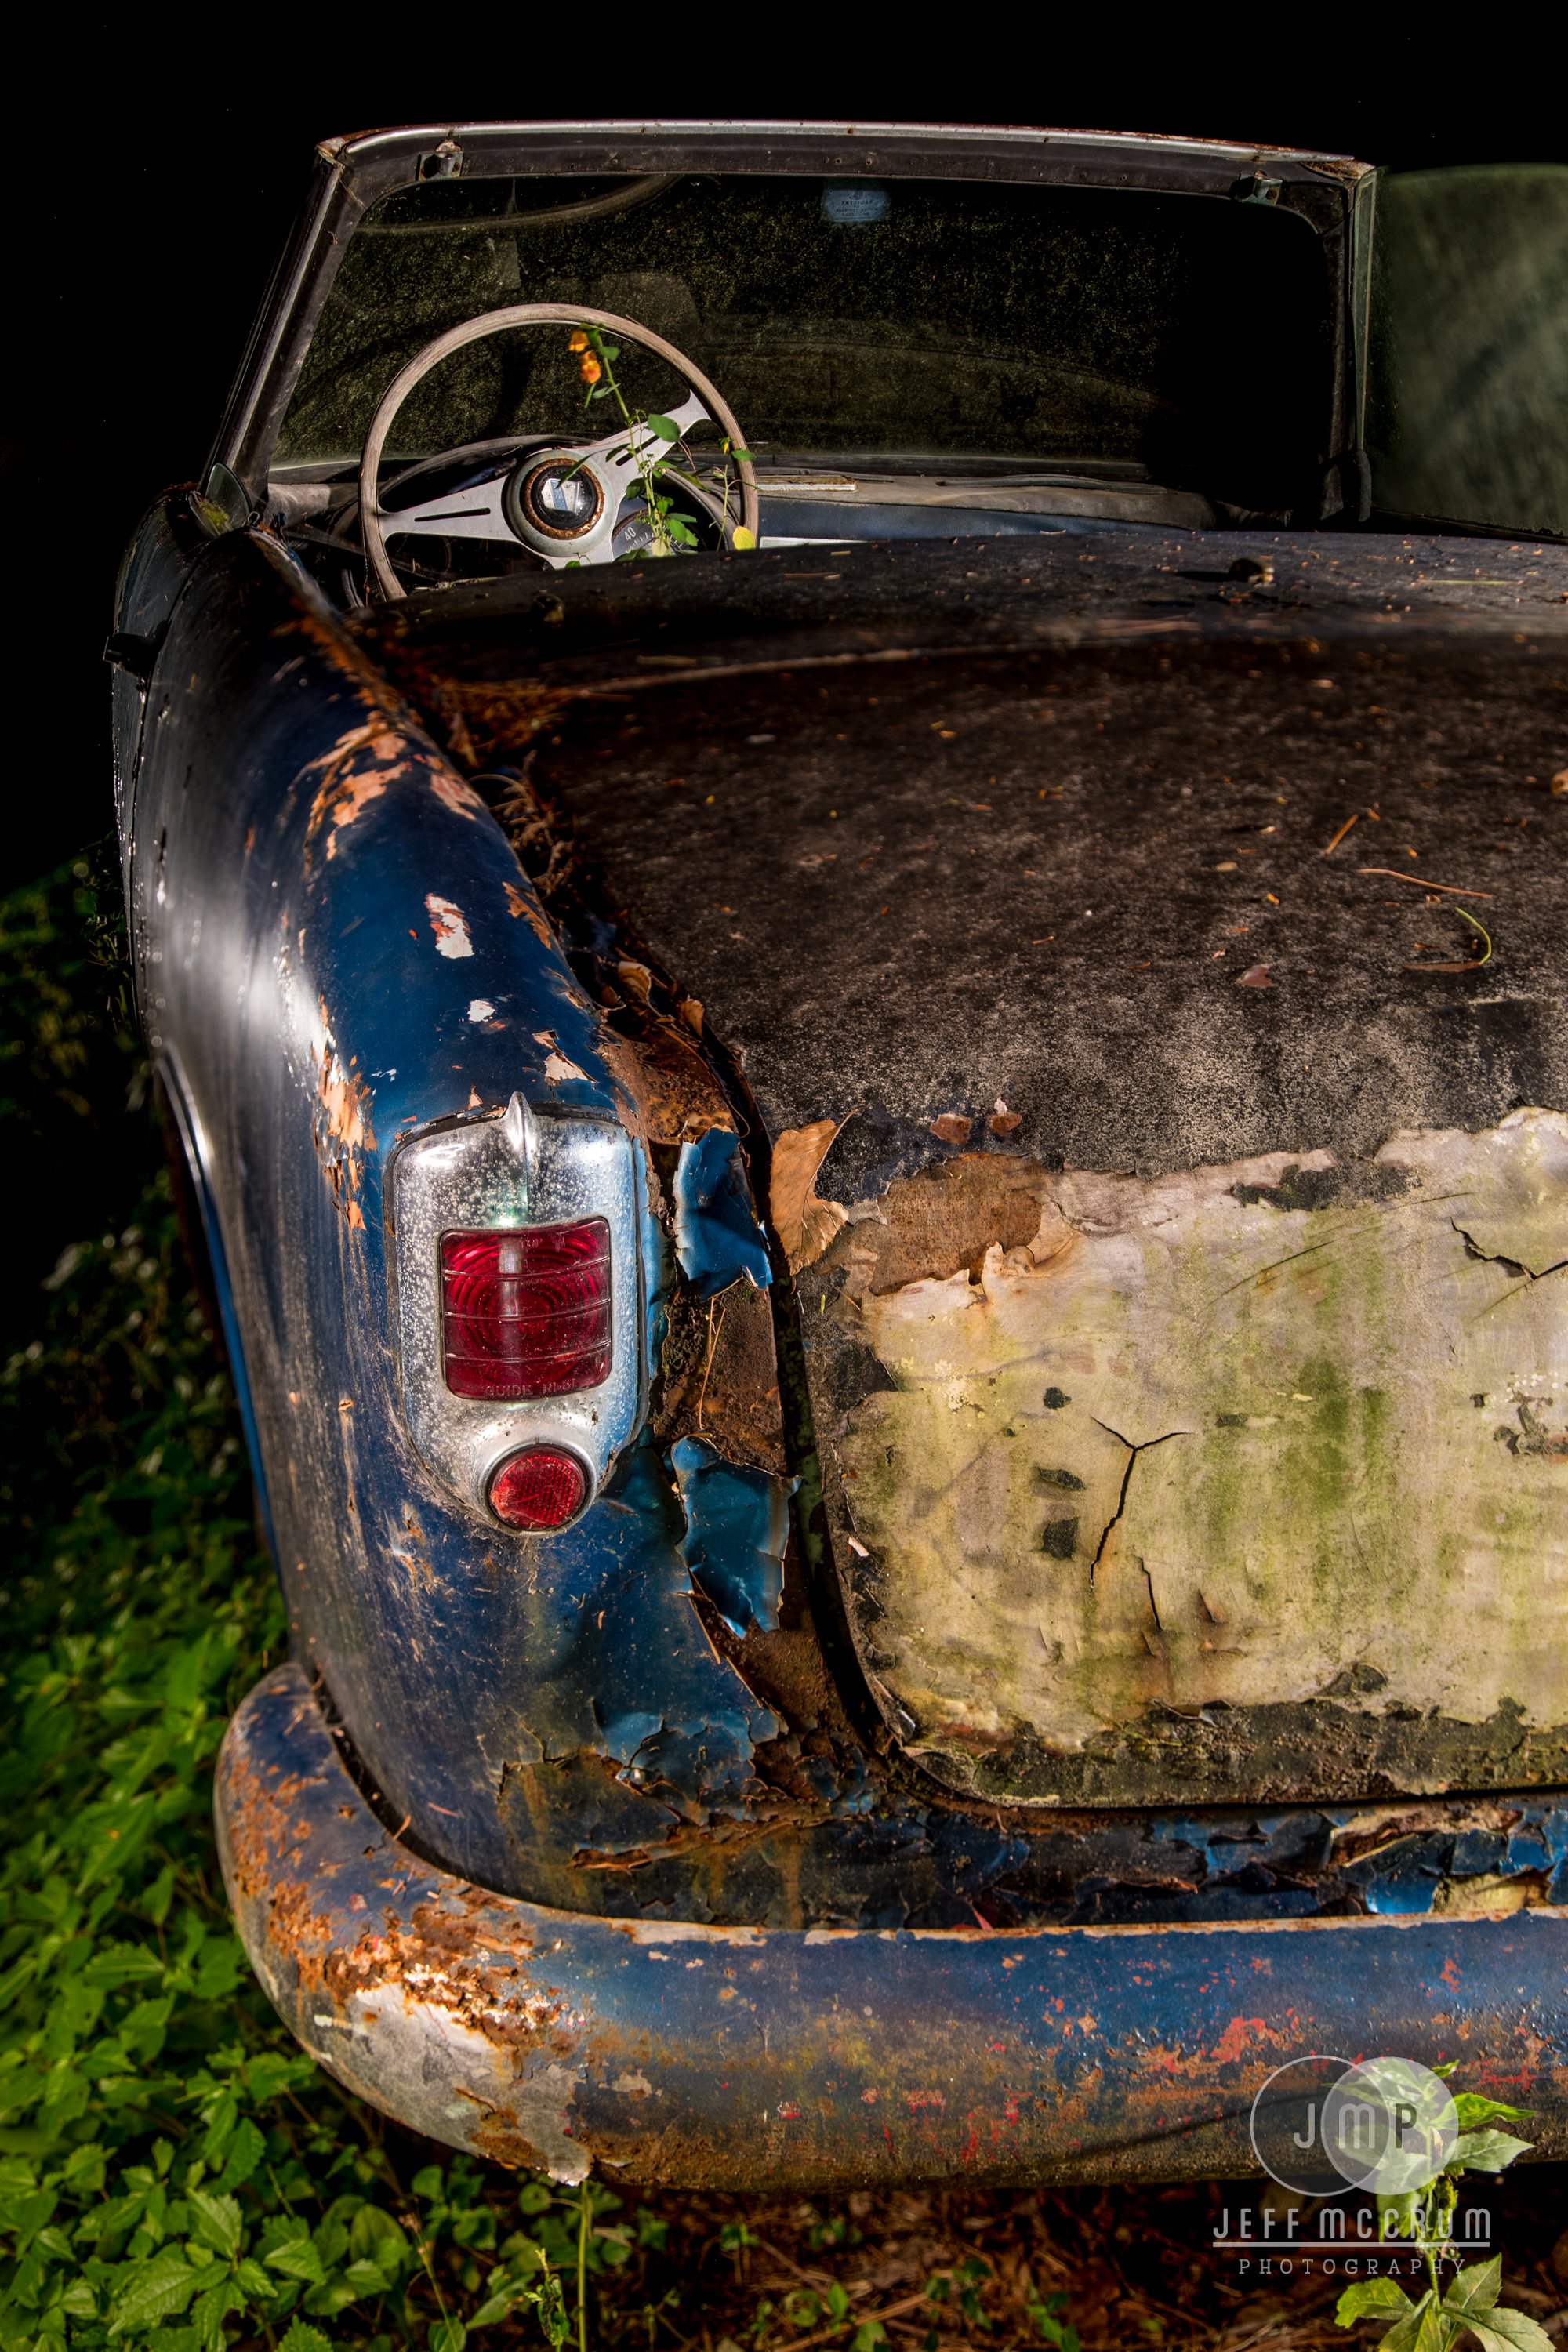
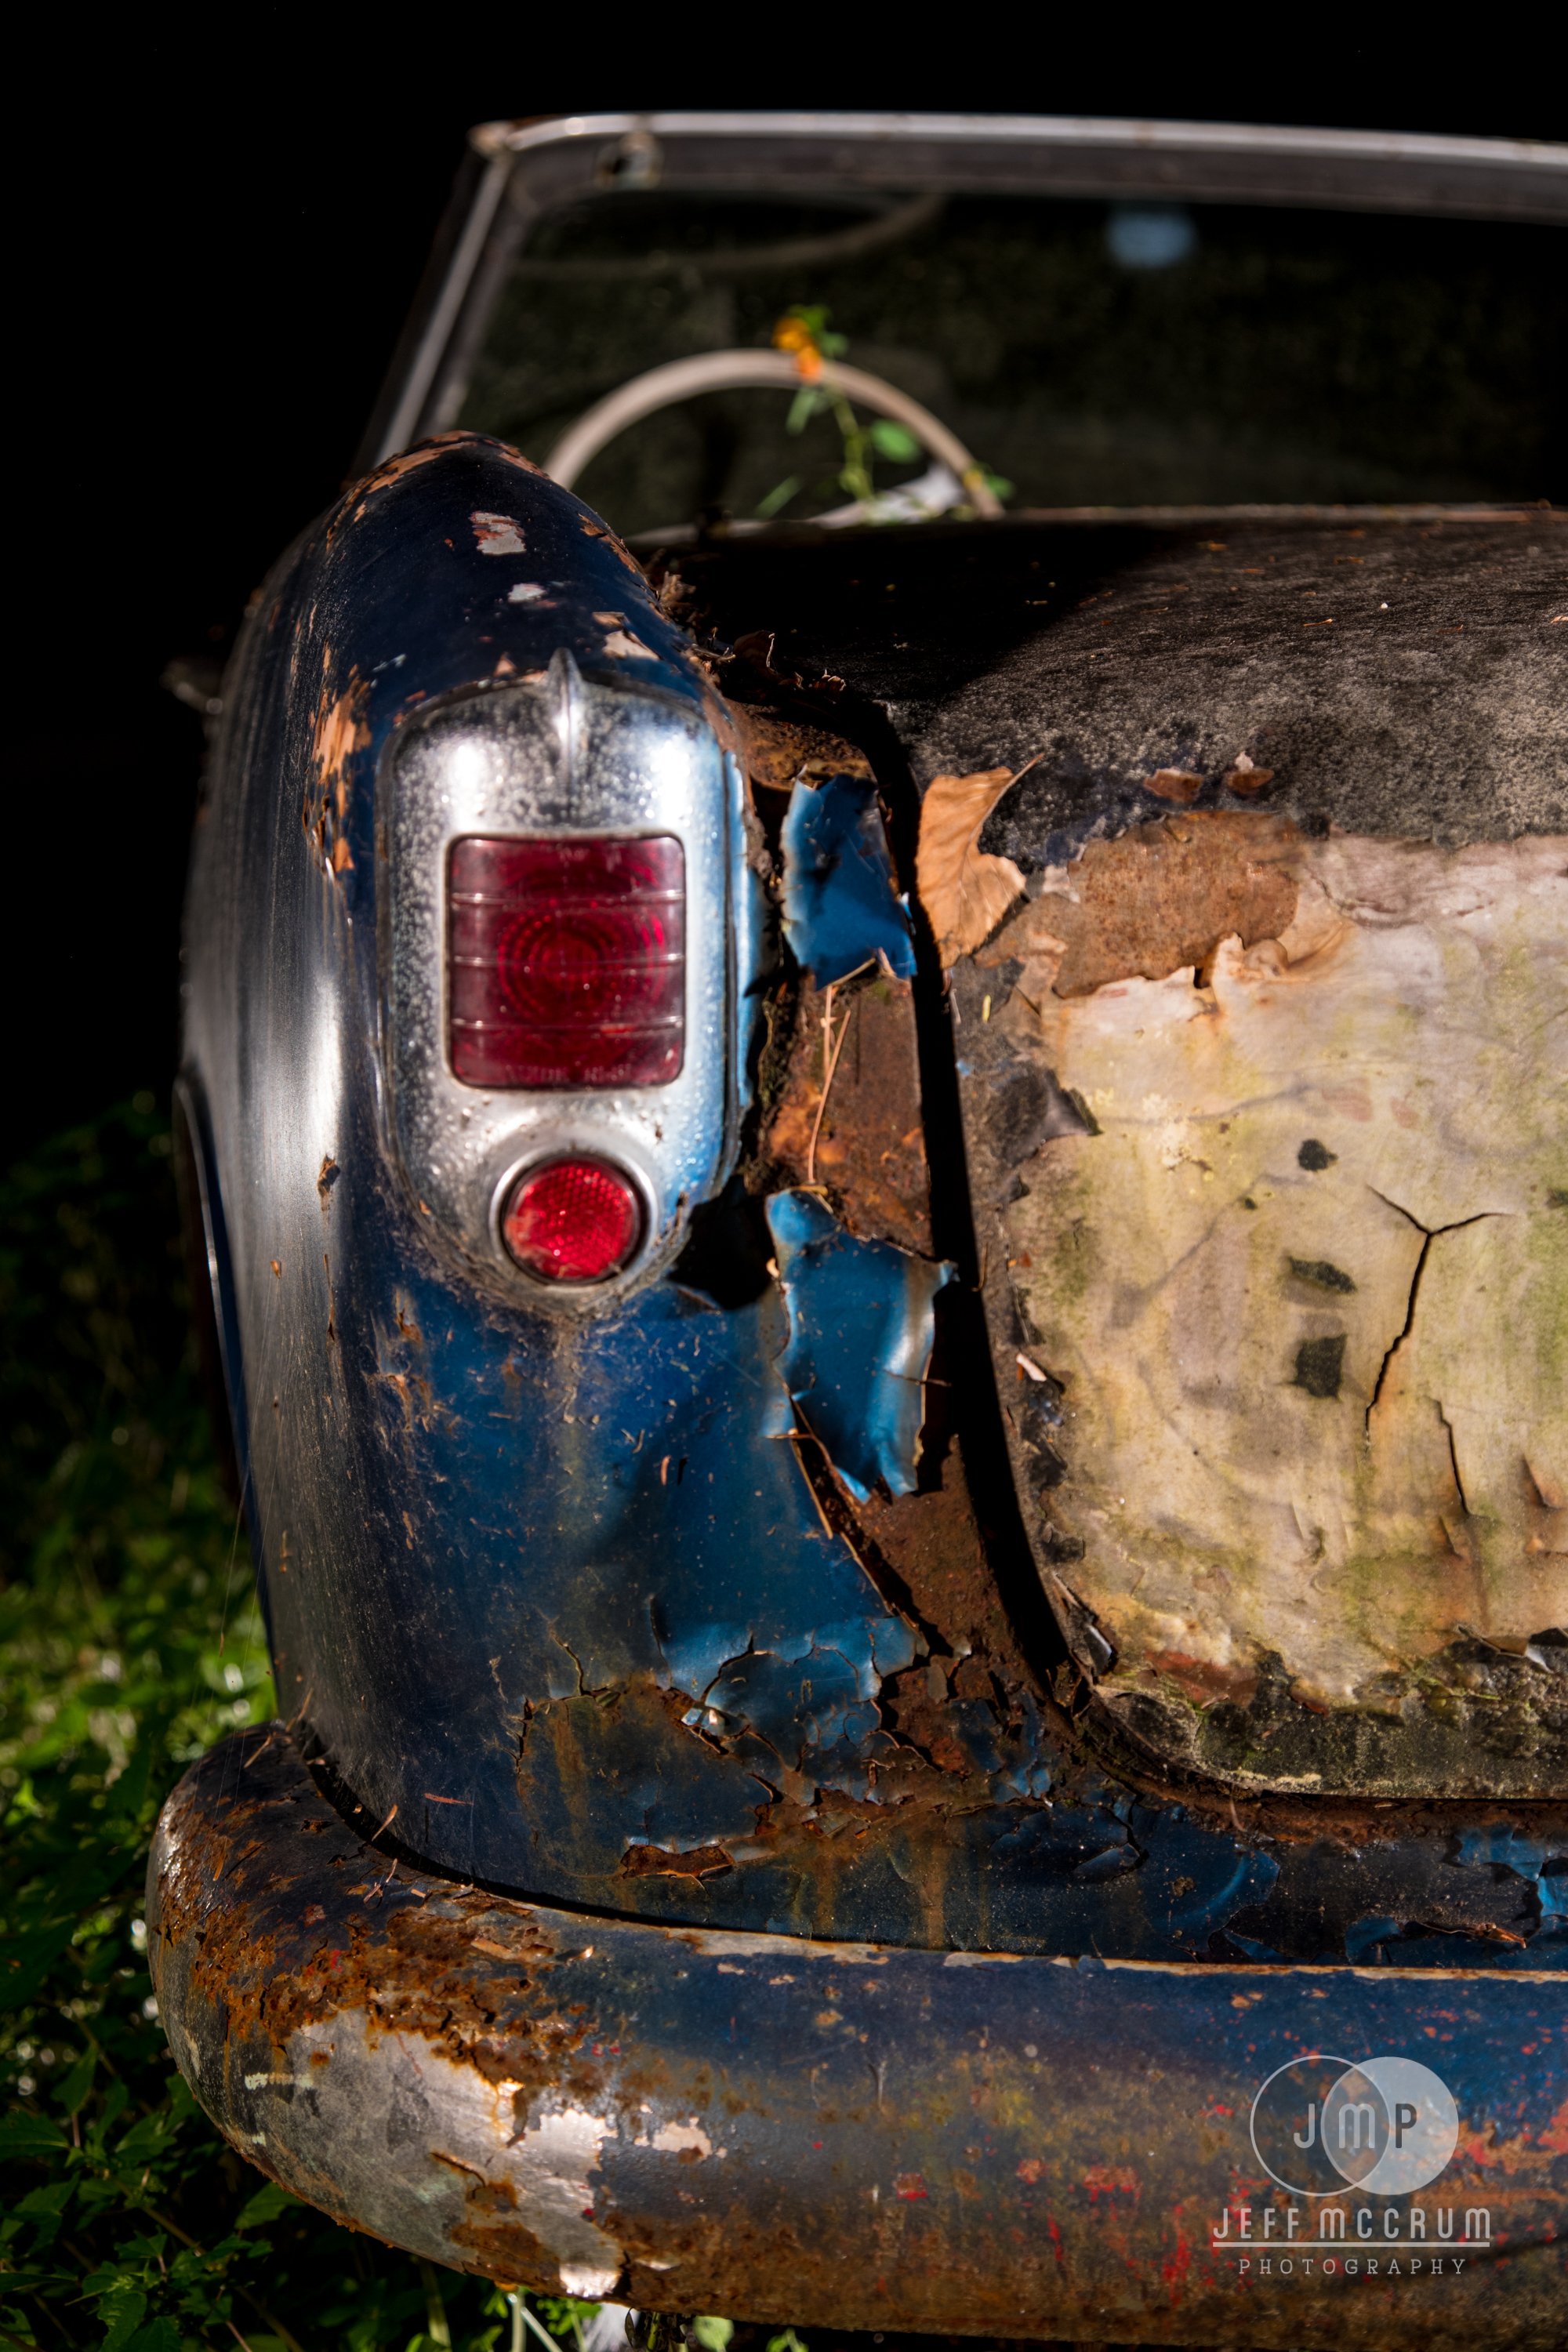
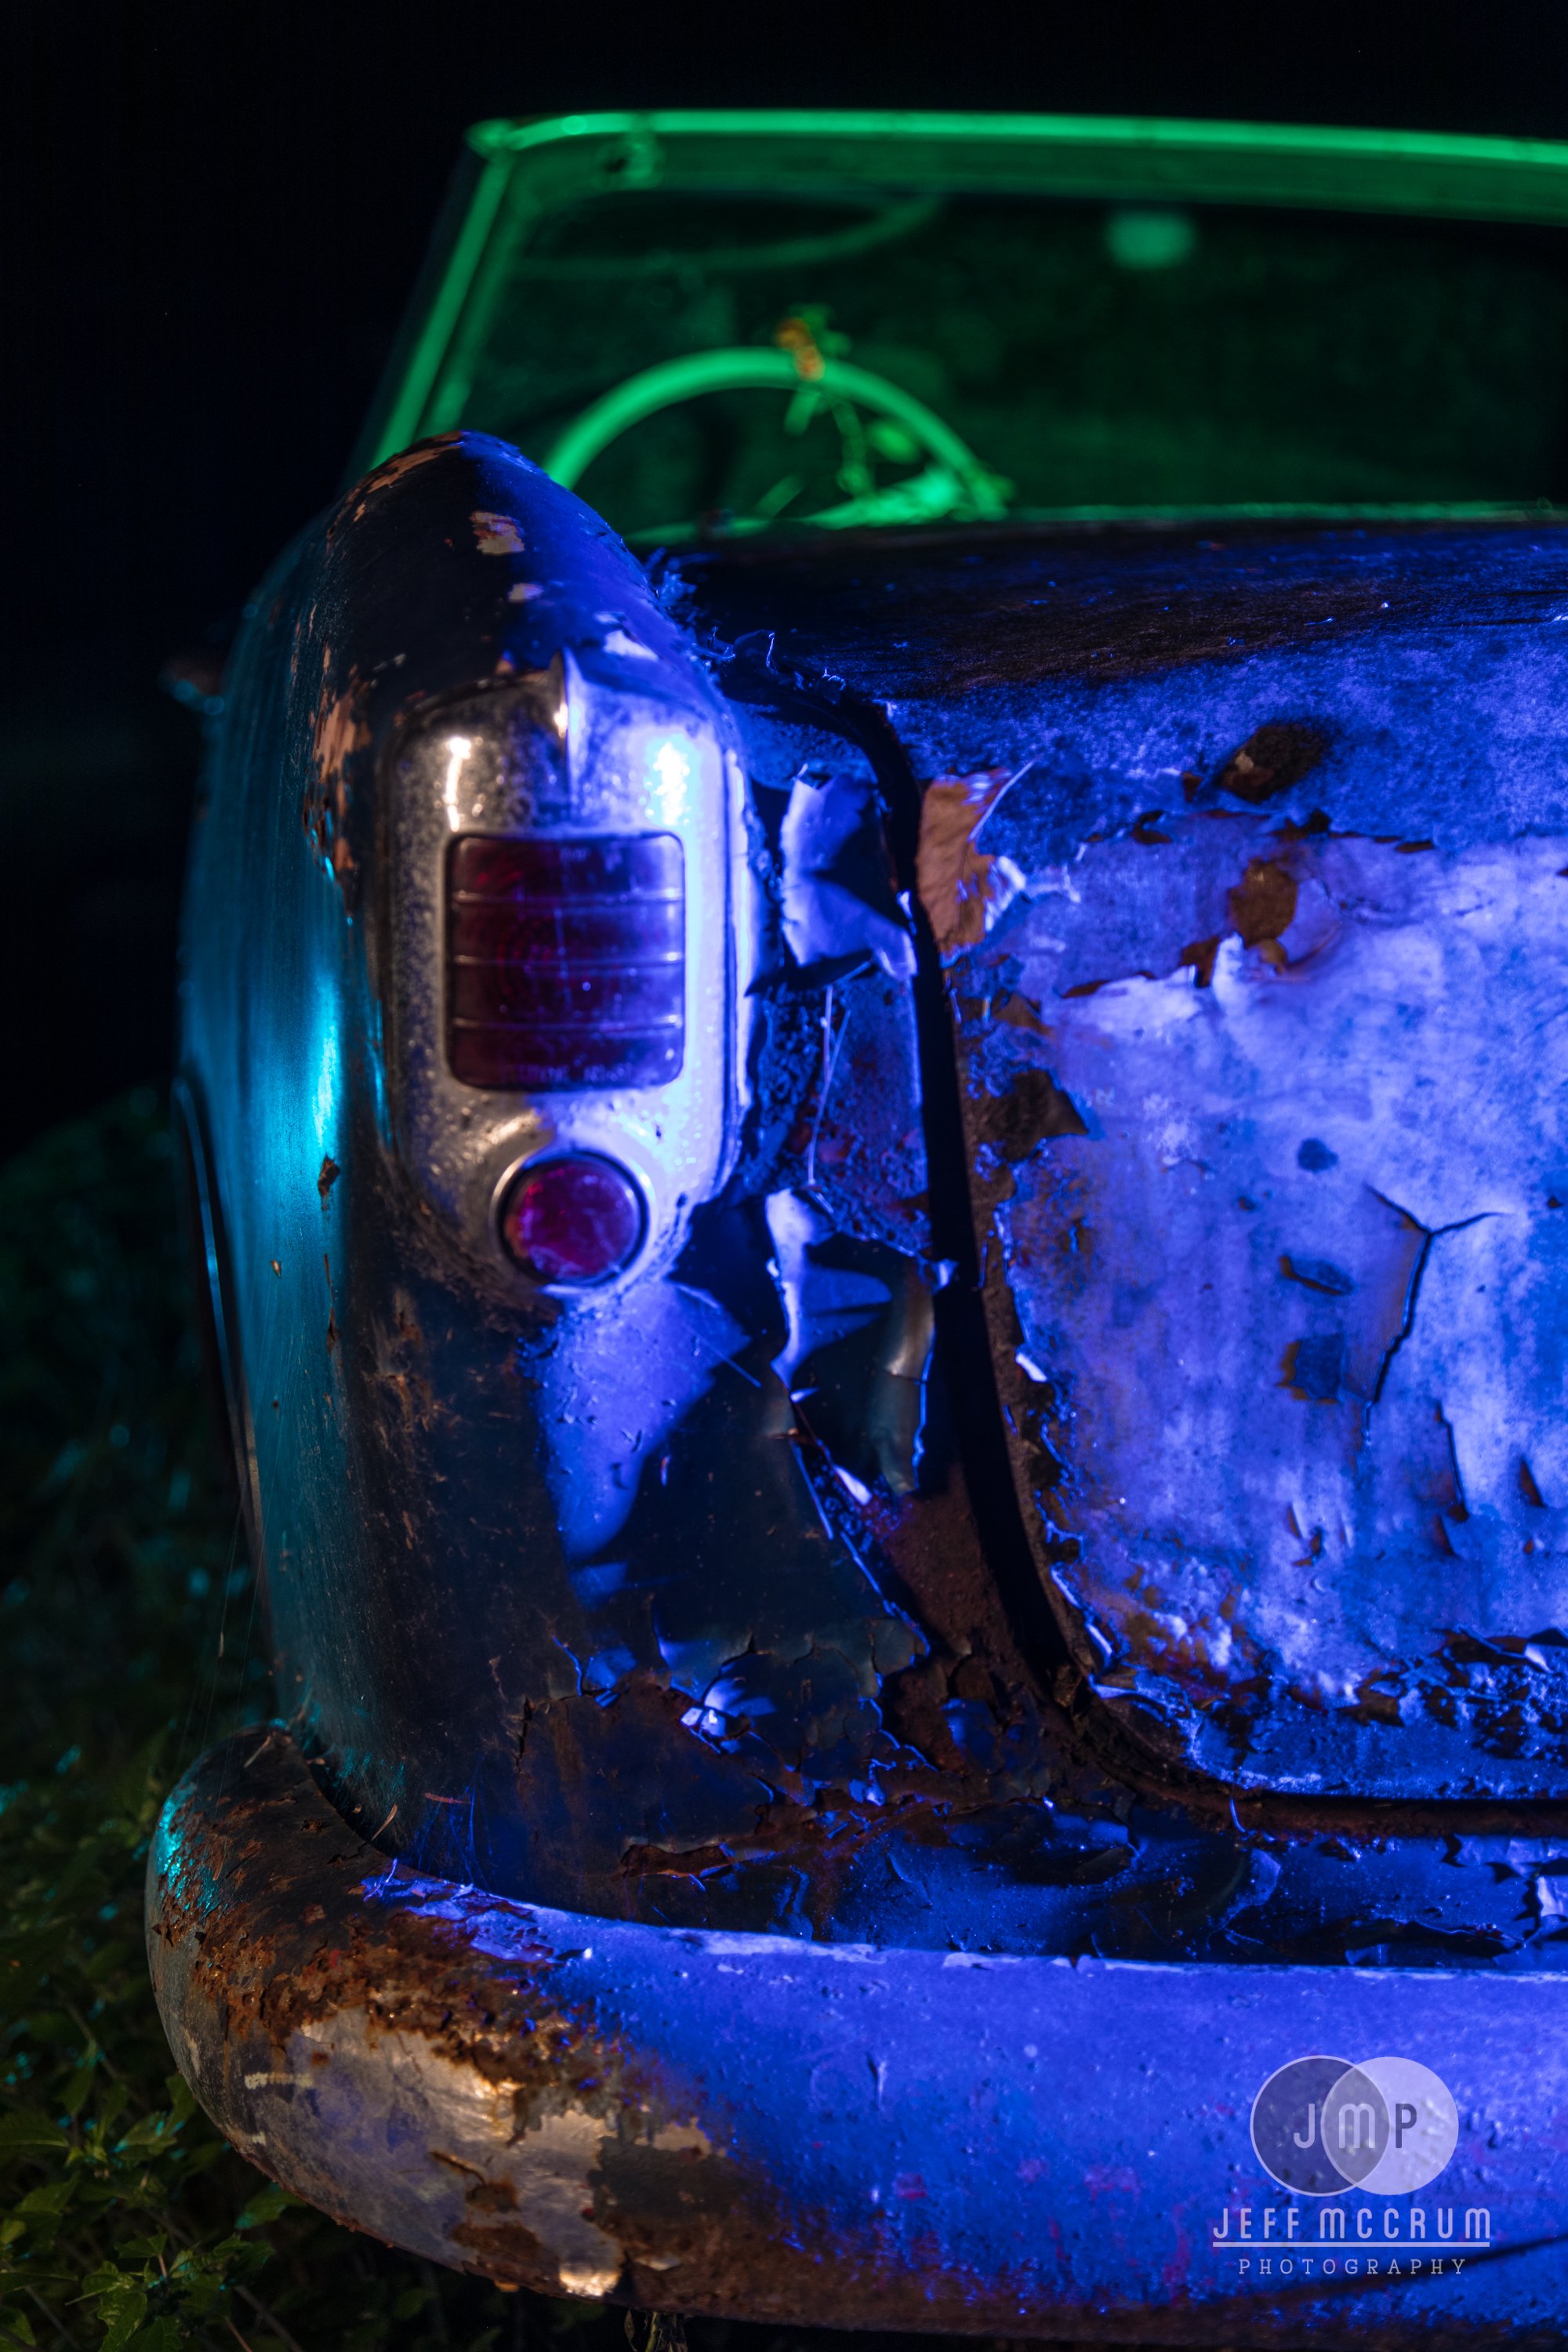
I had the opportunity to try out the Ulanzi on a workshop I was hosting on 47 acres of vintage cars with the intent of seeing how well the panels worked outside, where I assume most people would be using them. This also gave me the opportunity to test out the white and color options in comparison with the Luxli panel. The intensities are vastly different so when set to white the Luxli panels had to be dialed down to about 25% of whatever the Ulanzi was set to in order to balance, when shooting a variety of colors then the intensities will always be different regardless.
Upon arrival I brought out the smaller Ulanzi fixture to start and, although it was fully charged it did not turn on, only emitting a small buzzing noise that electronics should not have. So it went back in the bag and I changed to the 7” panel instead which did not have any issues. The smaller panel did end up working about an hour later for reasons unknown and has remained operational since so I remain unsure as to what the is or was.
Overall the Ulanzi fixture worked well, incredibly so for its price range. While it produces lower light levels than the Luxli, it was useful for night photography and I was very happy with the results. In white light, the only shots where the color difference was noticeable were those when the fixtures were all set to 4100K and only on the all-white car. The color images were impossible to determine which fixture was where without notes.
Conclusion:
Overall the fixture colors are very similar and if the Luxli Fiddle continues to have supply issues the Ulanzi fixture line is certainly worth consideration, especially at the price. There’s certainly going to be a space in my bag for these units, as they’re small enough to fit anywhere and functional enough to adapt to my typical manner of shooting.
There are practical considerations to be kept in mind however. First up is the build quality. The all plastic housing simply can not be compared to a cast aluminum housing of the Luxli. I still have no understanding if the smaller Ulanzi is going to fail again in the future. Secondly, the button quality does give me pause, as they feel like they might fail at some point. I do wish there was some finer granular control than the Ulanzi has, stepping through 100K adjustments with no ability to modify the green and magenta tones and brightness is in 1% steps from 0 to 100, but the fact that the fixtures are not bright to begin with helps out.
The Bluetooth connectivity and app for the Luxli provides a tremendous amount of flexibility, especially when lights have been placed and focused. Not needing to touch them again saves a lot of time when correcting adjustments. The next panel I look into as a Luxli Fiddle replacement will need to have Bluetooth capabilities; there is a lot of range financially between the $40 Ulanzi and the $260 Luxli. While I appreciate the Ulanzi units coming with grid accessories, the light loss is significant. Similar to the Luxli, the beam could be tighter and there could be more control over the spill light, which is something that I will be looking to rectify. I am aware that SmallRig makes the Bluetooth enabled RM75 which has piqued my interest with its capabilities, but the fact that it is only 5 watts means it should only have a similar performance with the VL49 Pro.
In summary, the Ulanzi RGB LED units are worth the price, and the color and white rendering is comparable to the Luxli Fiddle. The issues are more than offset by the cost savings even if they require me to walk over to them more often. If you need something before Luxli can come up with a replacement for the Fiddle, these Ulanzi RGB panels should hopefully last long enough.
Little Planet spherical photography
My good friend Matt Hill recently gave me a very thorough primer about panoramic night photography, he’s been at it for a few years now and we are all indebted to Michael James Murray who showed all of us the way some 15 years ago when it involved a lot more fighting with Photoshop and other digital battles. These days it’s a much, much easier process during the capture if you take the time to set things up properly and test before you get out into the field.
But I had an opportunity to visit Quebec soon after my weekend at Matt’s and took the opportunity to put my skills to the test. Adding to the complexity was a bitterly cold night (about 30F with winds about 35 MPH at the top of the hill) so I was quite happy with these two final images from my first outing. Each of them is made from about 90 images taken on a specialized mount to ensure the rotation happens around the center of the lens itself instead of the camera. This prevents parallax, where objects don't meet when shooting panoramas which screws up the software processing these images. I also took two additional sets of exposures to make HDR images, which are sometimes used in challenging lighting situations with streetlights and unlit building parts.
I’m certain that the writing of it sounds a lot more complicated than it is in reality; mostly because I never fully understood it when I read about it online, the doing of it is a fairly straighforward process once you see it done. The gear to take spherical panoramas simply fits into a hand and is leightweight enough that I can throw it into my bag and not be anxious about needing to leave something else out when I travel as a result.
For Little Planets anything that sticks up above the horizon is a good start, add the fact the Chateau Frontenac is a dramatic subject and you can see why I braved the wind and cold. You can also see why I”m really excited about showing others how to capture similar shots in Venice this October, the campanilles, the narrow streets, the Rialto bridge, the churches, what opportunities for making great images. So come along and join my friend Shehab and I on our workshop, we’re going to help show you an amazing city.
Hosting a workshop in Venice
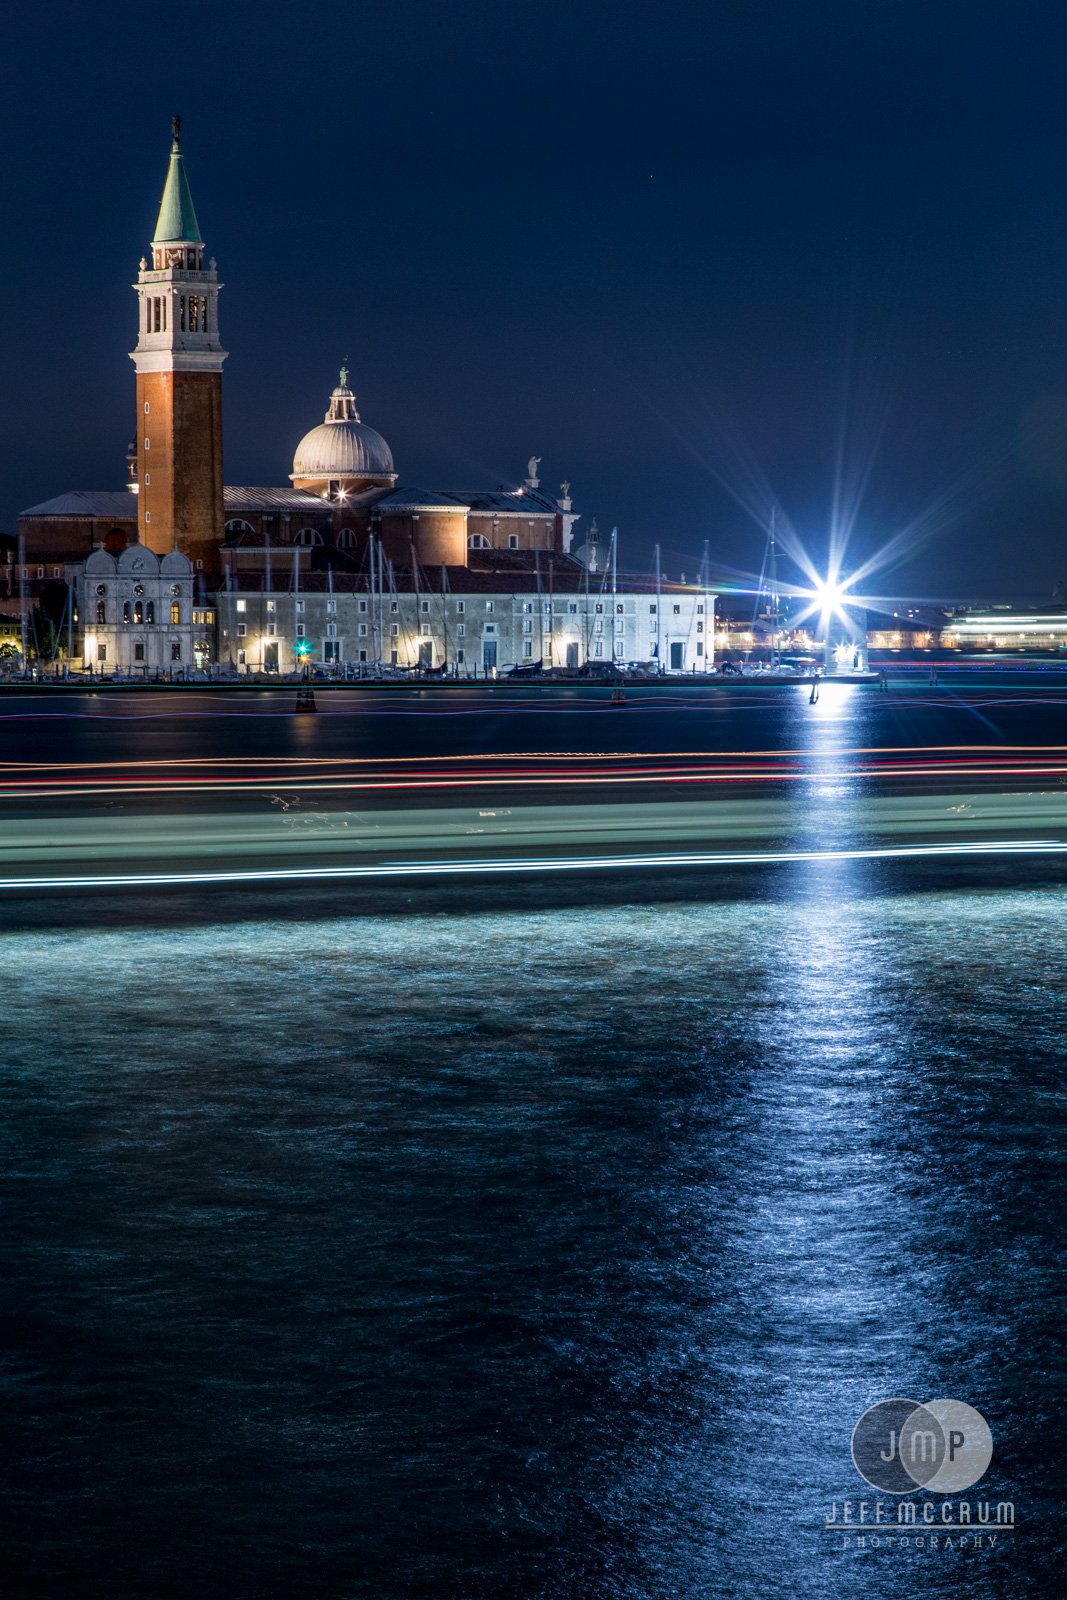
Venice always seemed to be one of the most foreign cities on Earth. No roads anywhere but streets made of water! And a Medieval city on top of it, with ancient buildings steeped in history. It seemed unreal when I read about it as a kid and when I had the opportunity to visit for a day in 2019 I leapt at it. Arriving by train across the lagoon I was like Katherine Hepburn in Summertime, looking out the window and wondering if I would like it.
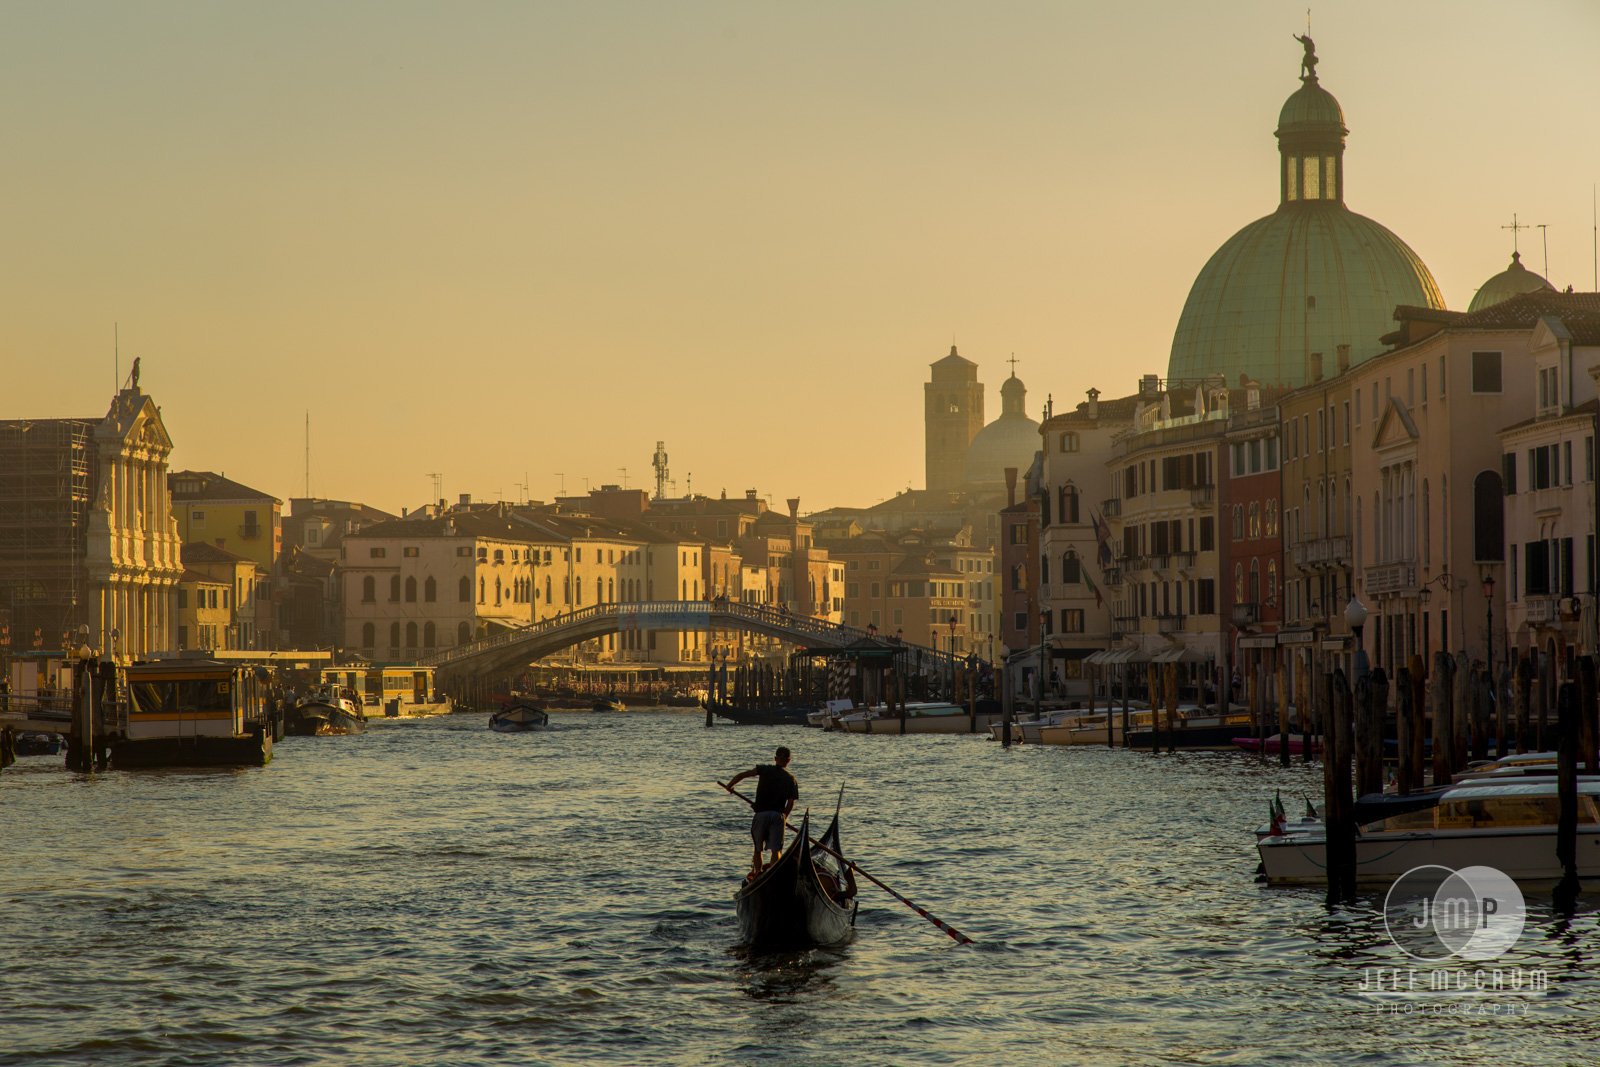
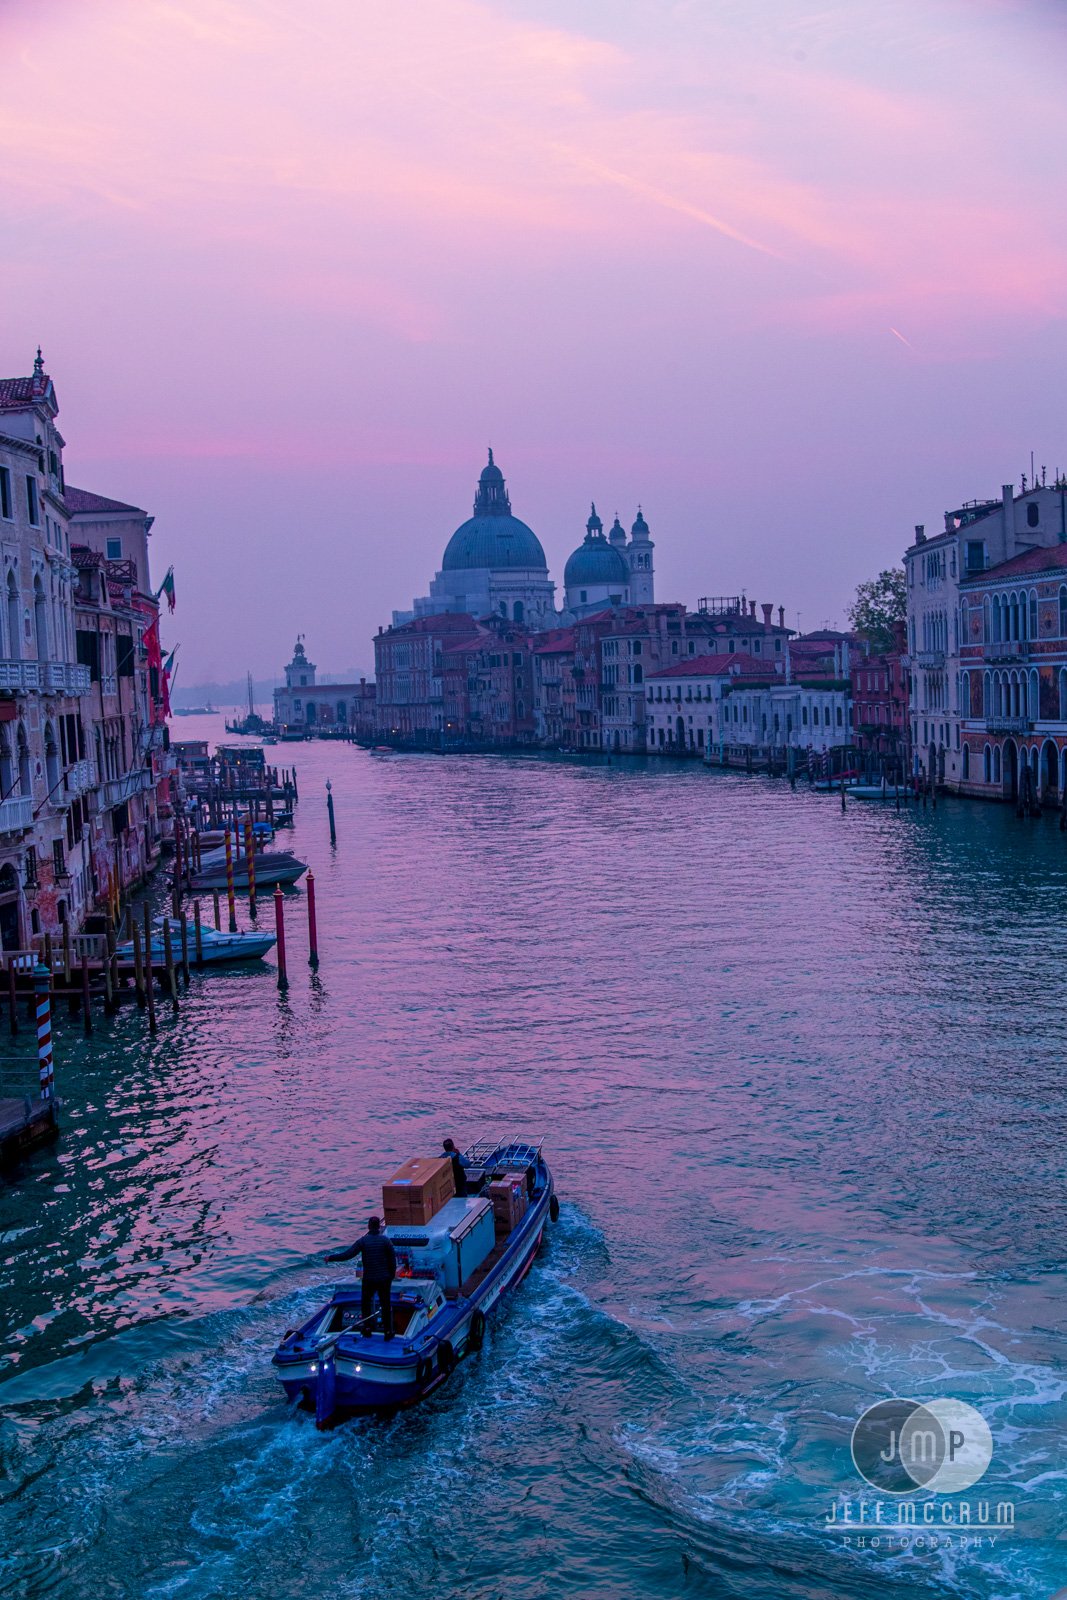
Entering into the chaos of a June afternoon I was in awe. I had no working knowledge of Italian other than “bathroom,” “please,” and “thank you,” and no map other than my phone. But I also had my camera, a tripod, and a plan to take the second-to-last train back to Trieste at 9:30. Into the masses I waded, in awe of the variety of boats puttering along the Grand Canal. I found my way to the Rialto Bridge and Piazza San Marco by surreptitiously following tour groups led by someone with a flag or an umbrella. It was crowded and busy and, as it was early afternoon, fairly boring light from above, so I had an early dinner and anxiously waited for sunset to arrive.
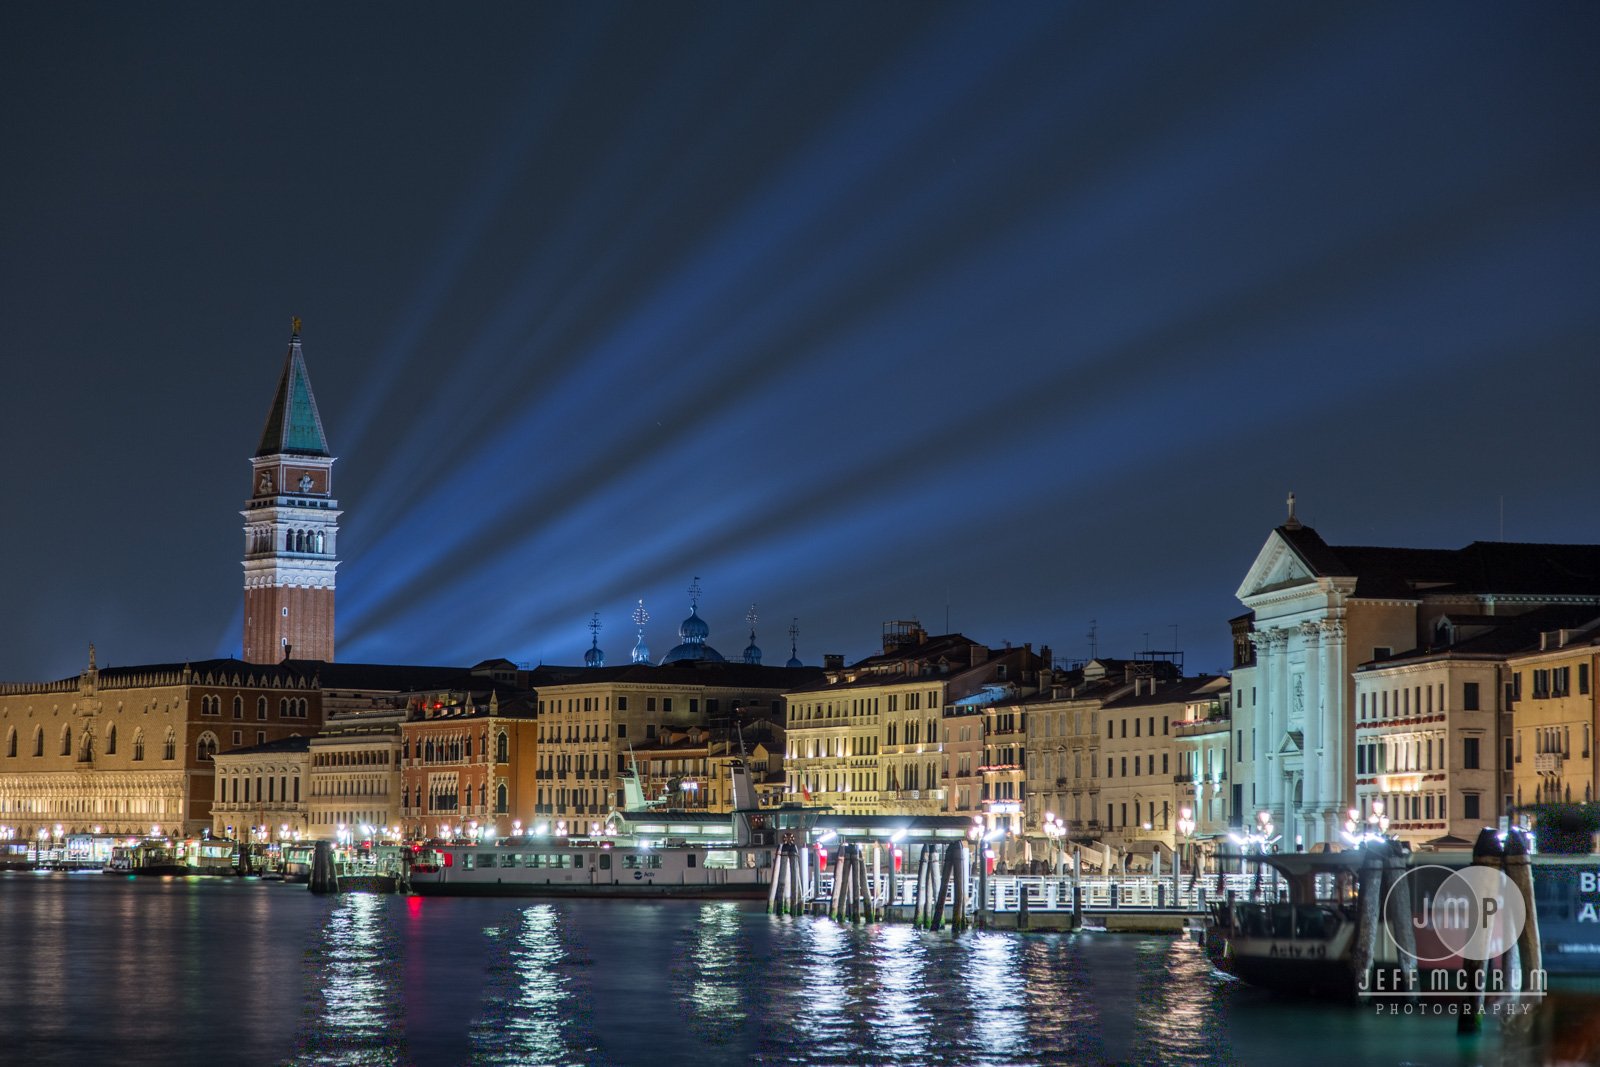
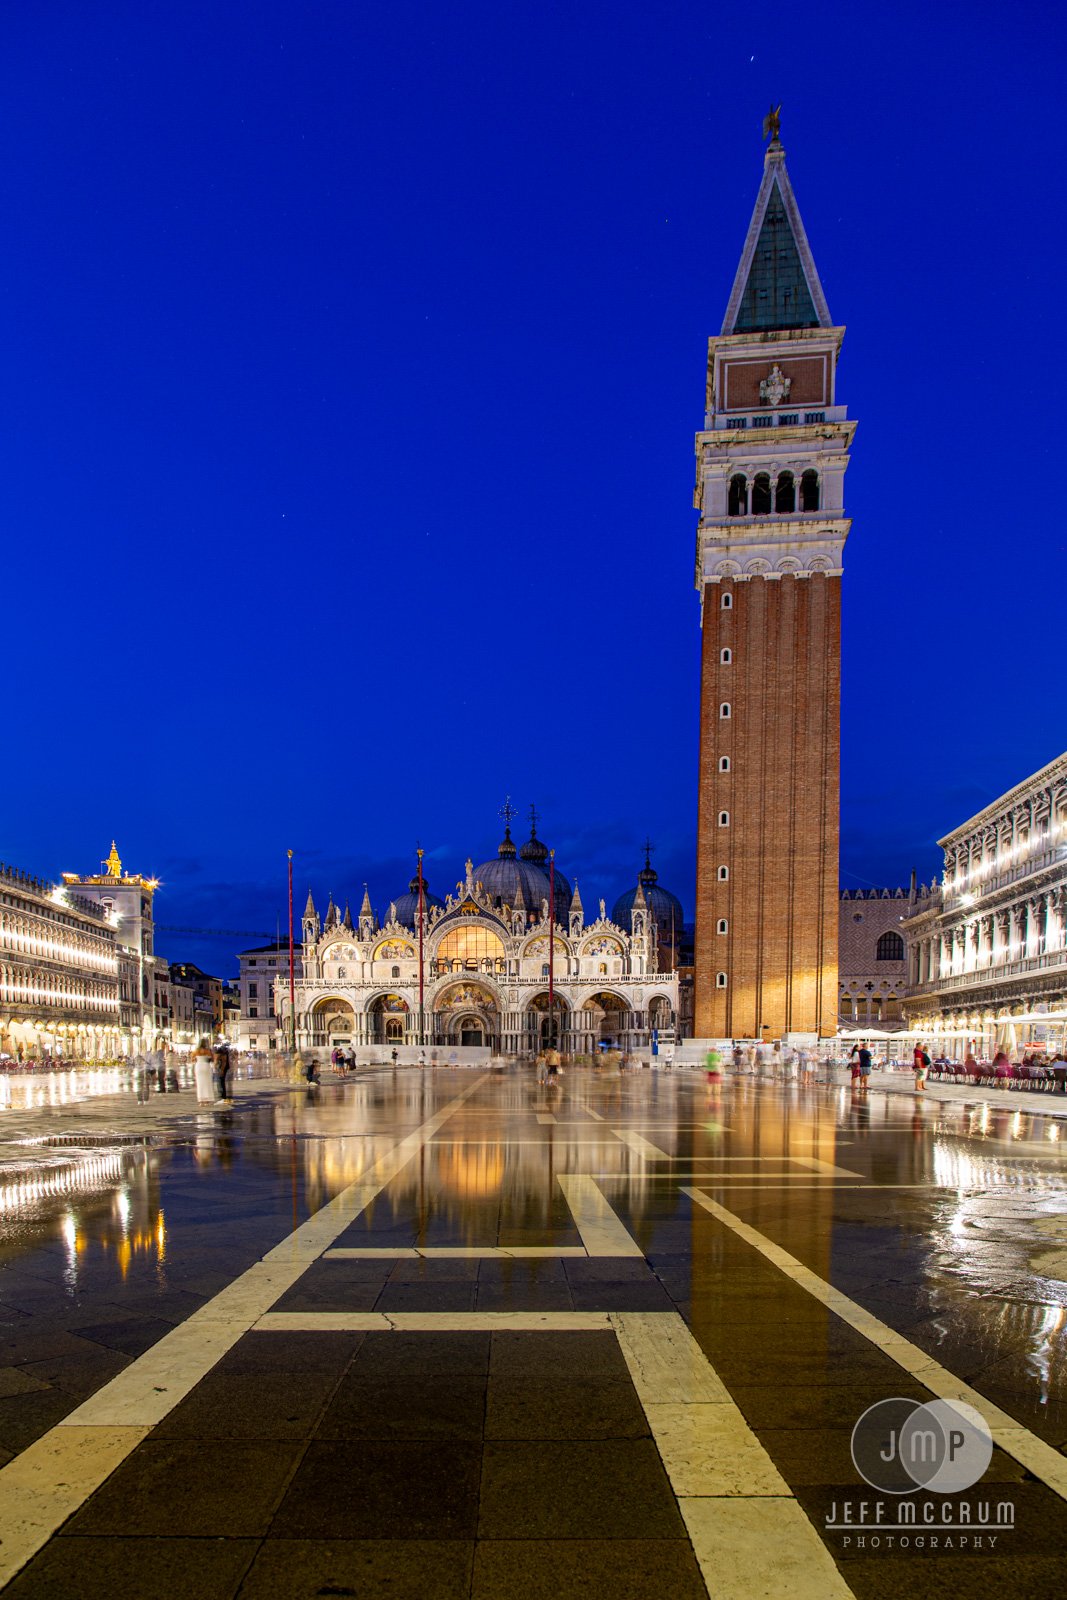
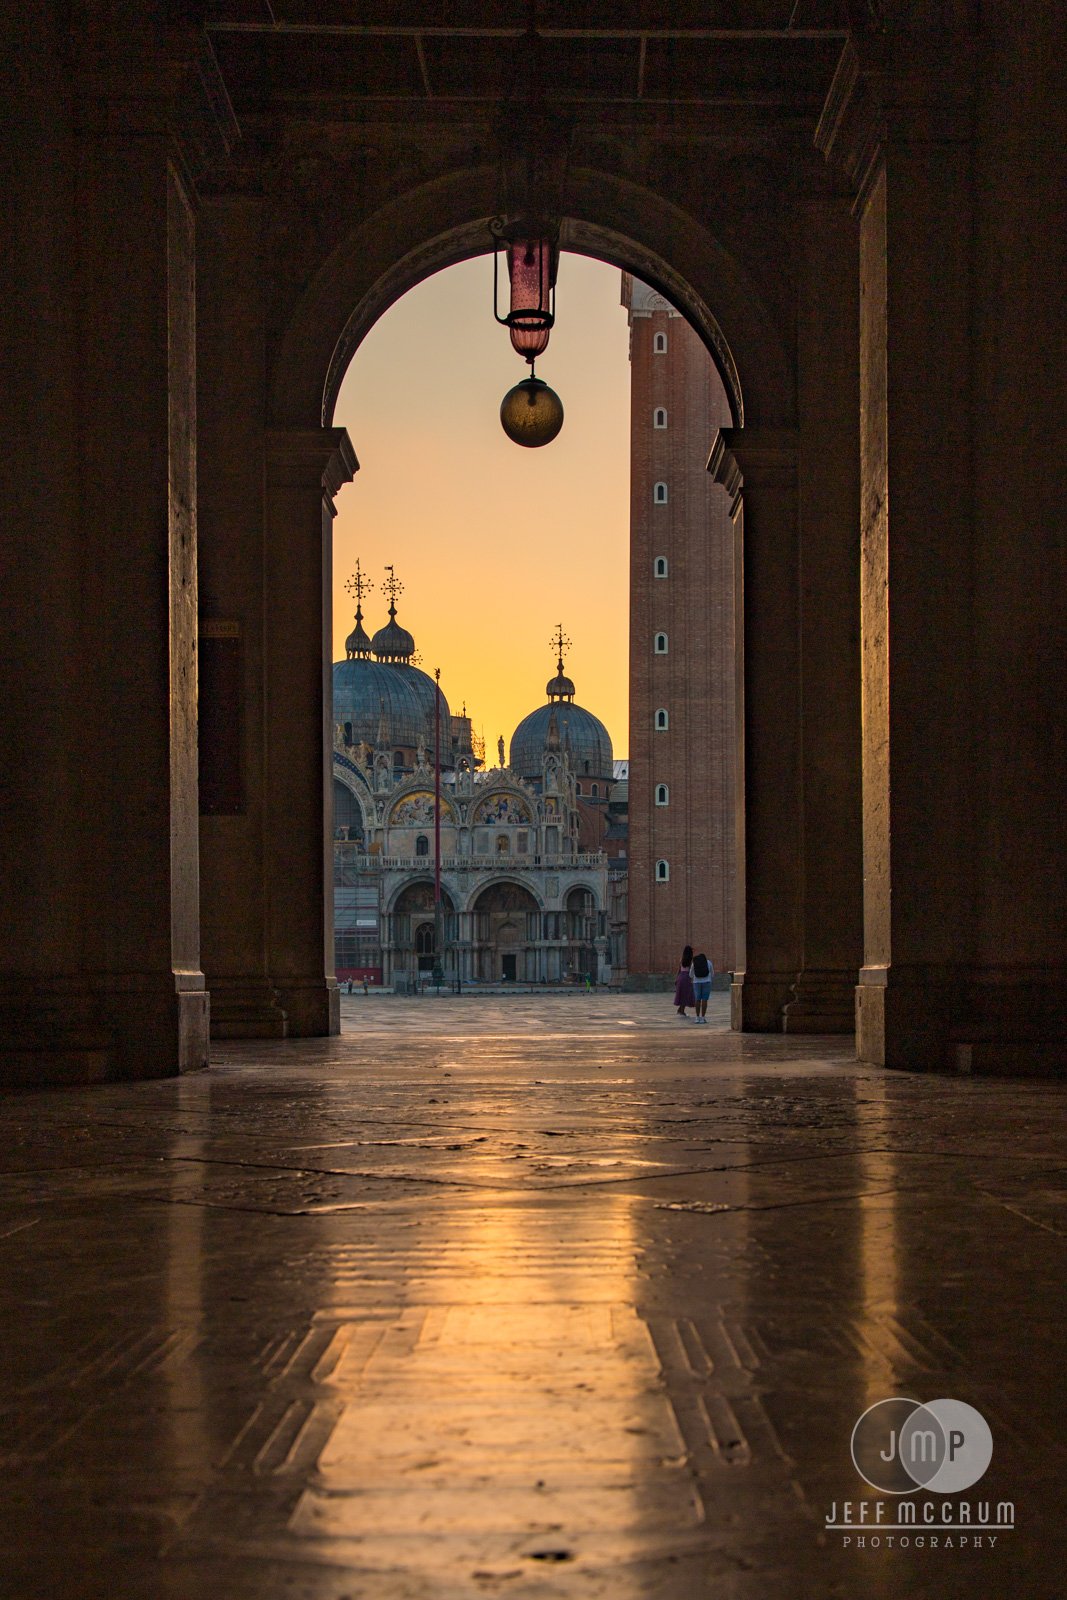
I was in Piazza San Marco at the time when the square lost its direct sunlight, leaving the campanile and gold-topped Basilica alight; it was phenomenal and I suddenly realized the city was too large to try and capture it all in a day. I wandered around the San Marco neighborhood shooting the colorful canals, lit in the diffuse fading light, with the sky above a magnificent azure, reflecting in the water. The blue hour really worked well to be able to still see the tops of buildings and define those shapes.
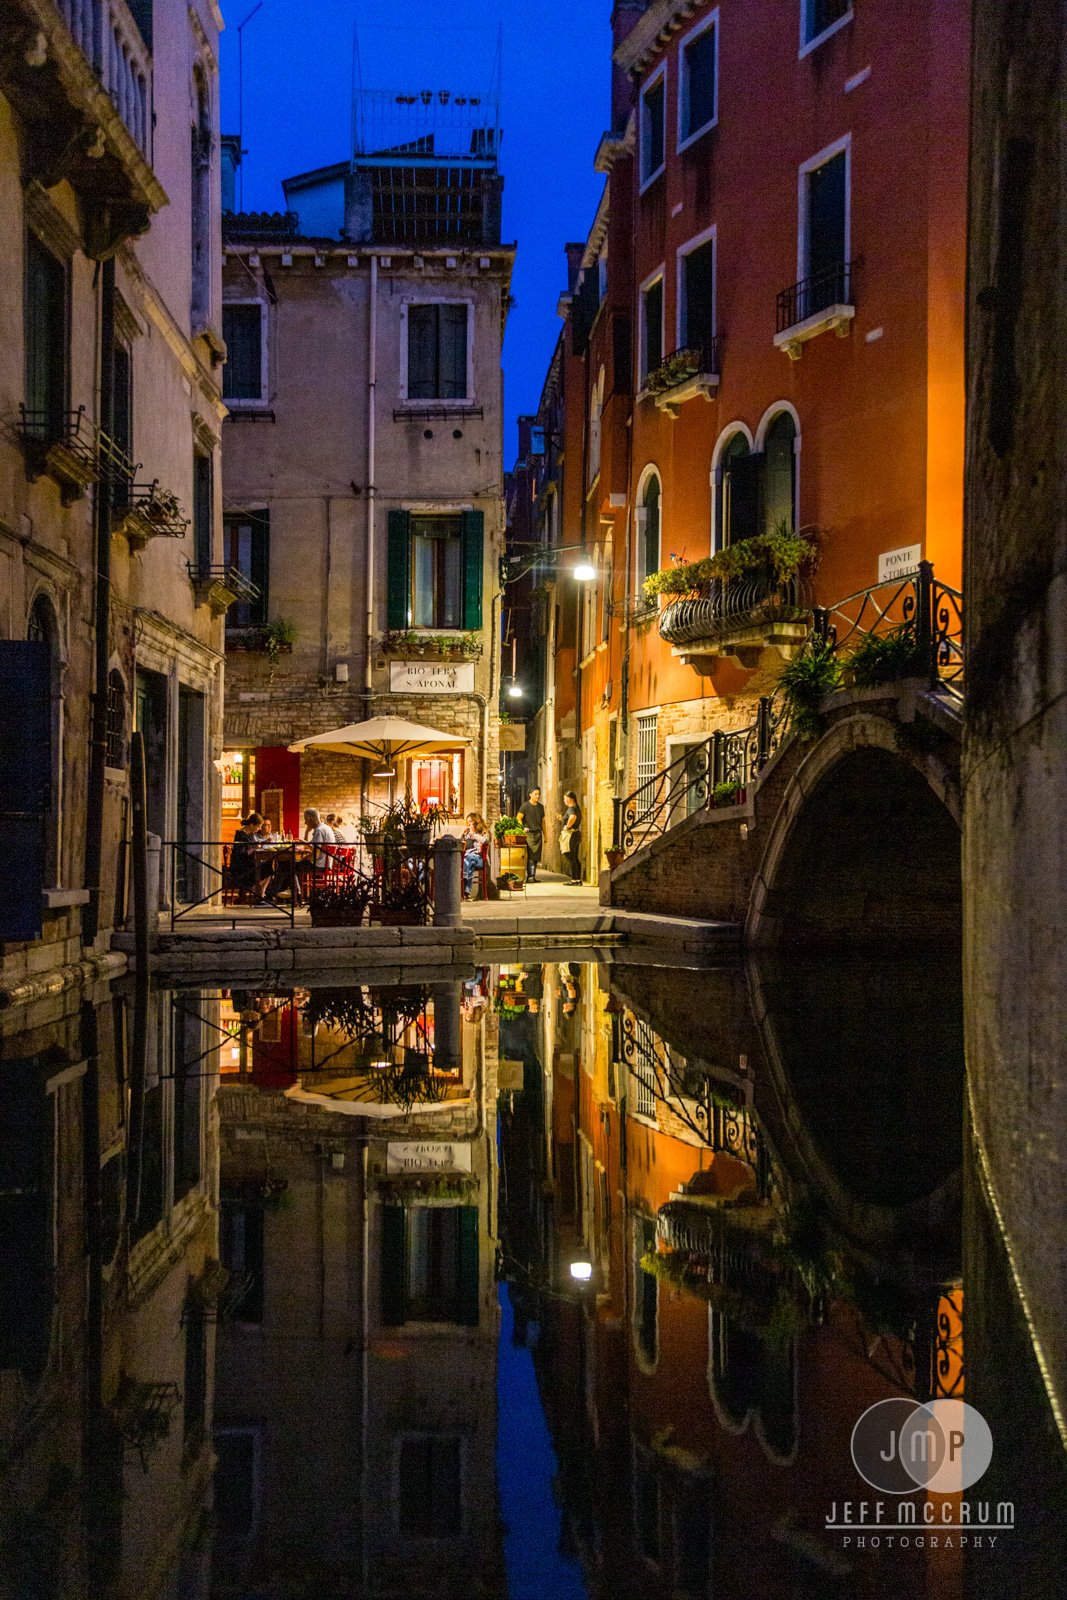
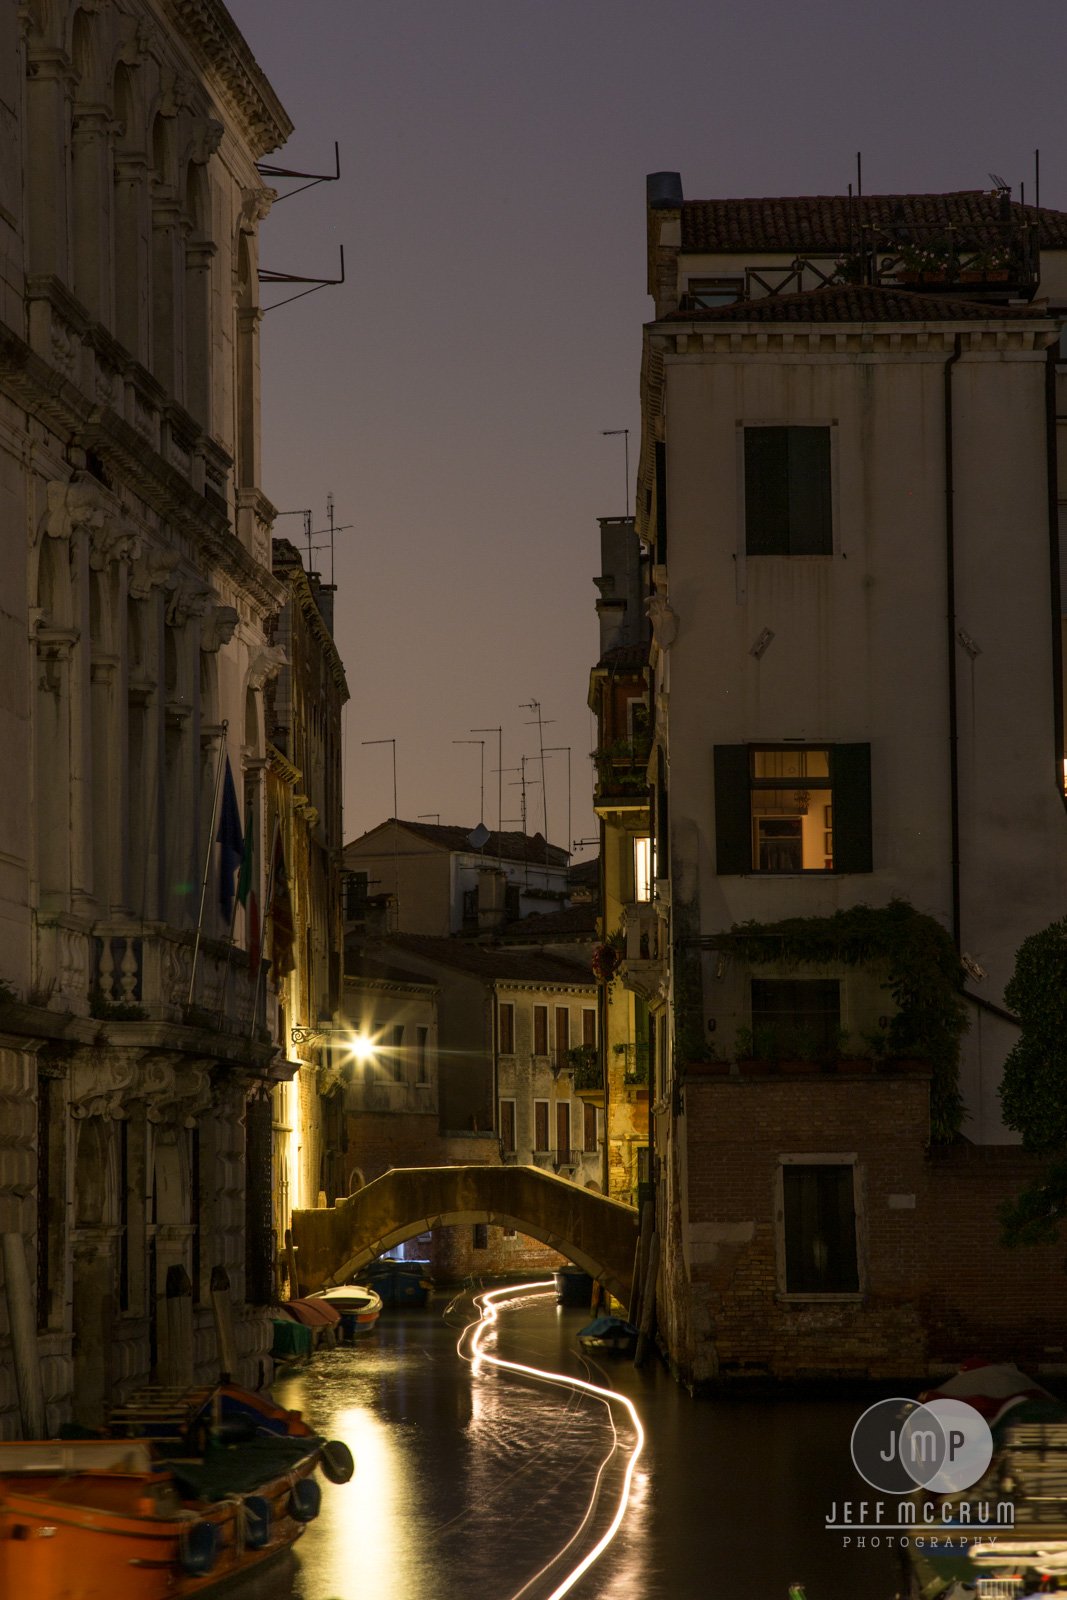
As darkness fell the lanterns came to life revealing an entirely different version of the city: smaller, more intimate, pools of light creating incredible silhouettes of pedestrians moving through the space. Well-lit restaurants with diners and light spilling into the sidewalks while the waterways reflected long lines across the images. Smaller canals had gondolas leaving light trails meandering through the inky canals created mystery to long exposures.
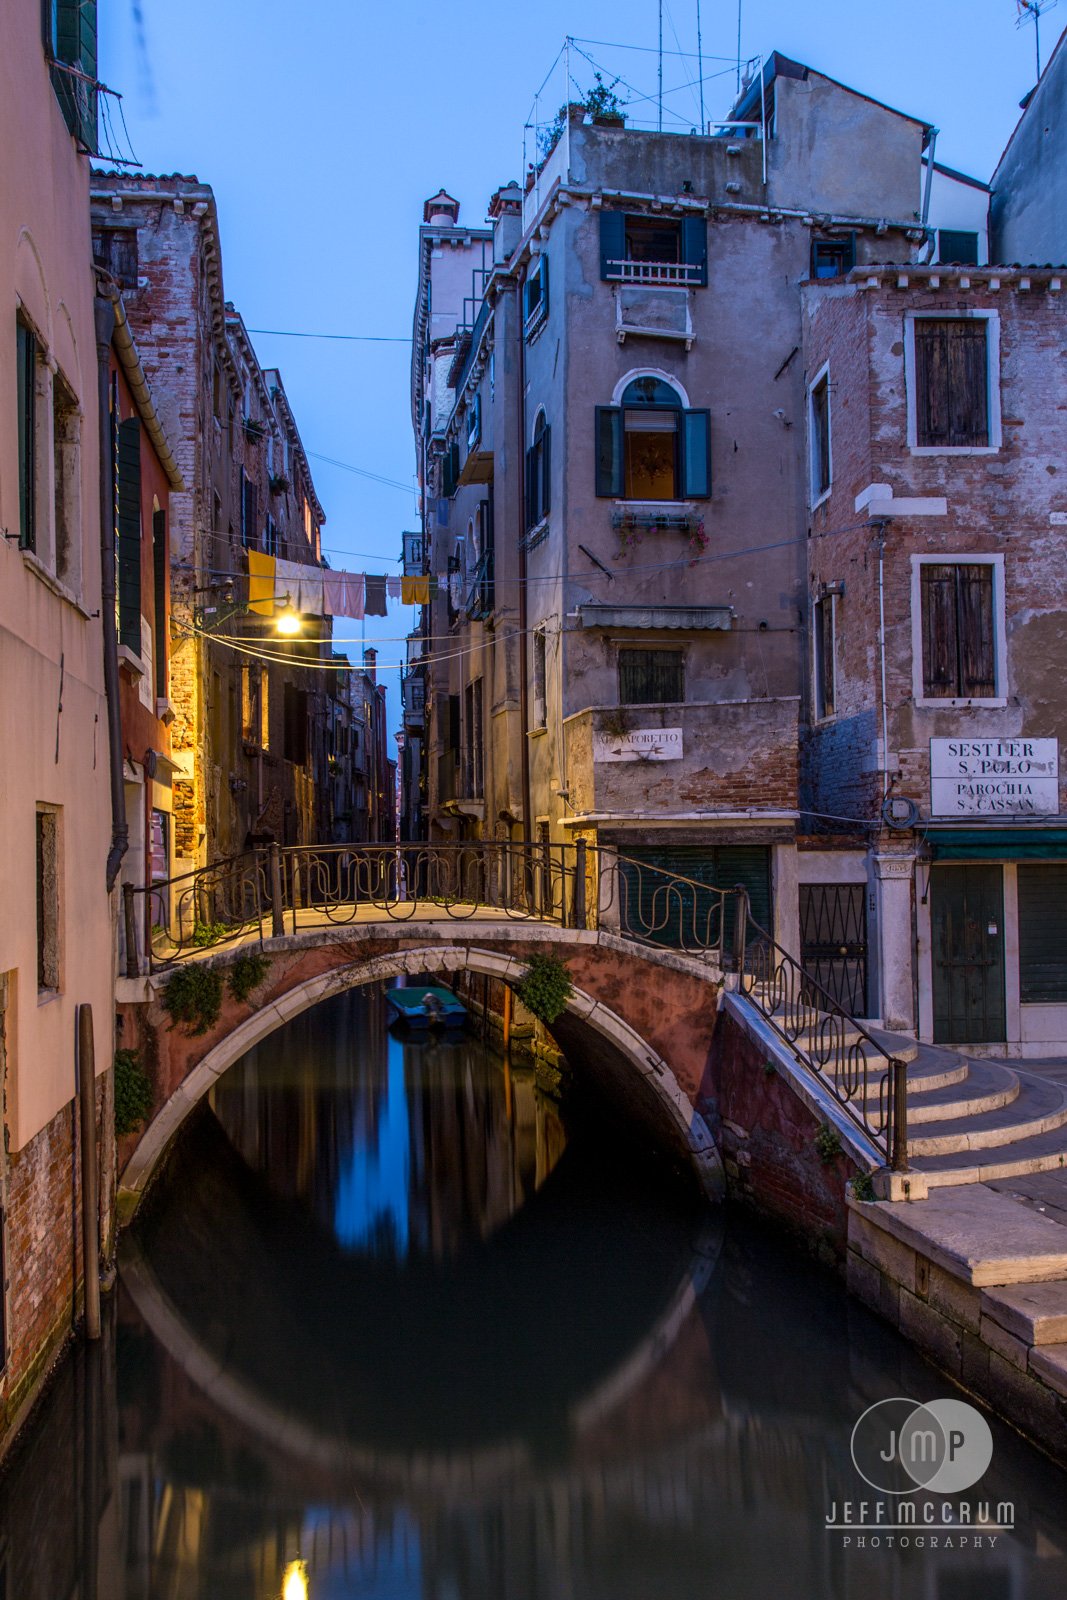
Every shot was fascinating and I felt my scheduled train departure creeping closer and closer. At 9:30 I found myself deep in the middle of the Cannaregio, 20 minutes from the train station and now well aware I had to make the 10:30 train unless I wanted to sleep on the sidewalk until 5 AM. I slowly wandered back towards the train station with more purpose now, anxious about taking a wrong turn to a dead end alley. But those dead ends! Even they led to such interesting locations, sill canals framed by flower pots or laundry forgotten on the line overnight.
In the end I still had to hustle for the train, picking up my bag of clothing from luggage storage and slumping into a seat with about eight other people in the car. It was a quiet ride and I spent most of it reviewing images. My trip to Venice had been a magical unreal day and I wished that it had been even longer. I have been lucky enough to come back time and again over the past five years and decided to help others create their own magical memories by creating a workshop to lead others through the city, you can find out more about it here.
3D printing and photography
3D printing and film photography
When I first heard about 3D printing I asked my friend Dave at a makerspace what they could really be used for. “They’re a hammer for every nail out there,” was the answer and it didn’t make much sense. It turns out that what Dave meant is that you need to review what your actual problems are because 3D printing can solve a vast majority of them you just need to consider what your actual problems are.
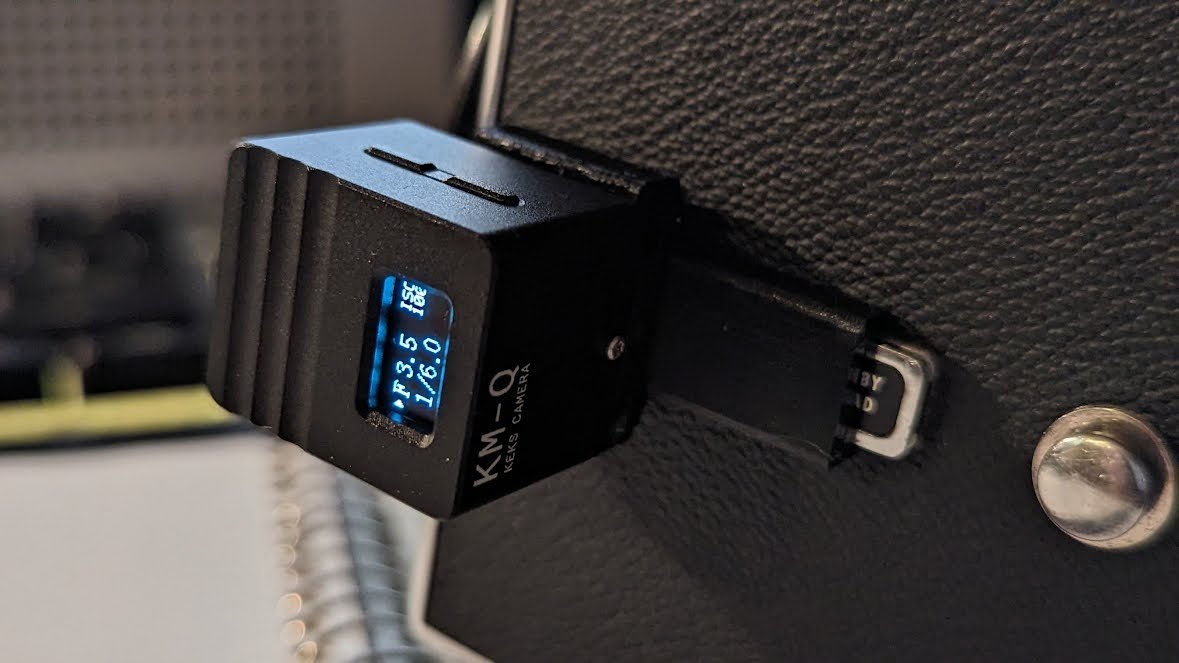
I still enjoy film photography, it’s slow, methodical, very limited with the shot quantity, and, in my case, monochromatic. The limits are what I like about it, being forced to really think about that composition and if it’s worth 1/12th of what I want to record that day. Quite the opposite from cards that hold gigabytes. One thing I had gotten over the holidays was a small Keks light meter, as hauling around a meter that is the size of my folding Agfa Isolette III is kind of ridiculous. So having a smaller option that slid into the cold shoe was a delight.
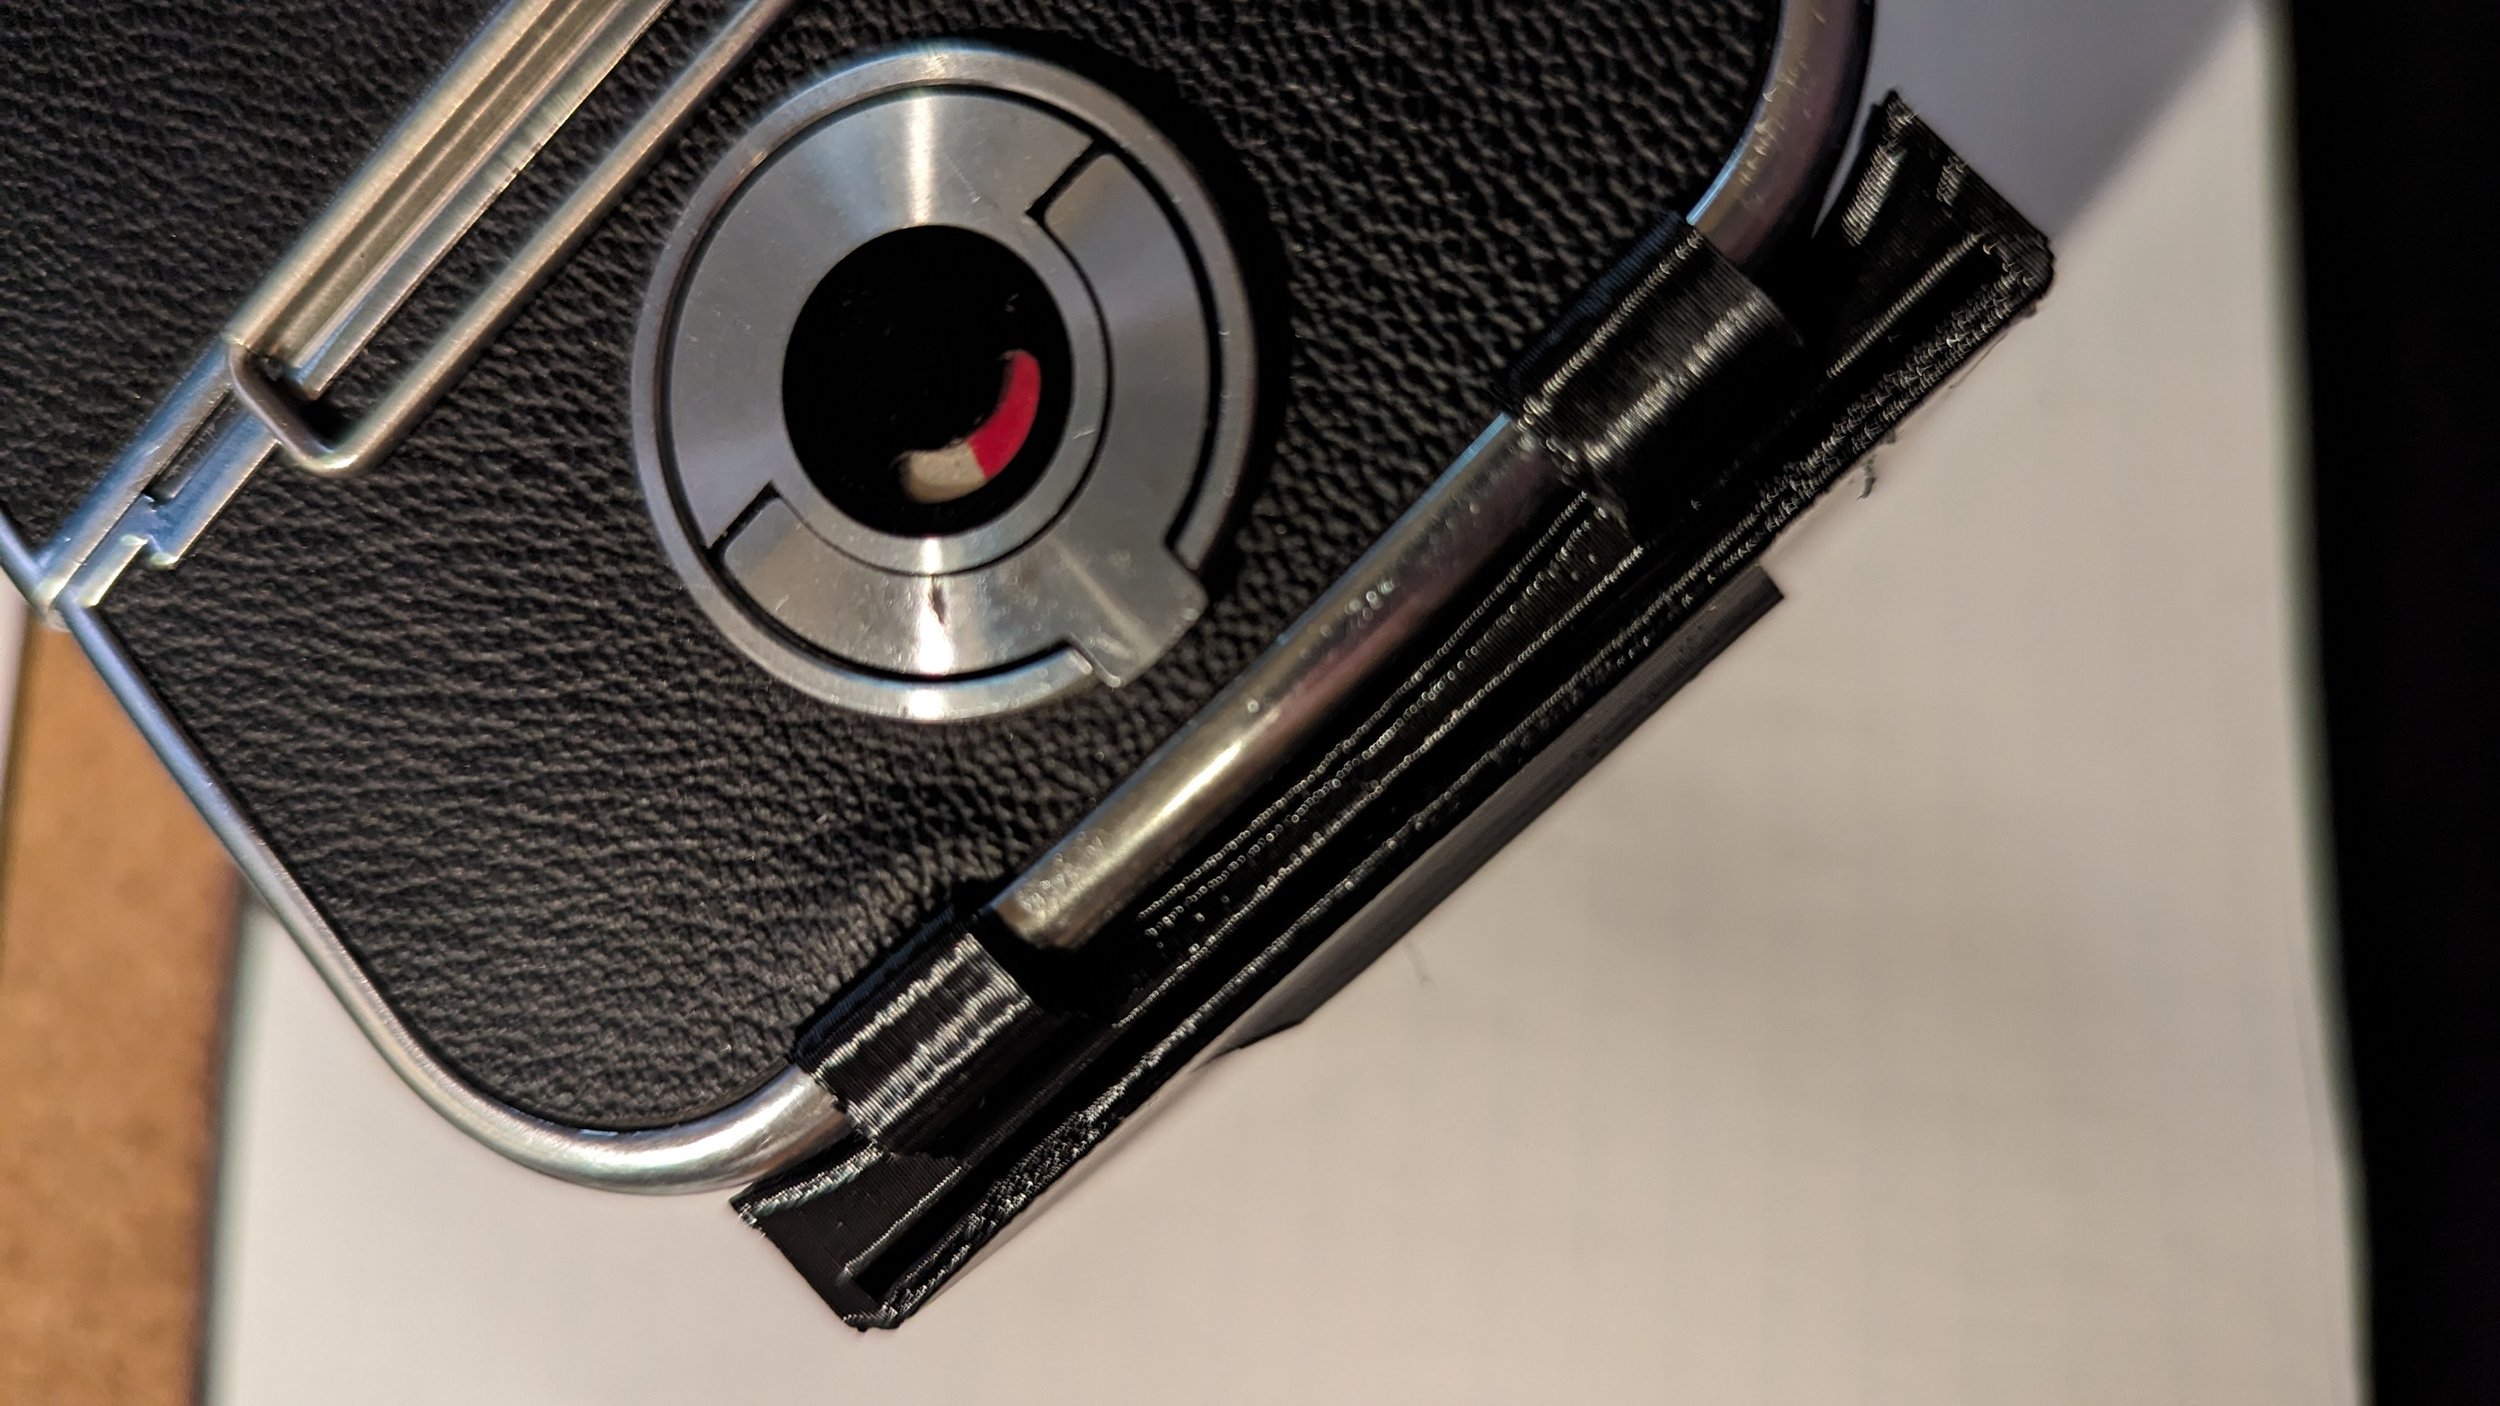
However, I looked over at my Hasselblad 500 and really wanted to find a way to attach the Keks to the Hassy, unfortunately for me the Hasselblad’s small rail would require a fairly expensive cold shoe solution. To add to the complexity the width of the cold shoe on the Hasselblad was larger than the one for the Agfa. So, checking the typical 3D printing file locations I found a good start to a printable rail onto the Hasselblad that I could modify to perfectly fit the Keks.
44 minutes later I had the solution in my hand and everything slid in perfectly to save me a lot of time, money and space in my bag.
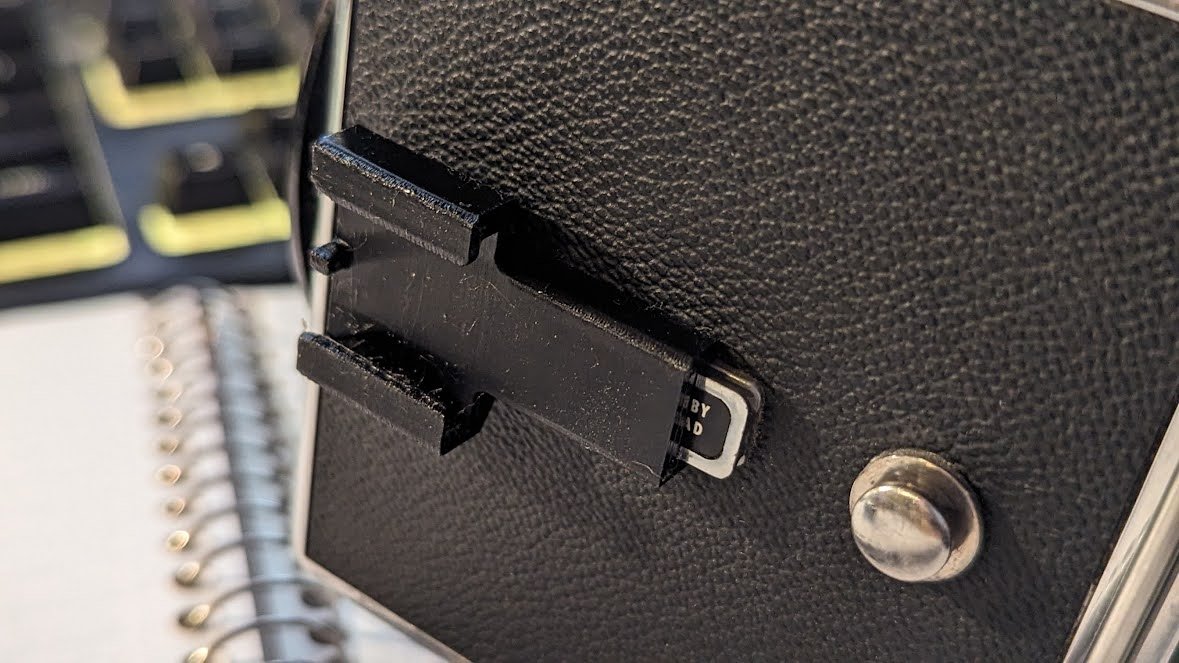
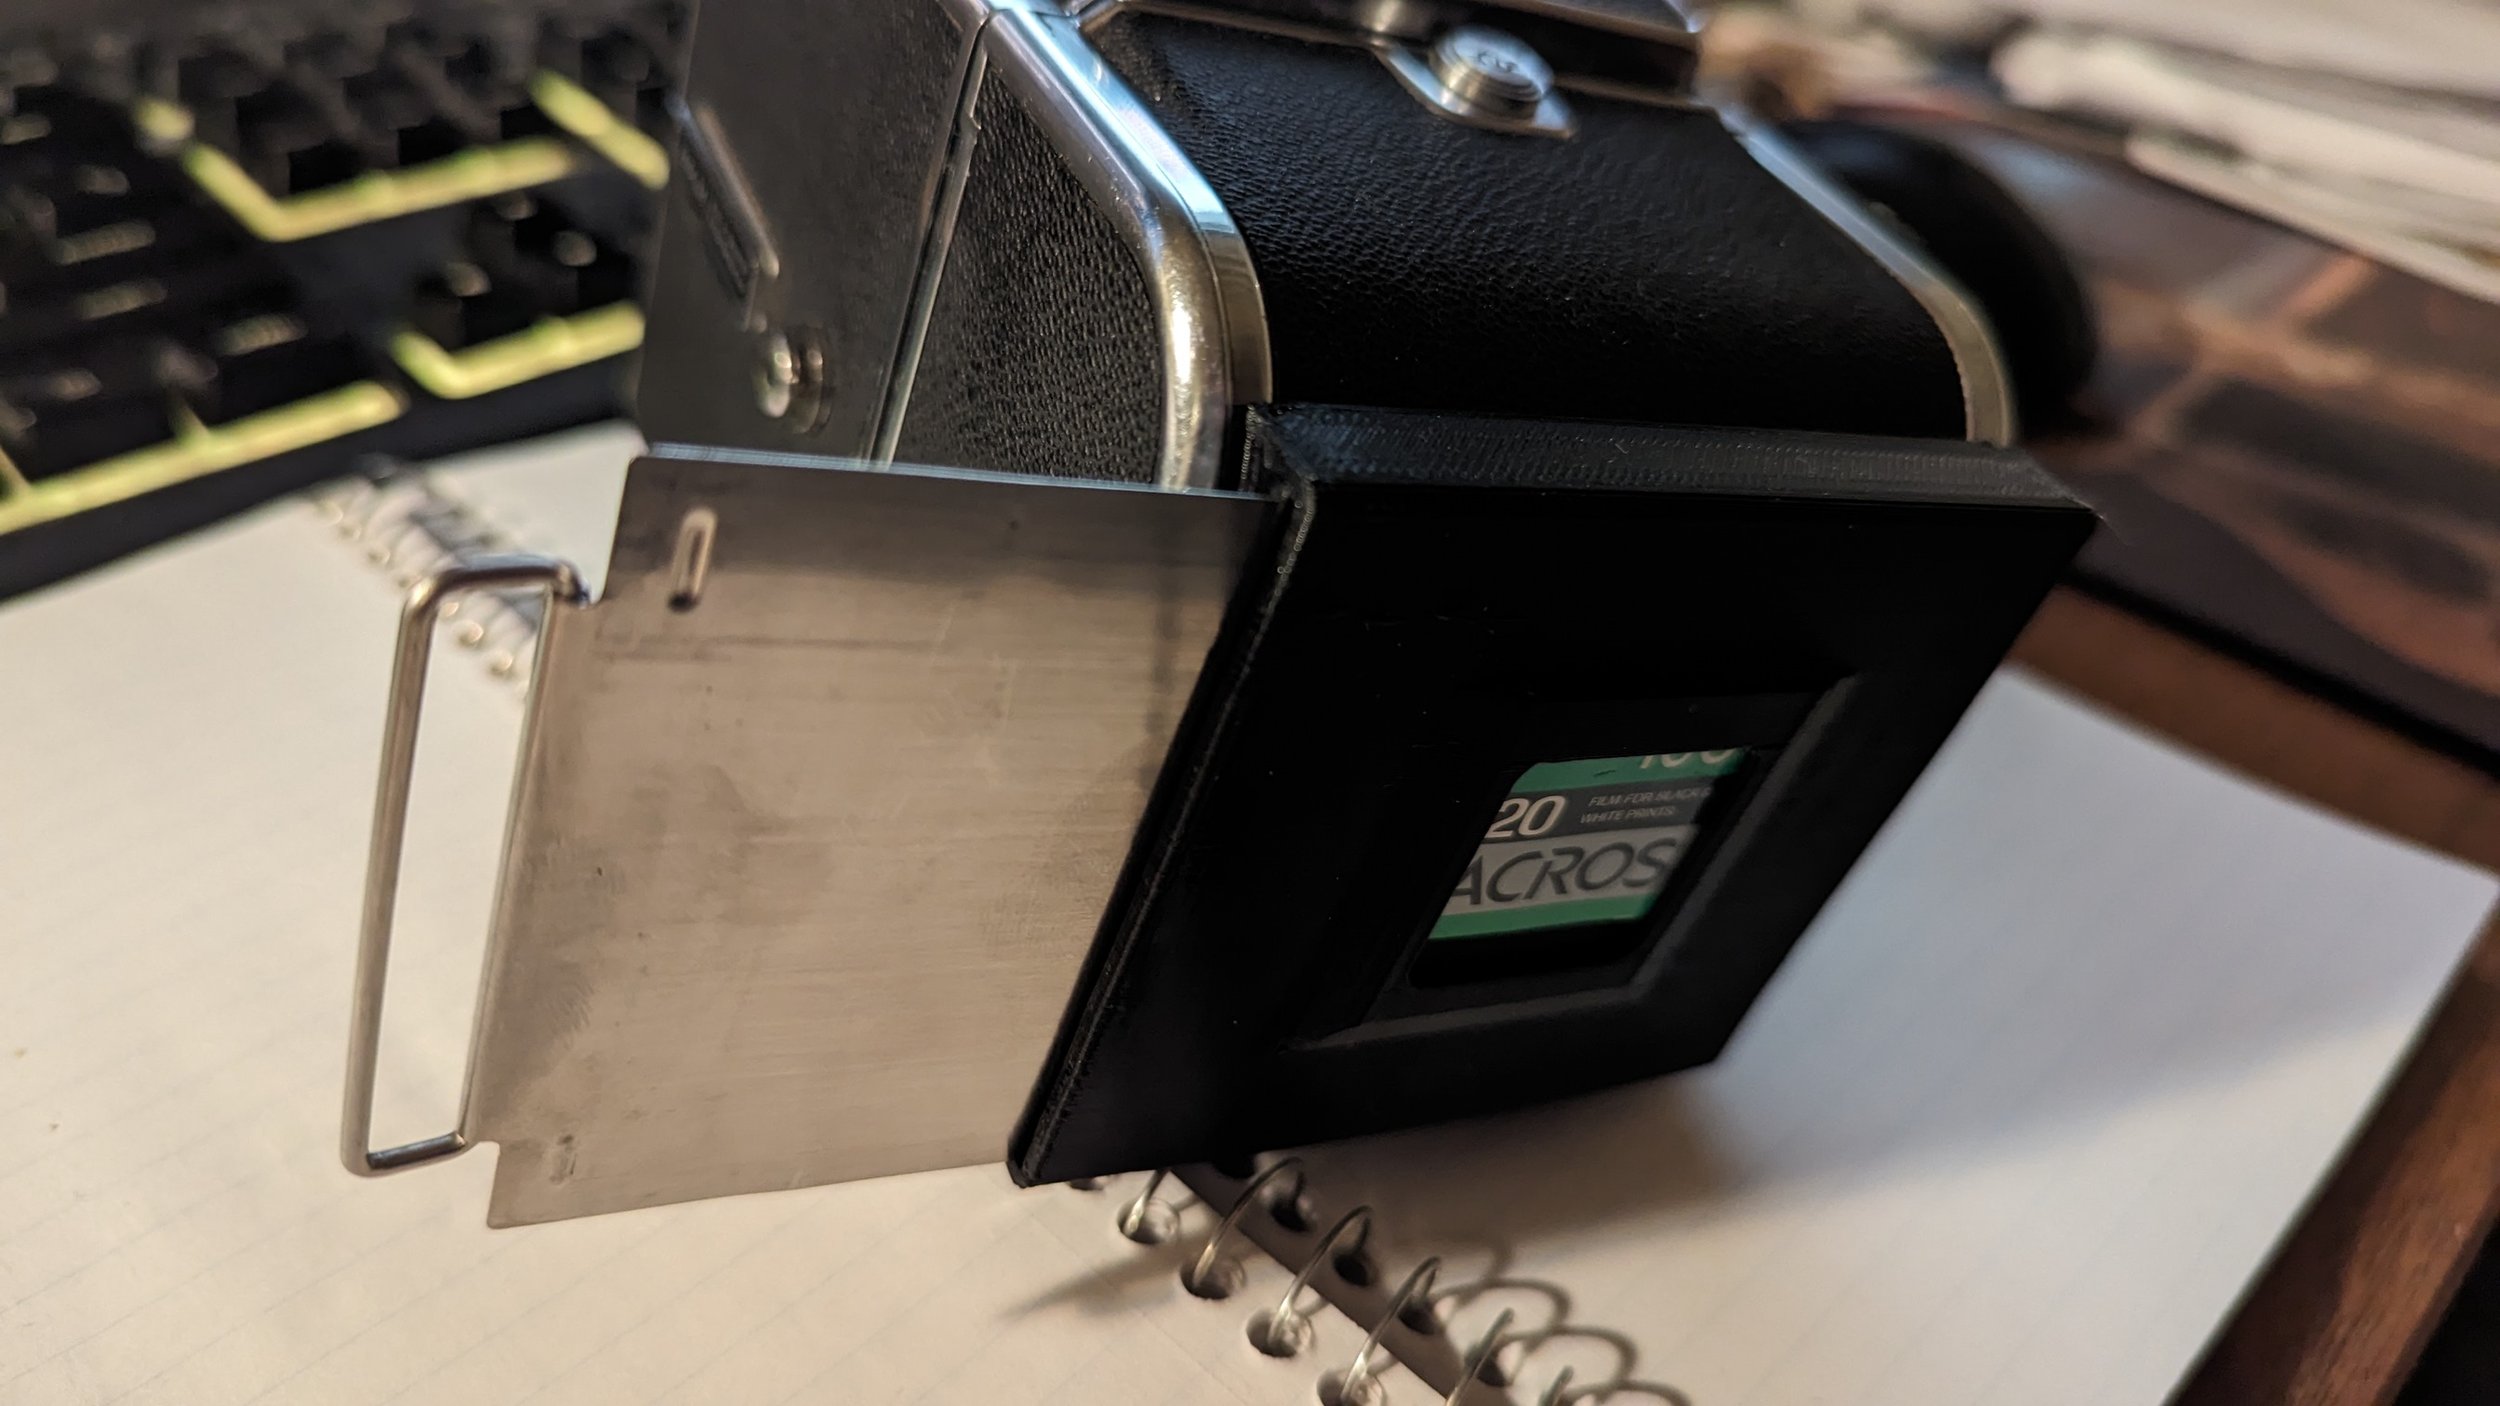
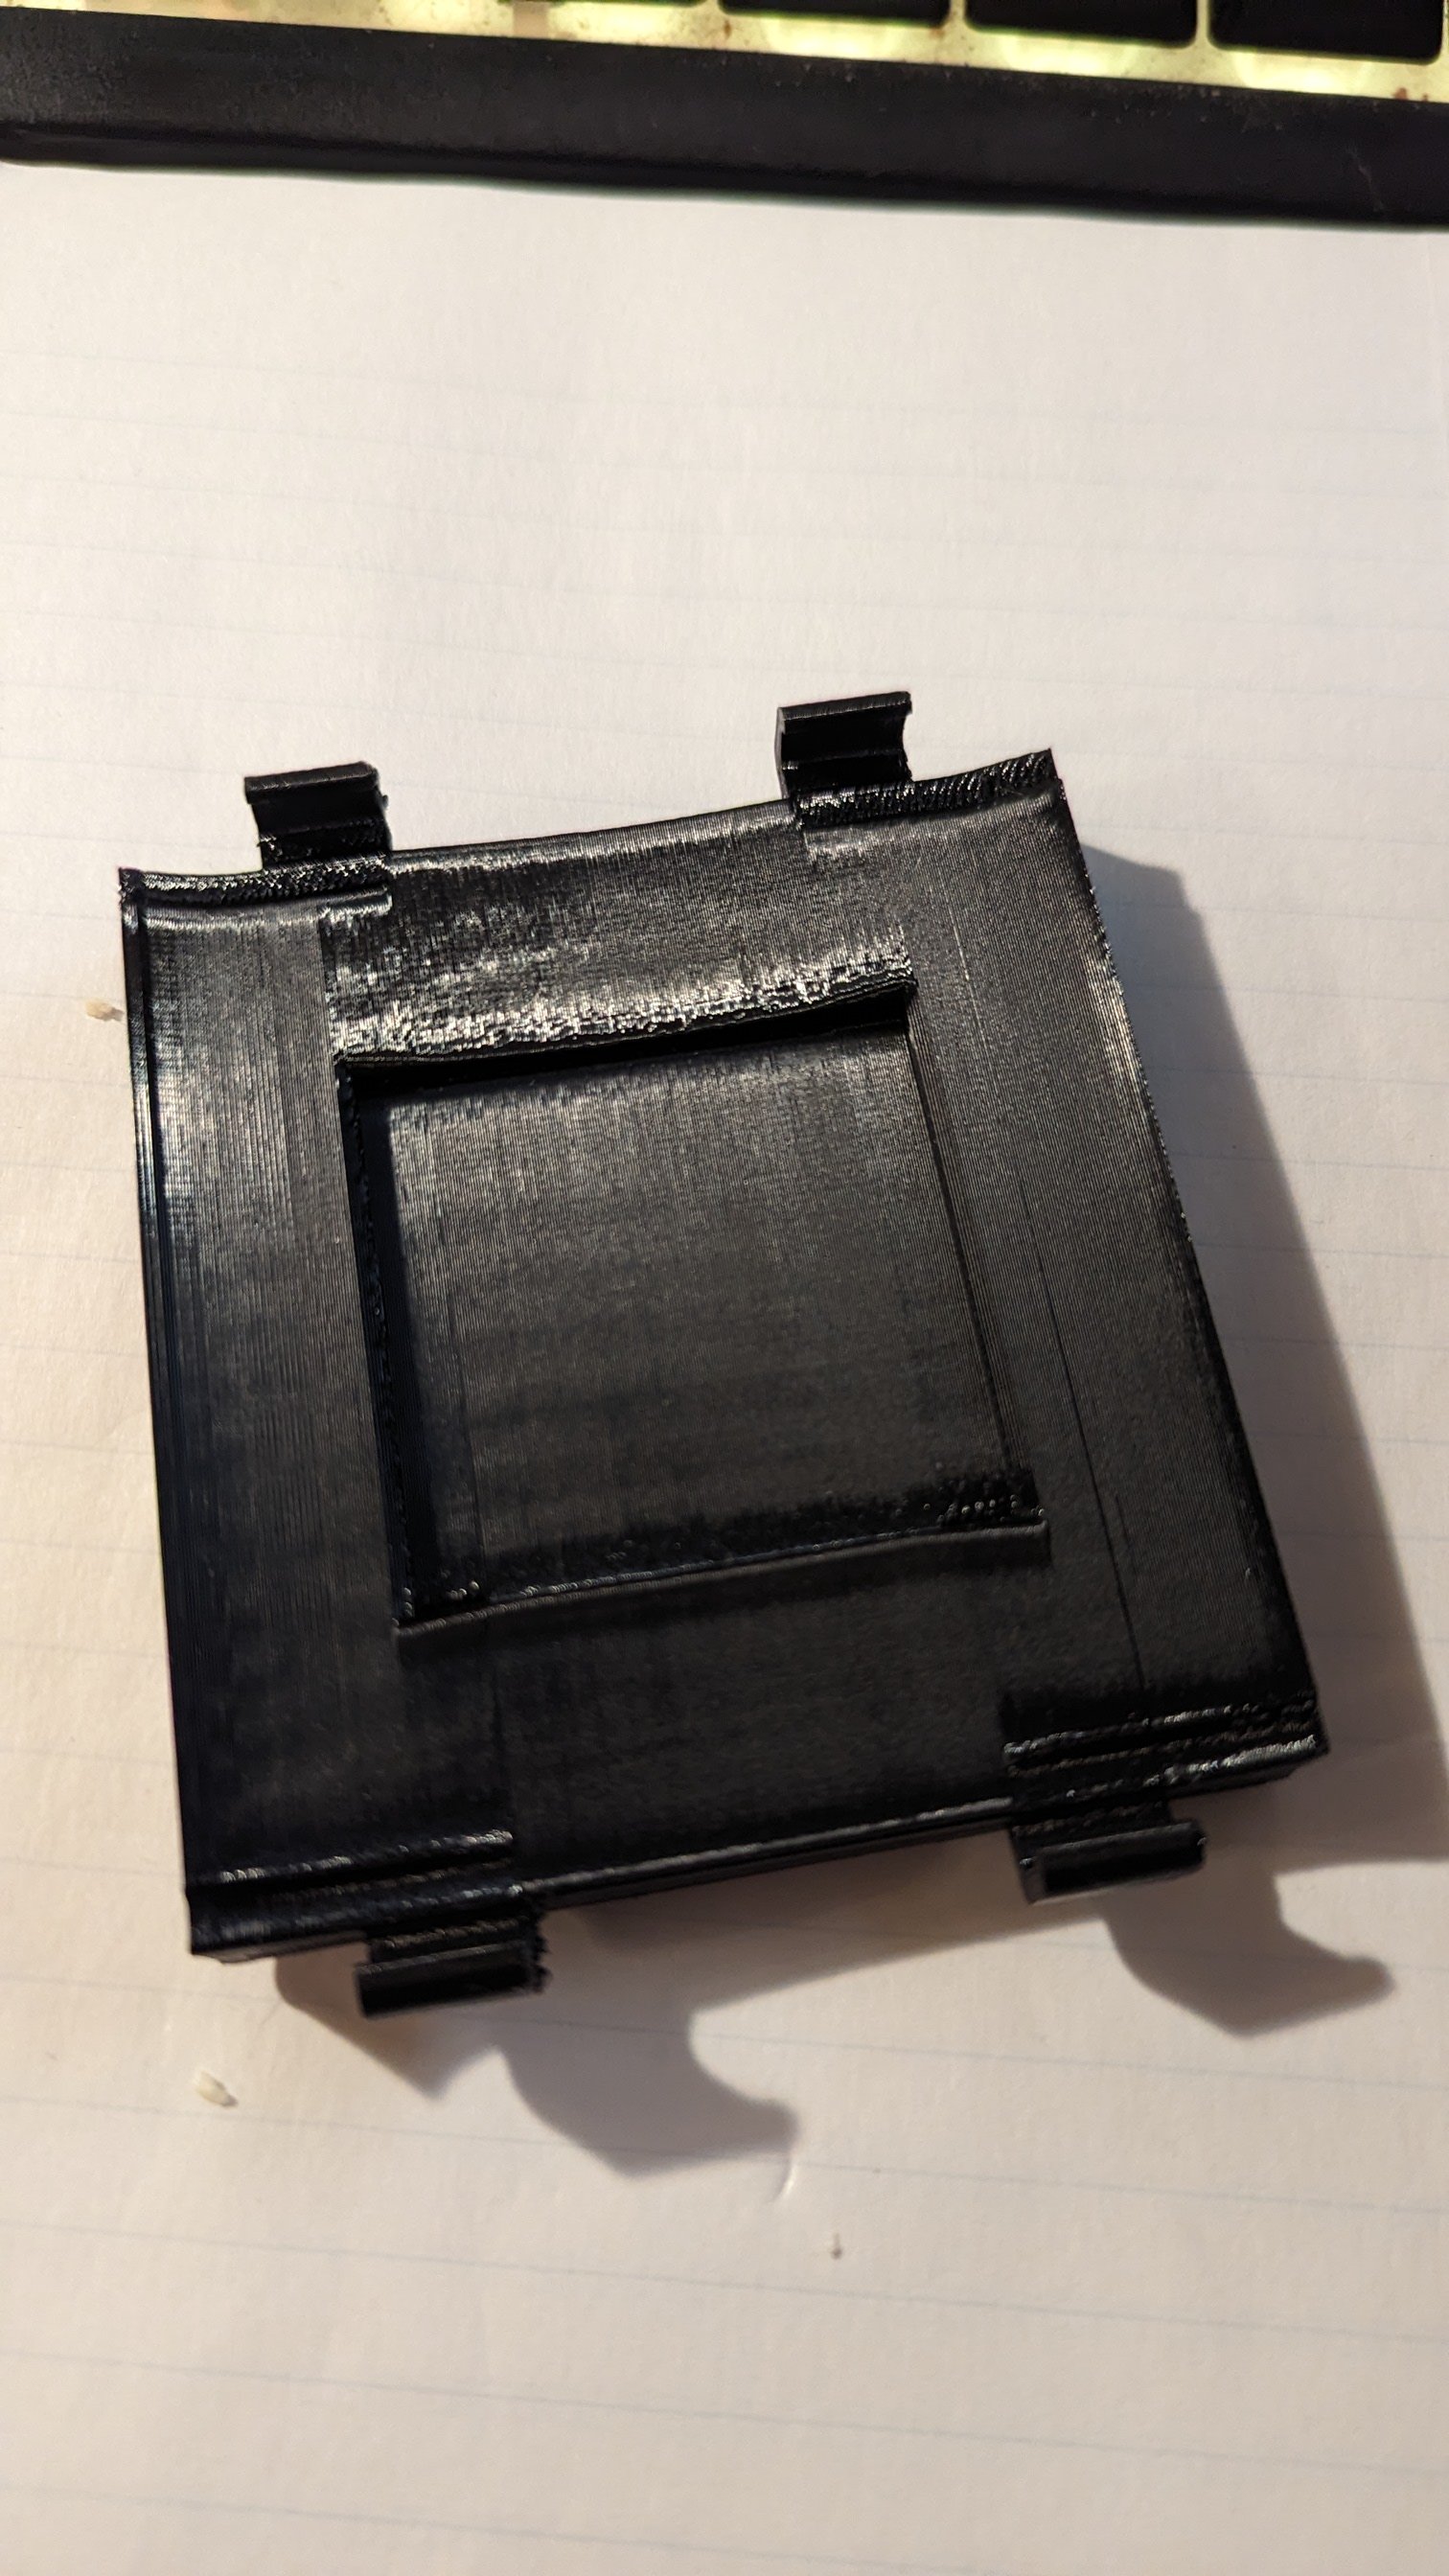
Another solution to a problem that I found during this was with the Hasselblad’s dark slide. It slips into the film magazine and prevents the shutter from triggering until it’s removed. Whenever I’m out shooting I take it out and never know what to do with it, I’ll slip it into a pocket and forget about it untl it’s accidentally bent. So, delving back into a 3D drawing program called Sketchup I modified another design to clip snugly onto the back of the camera. Now the dark slide comes out, goes into the slot two inches back and reminds me that it has to go back where it came from.
So if you can’t figure out a solution to an annoyance you have with your camera gear contact me and we’ll talk over some ideas, there’s a very good chance there’s a solution that can be had in a much shorter time than you would think.


